

DIY UPCYCLED BOOK FLOWER PRESS
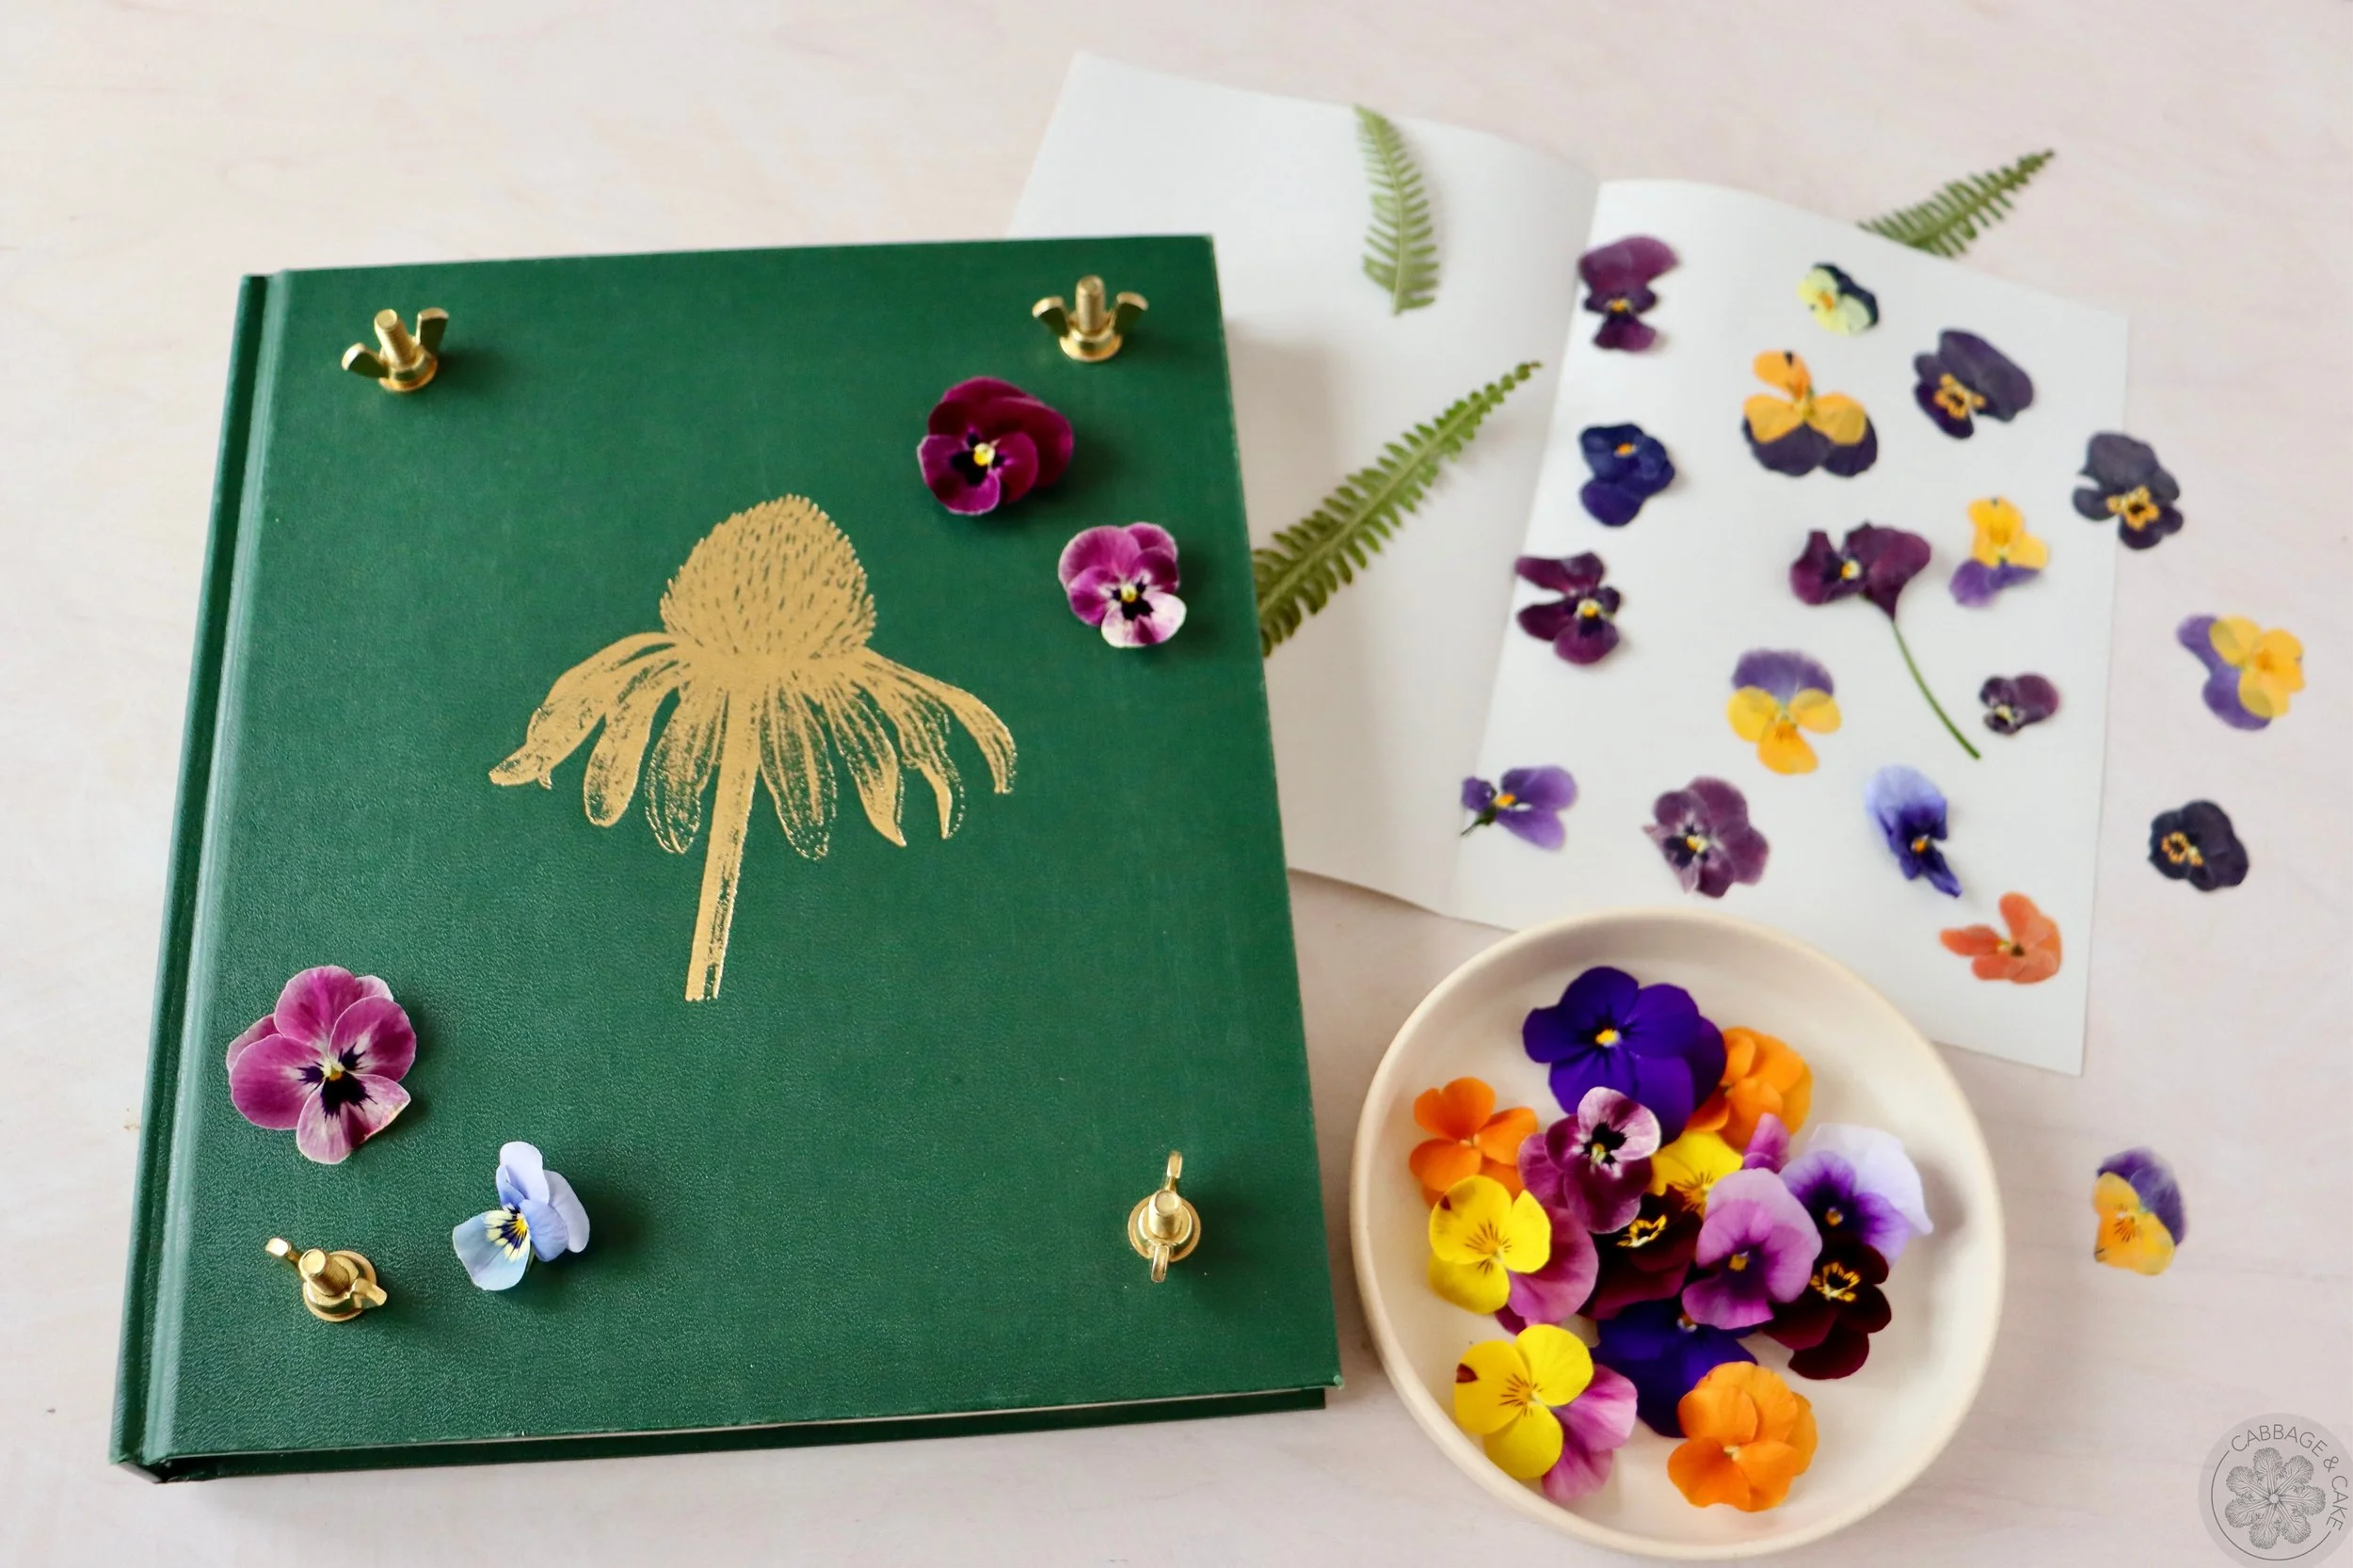
I have always loved to press flowers but a lot of times when I pressed them in books, I would usually pile more books on top and then I ended up forgetting which books I placed them in the first place! It makes for a nice surprise eventually finding them later, but it kind of defeats the purpose a little.
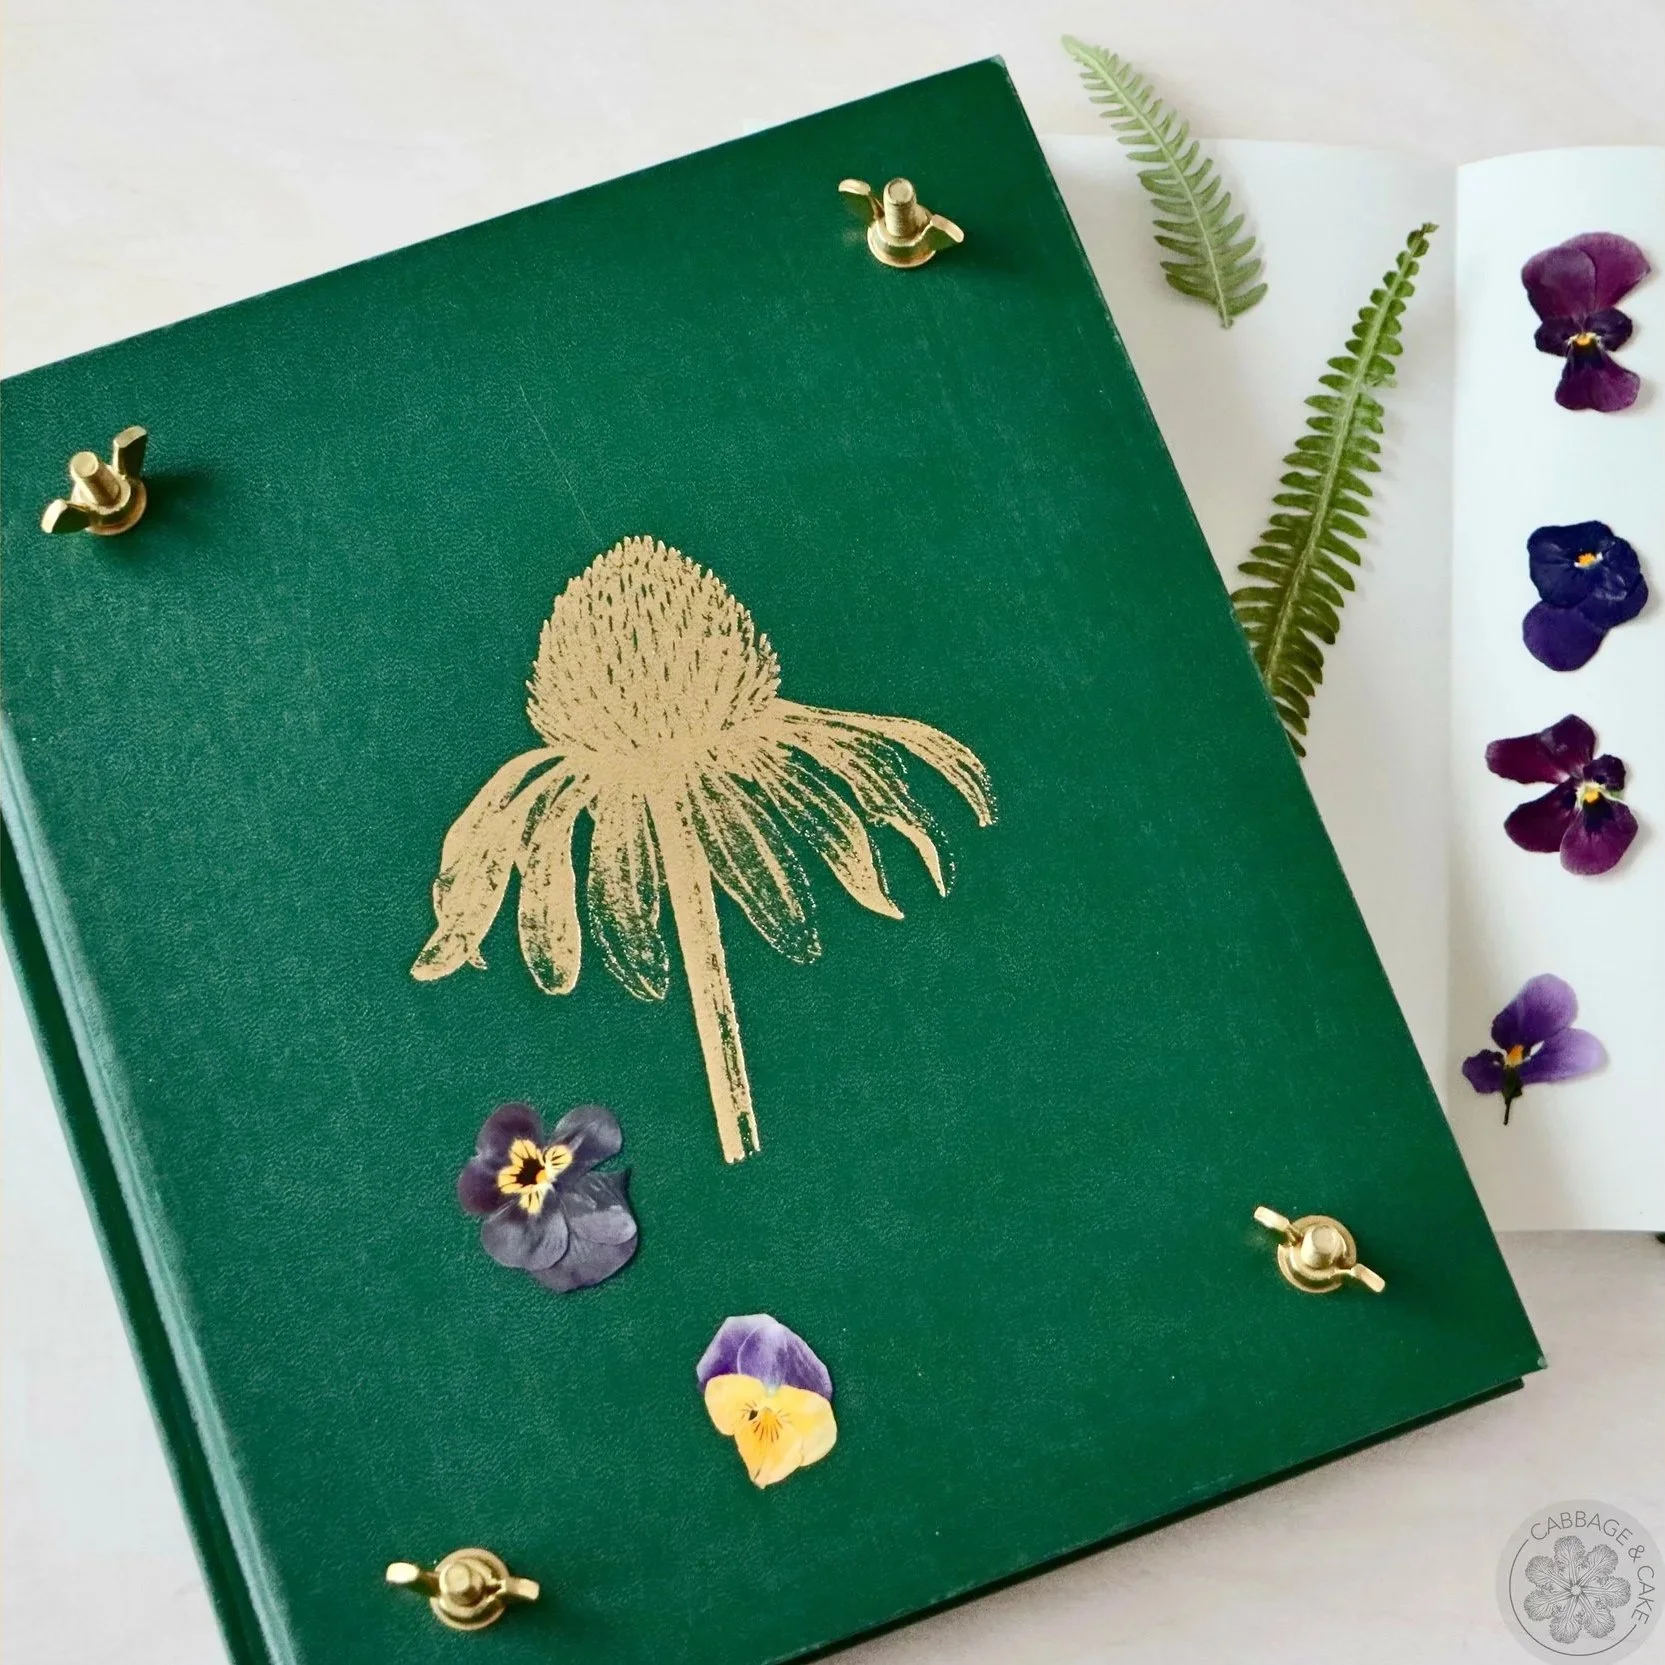
As a child I used to use old telephone books to press flowers, but old phone books are not really a thing anymore. Then we got a wooden flower press which works really well, but I always felt a bit nostalgic and would still sometimes press some flowers in between the pages of books. So, when I found this beautiful old book about plants, I thought it would make the perfect flower press since I would never forget where I put my pressed flowers again!
I love to use pressed flowers and leaves in cards and letters, in my journals, glued onto jars and glass bottles and framing them in double glass floating frames. There’s just something special about these flat and dried little reminders of the beauty of the warmer months.
All you need to make your own unique flower press is an old hardcover book, four screws with wing nuts and washers, a drill and some paper. It will work great for any smaller and delicate flowers that are rather thin and flat. But get creative and experiment with whatever you have on hand or whatever you find on your adventures in nature!
TIPS ON HOW TO MAKE
AND USE YOUR UPCYCLED BOOK FLOWER PRESS
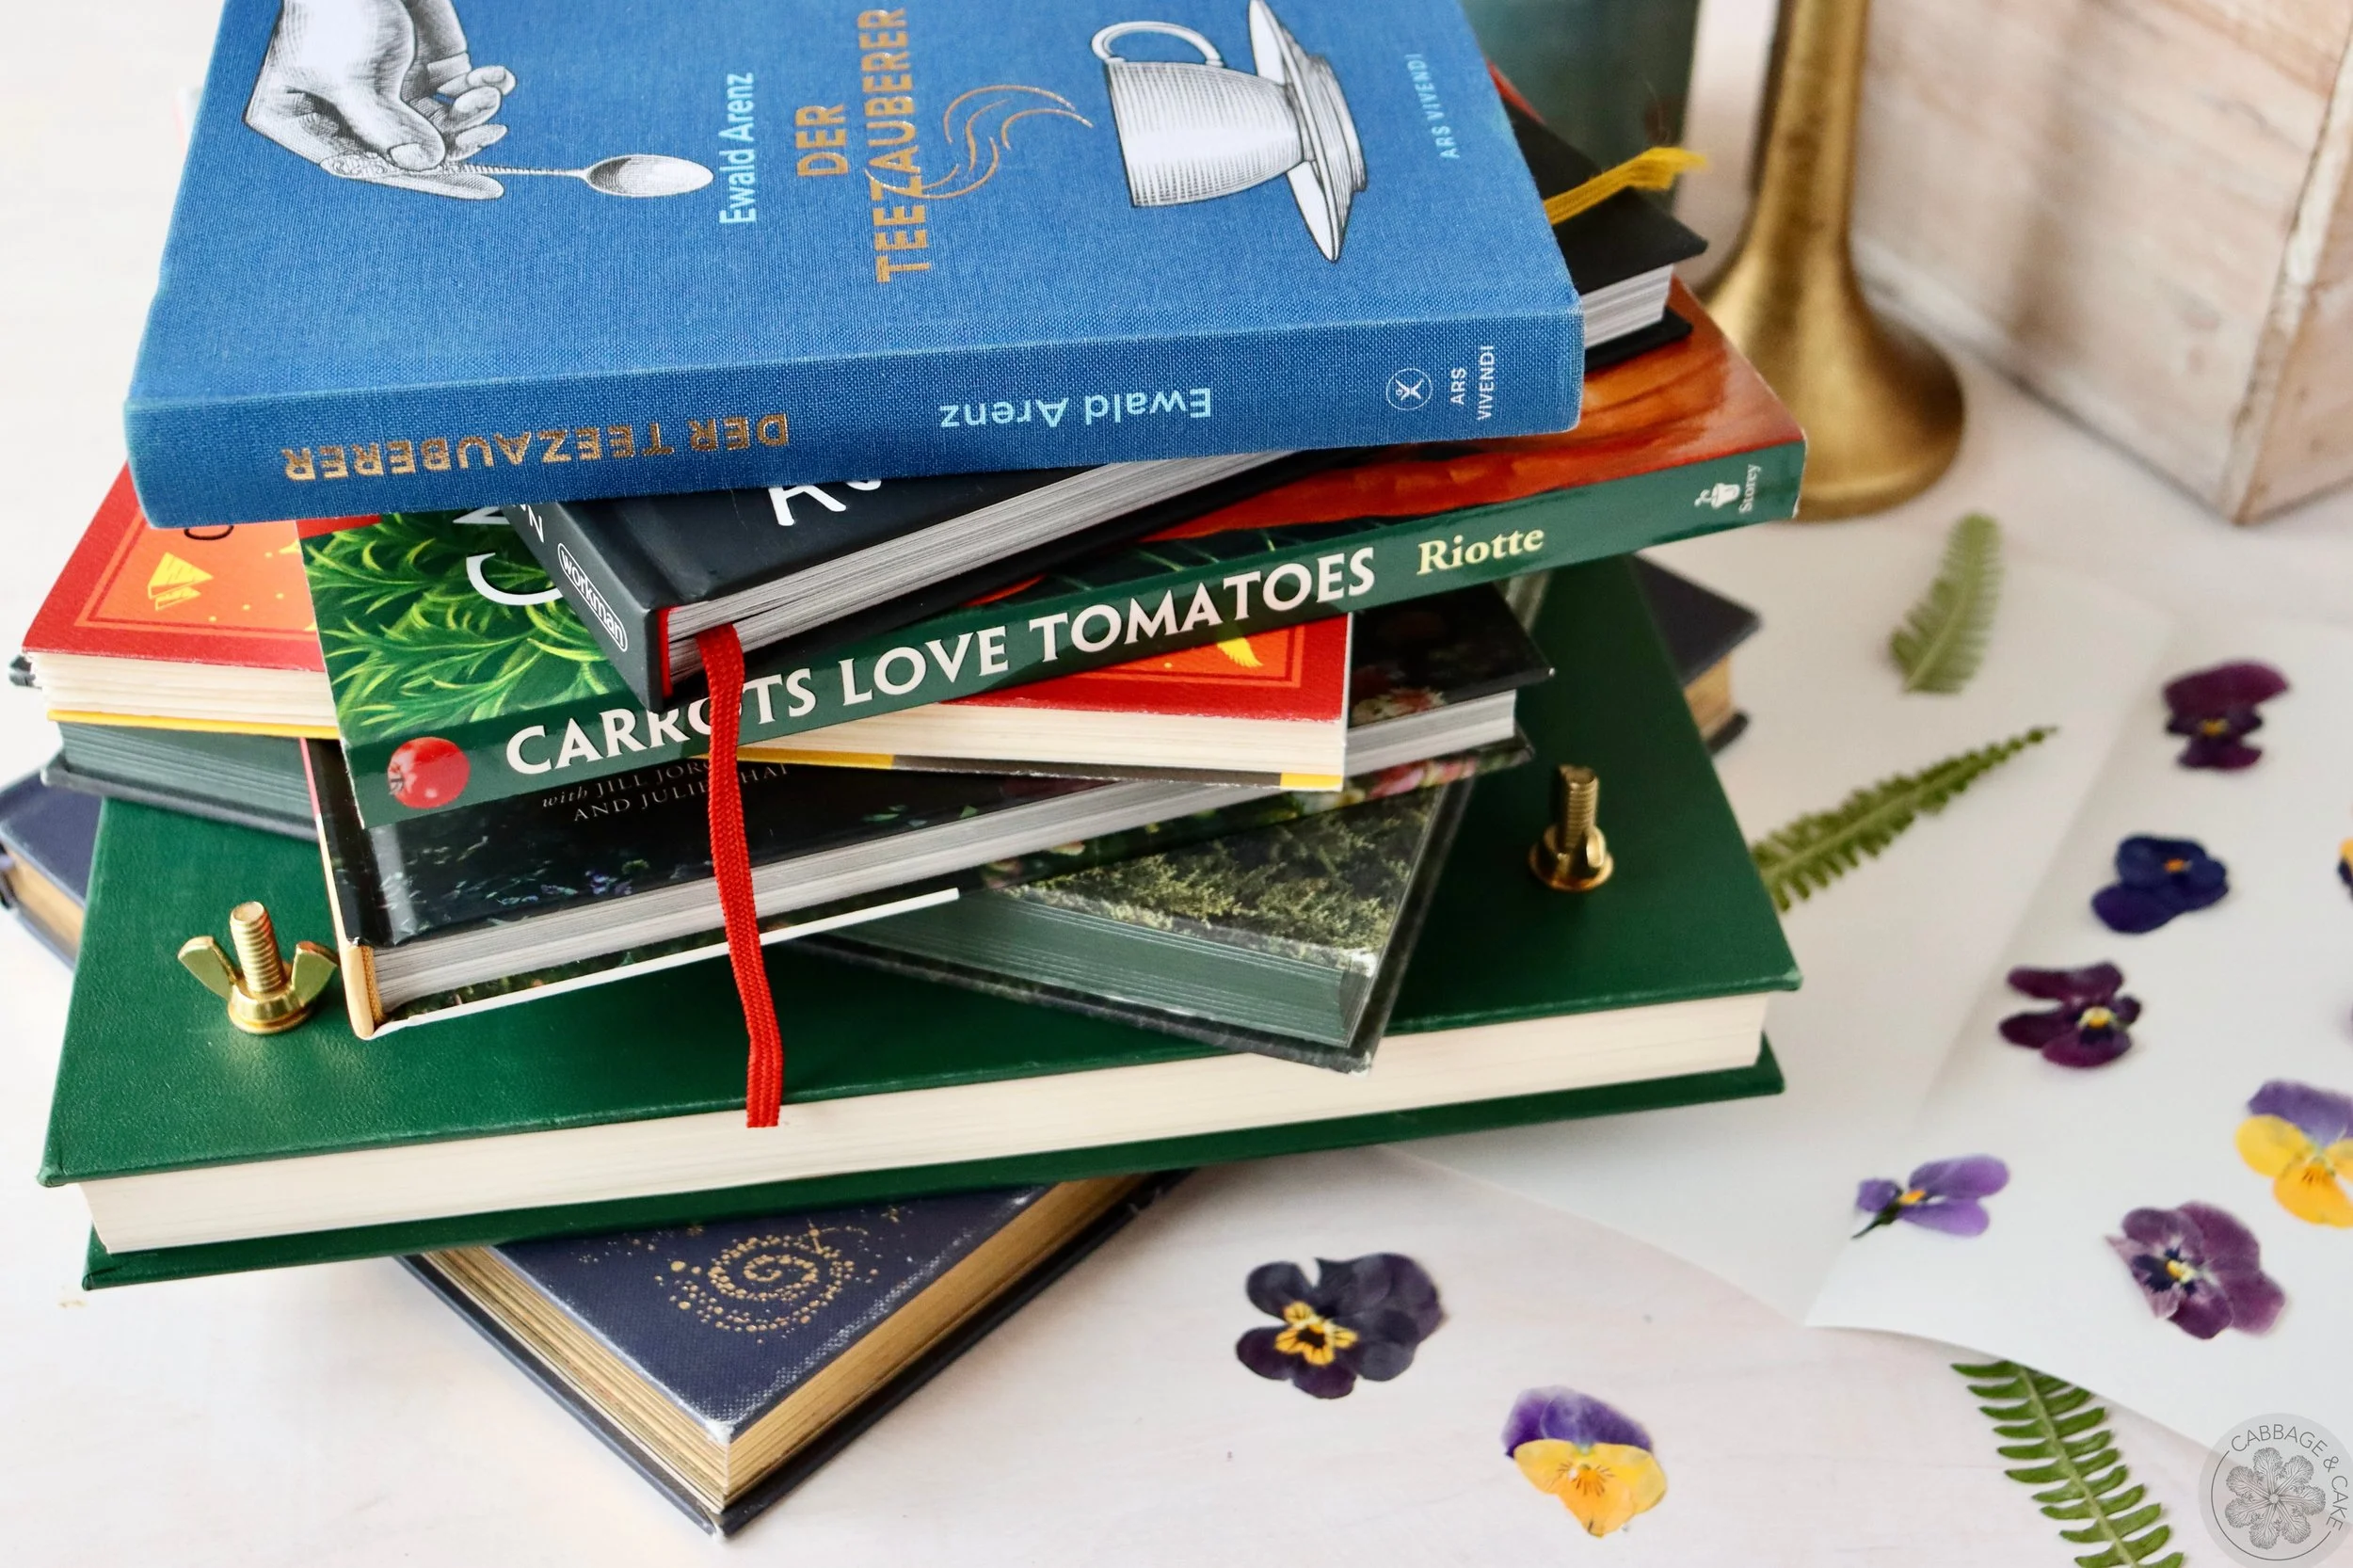
Choose a book with a strong hard cover and if it’s a book about gardening or plants that’s even better.
You can either put your flowers directly between the pages of your book or use some extra paper to put in between. Putting them directly between the pages of your book can cause some discolouring and I prefer to add some plain paper in between.
Make sure to use paper that can absorb moisture and doesn’t have any texture for best results. I like to use construction or printer paper to put in between the flowers and the pages of the book.
If you are pressing thicker flowers, it’s good to change the paper a couple of times to avoid too much moisture in your book flower press.
Your flowers should be freshly picked, dried and cleaned. The best time to harvest them is usually in the late morning, after the dew has dried and before it gets too hot. Avoid any extra moisture to avoid mold and discolouring.
I recommend pressing smaller, thinner and flatter flowers with your upcycled book flower press. Depending on how strong your book cover is, you might have some limitations with really thick flowers.
Your flowers will need 2-3 weeks to be fully dried, depending on their size and thickness.
Have fun experimenting with different types of flowers, leaves and grasses.
MATERIALS YOU WILL NEED
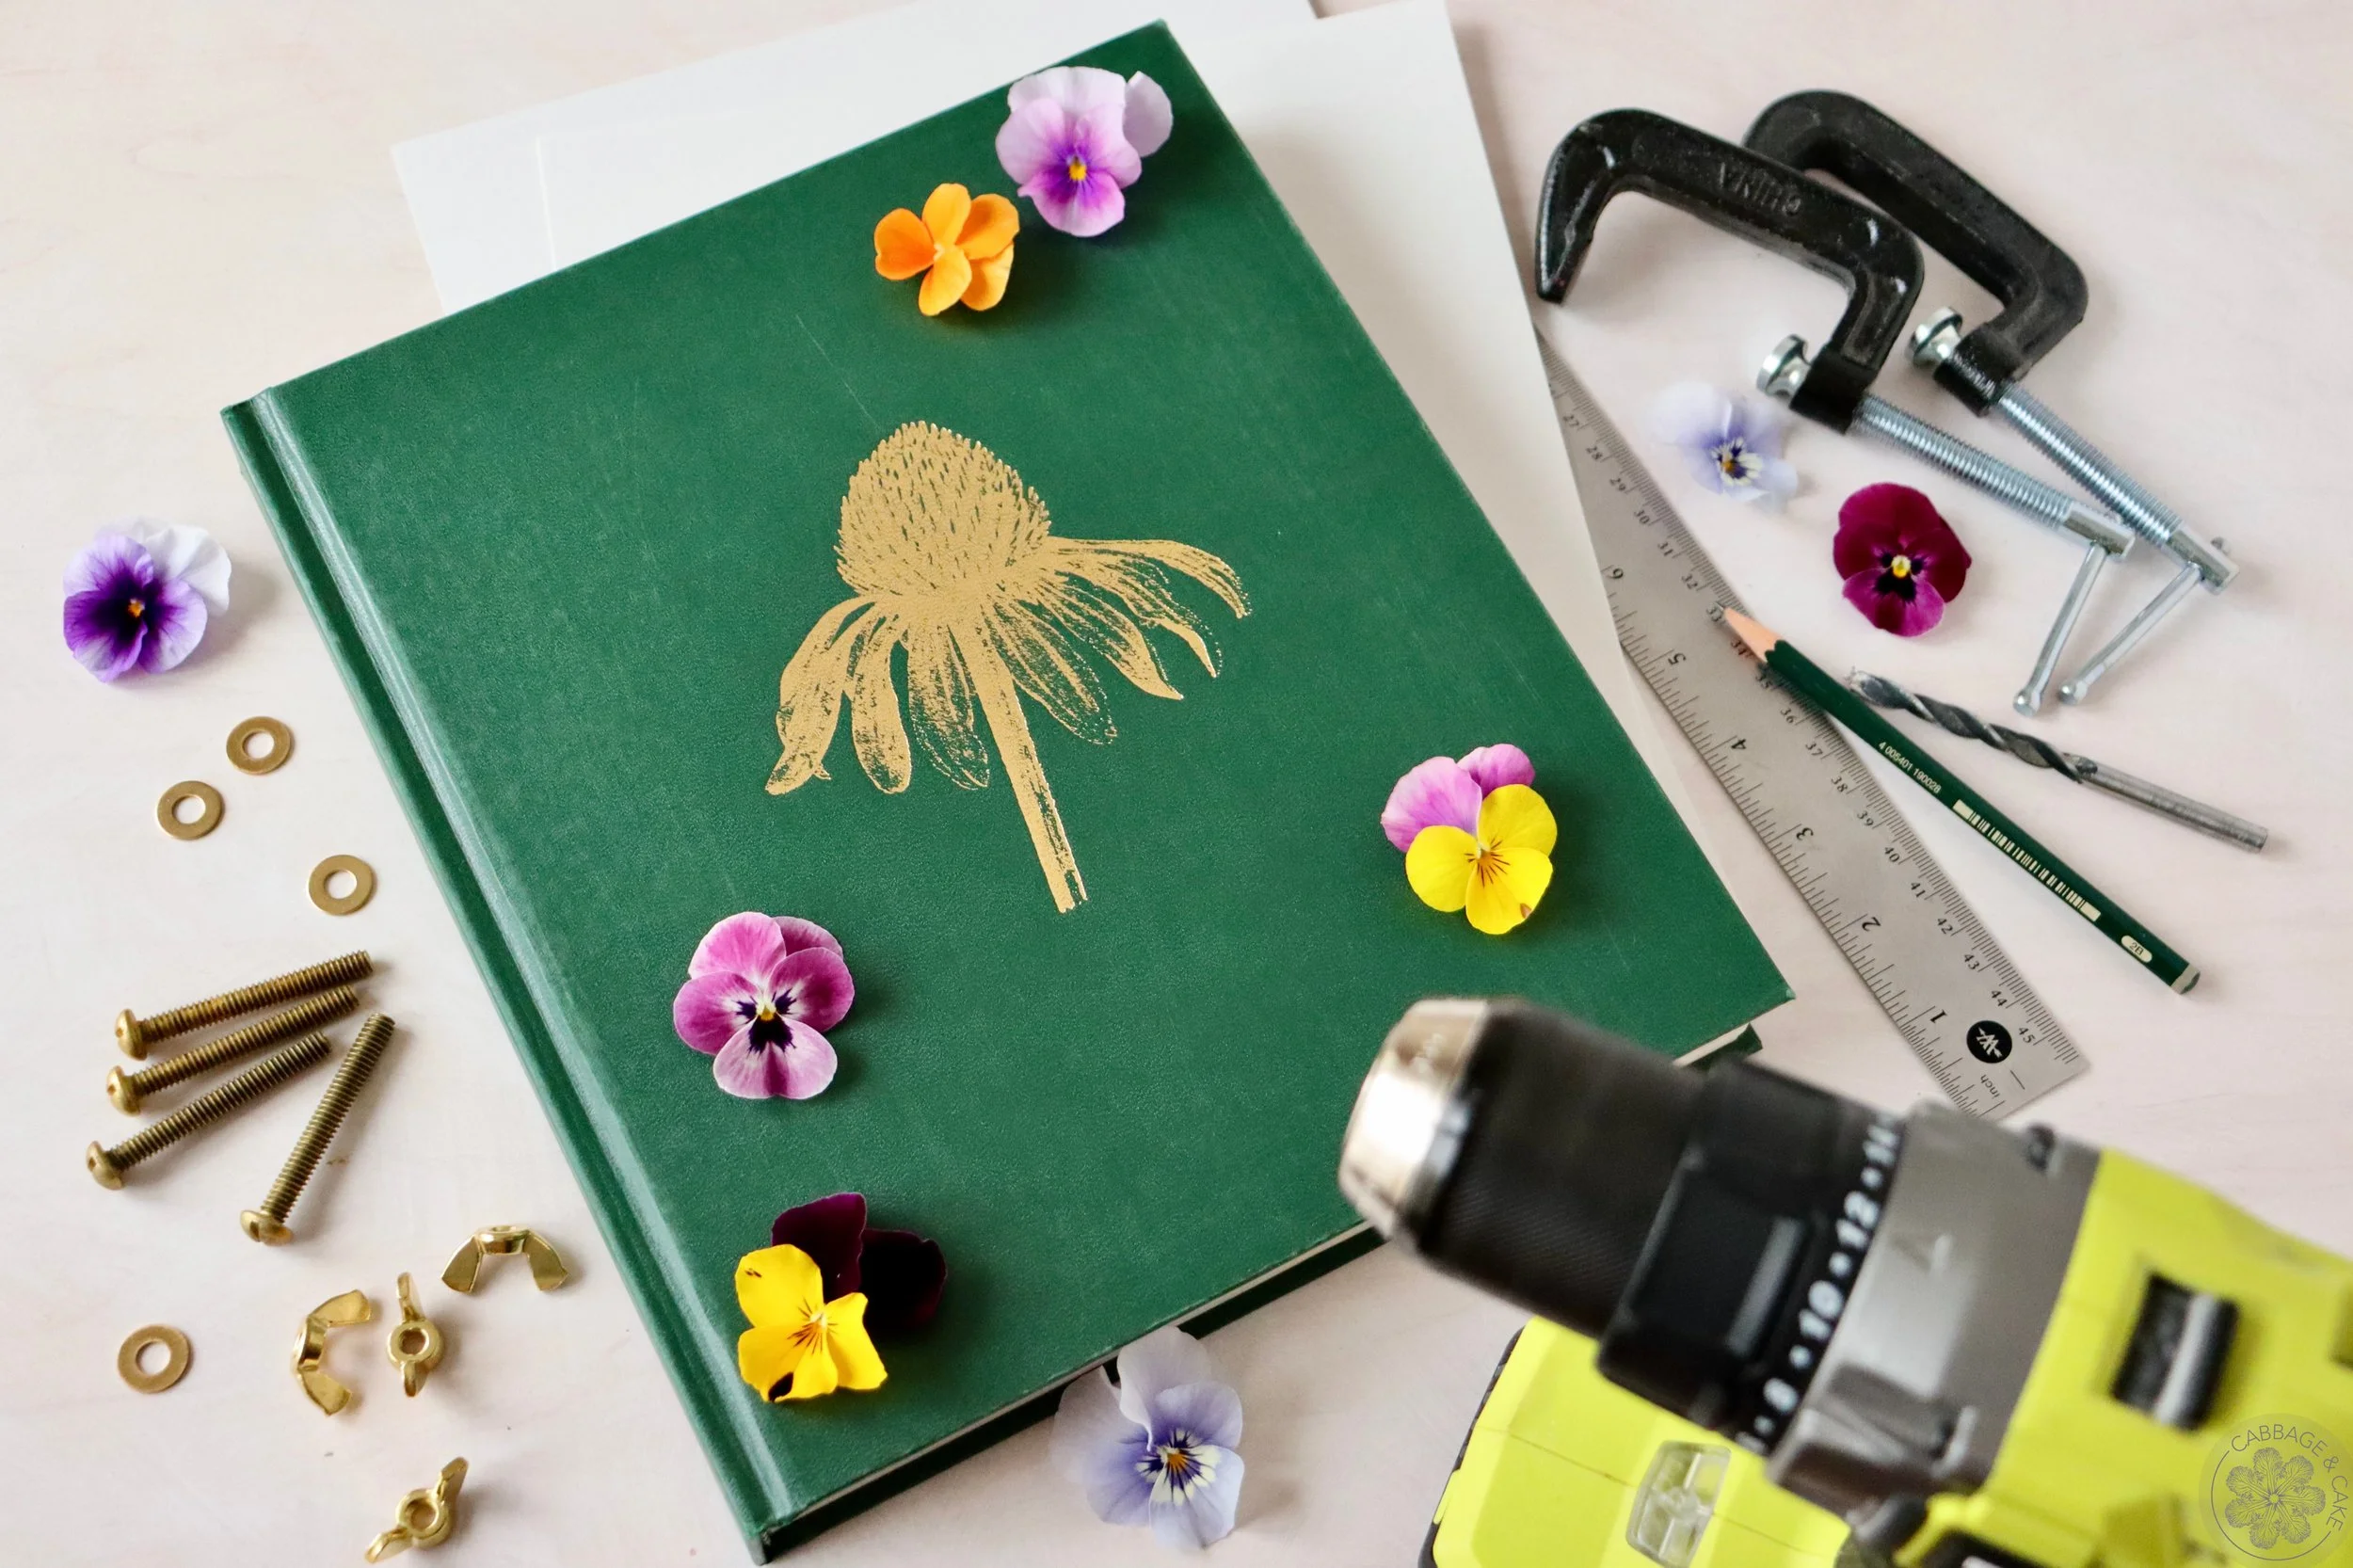
hardcover book
4 screws
4 wing nuts
4 washers
measuring tape or ruler
pencil
construction or printer paper
two pieces of waste wood (optional)
c-clamps
drill
drill bit
INSTRUCTIONS STEP BY STEP
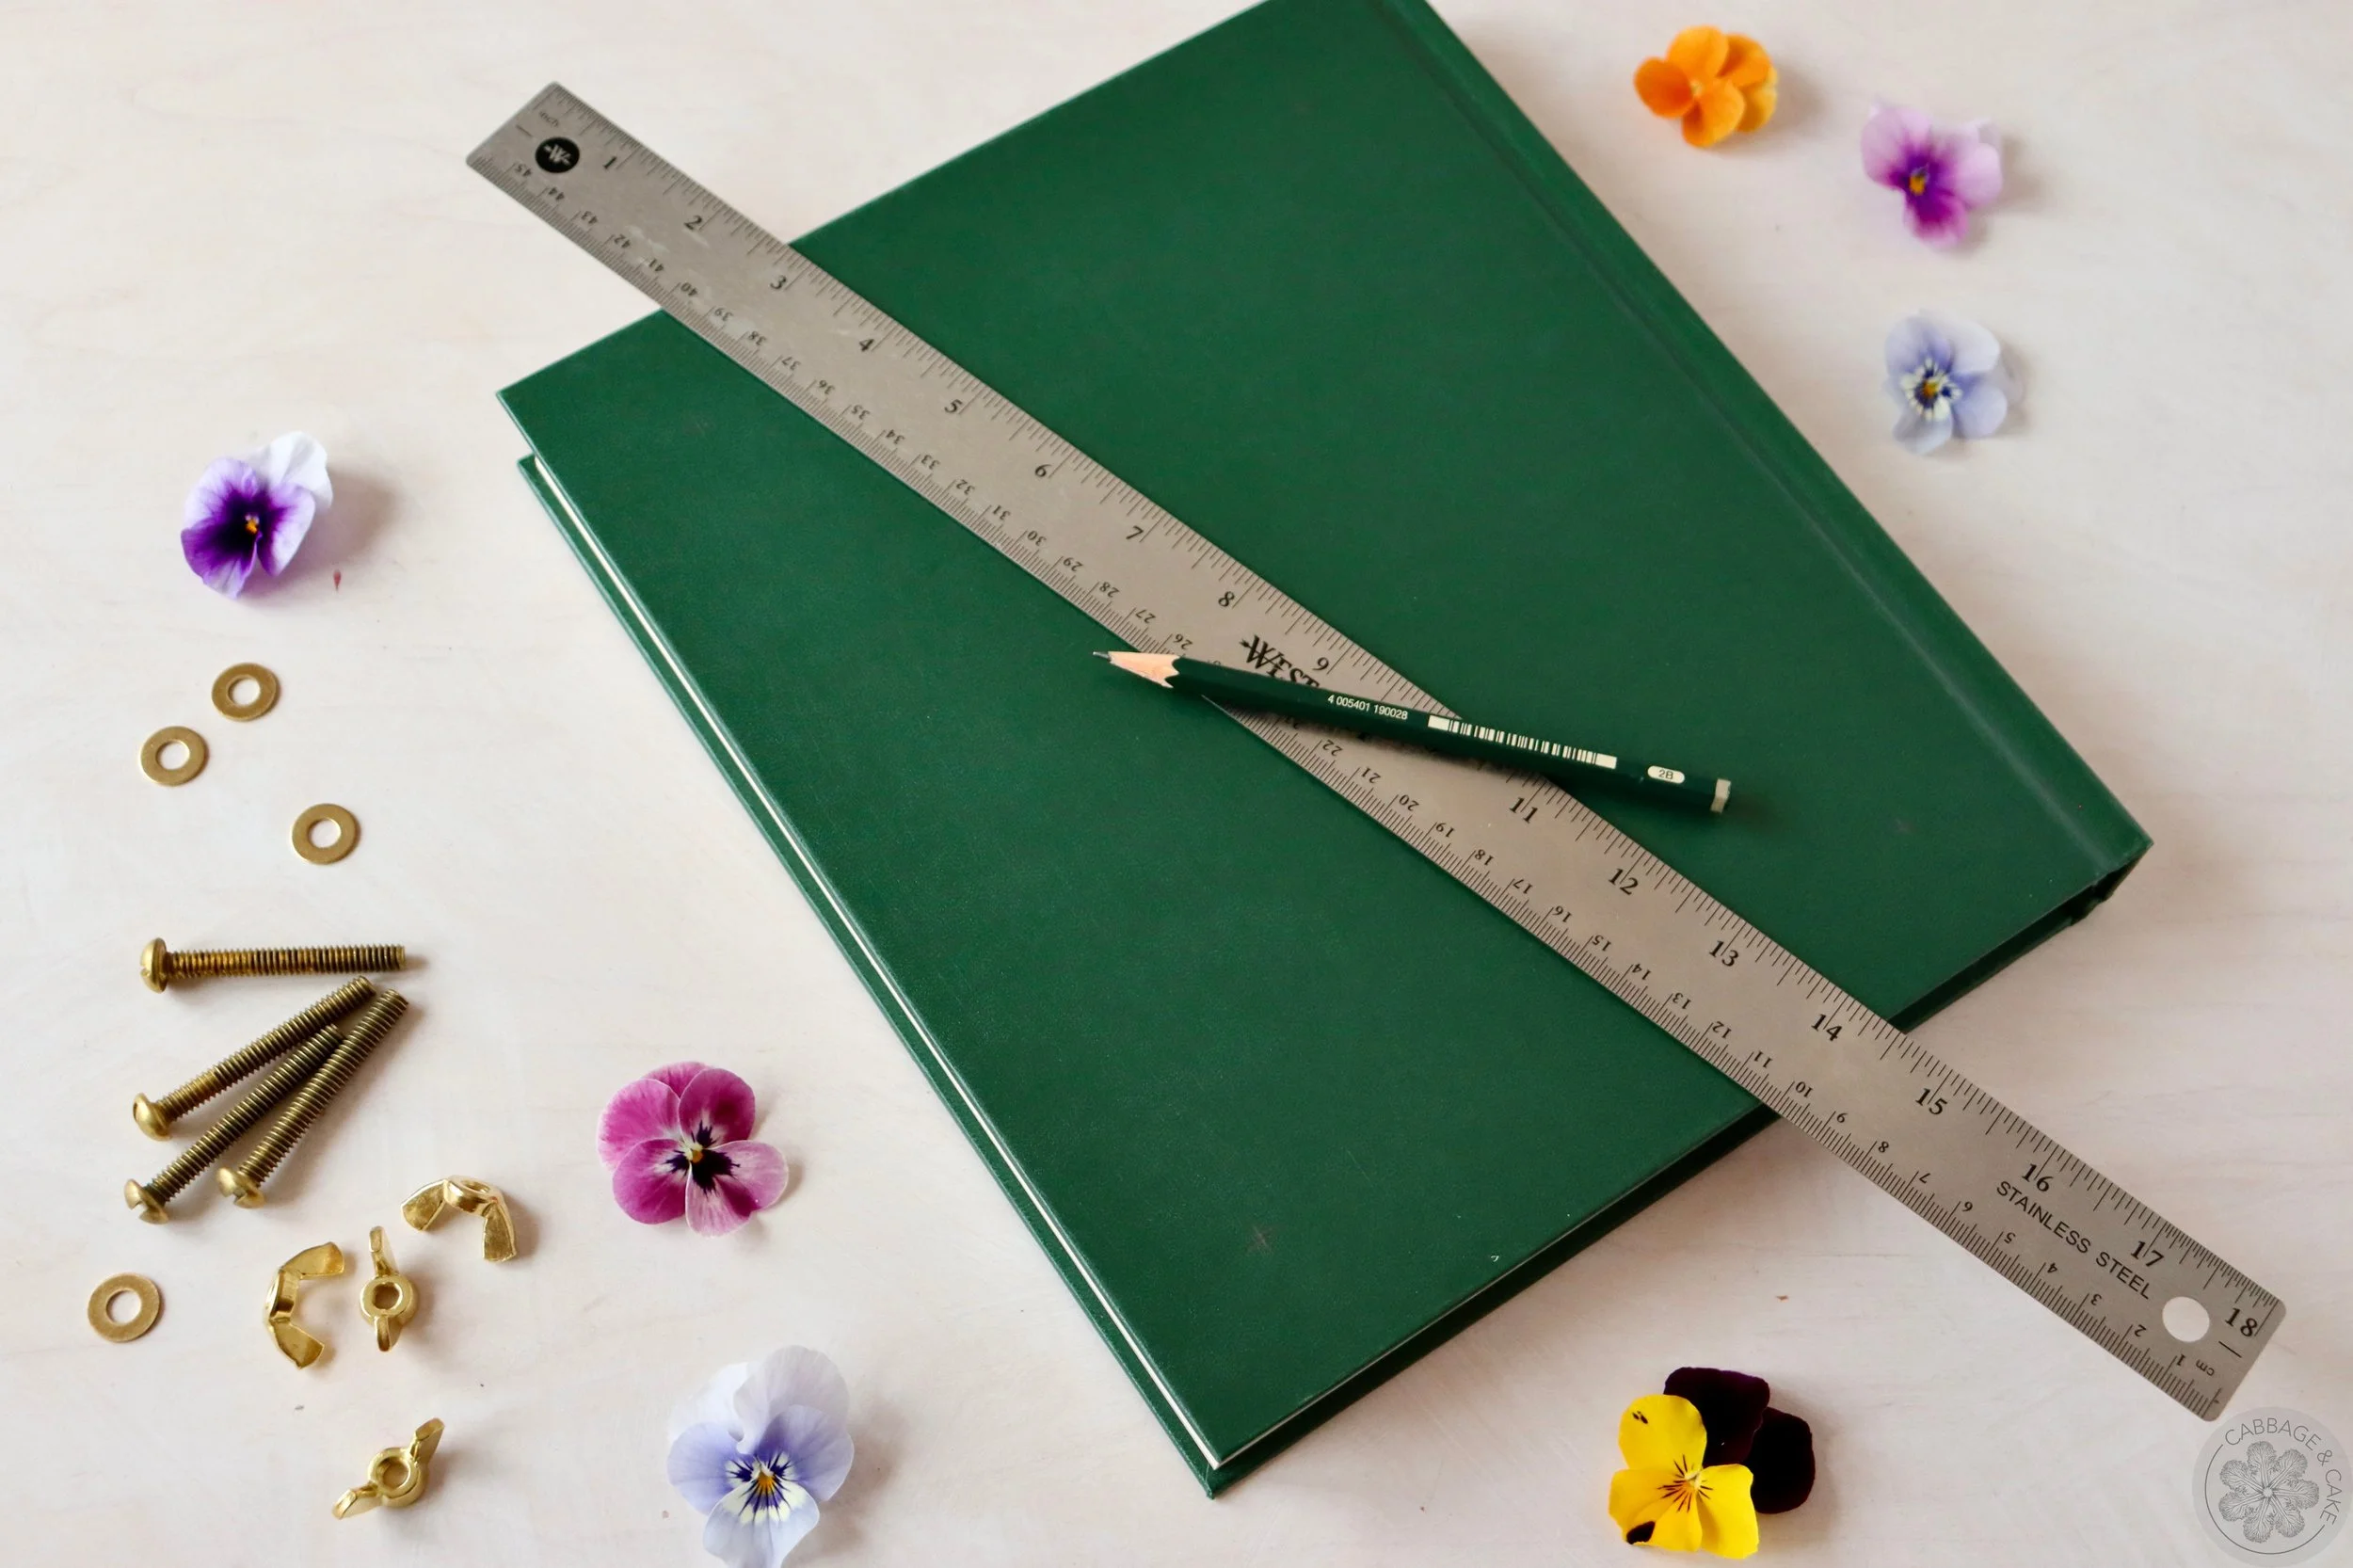
Using a measuring tape or ruler, mark the spots on the backside of your book where you will add the four screws about an inch from each corner with a pencil.
Clamp the book tightly with two c-clamps and use two pieces of waste wood to prop the book up facing down for drilling.
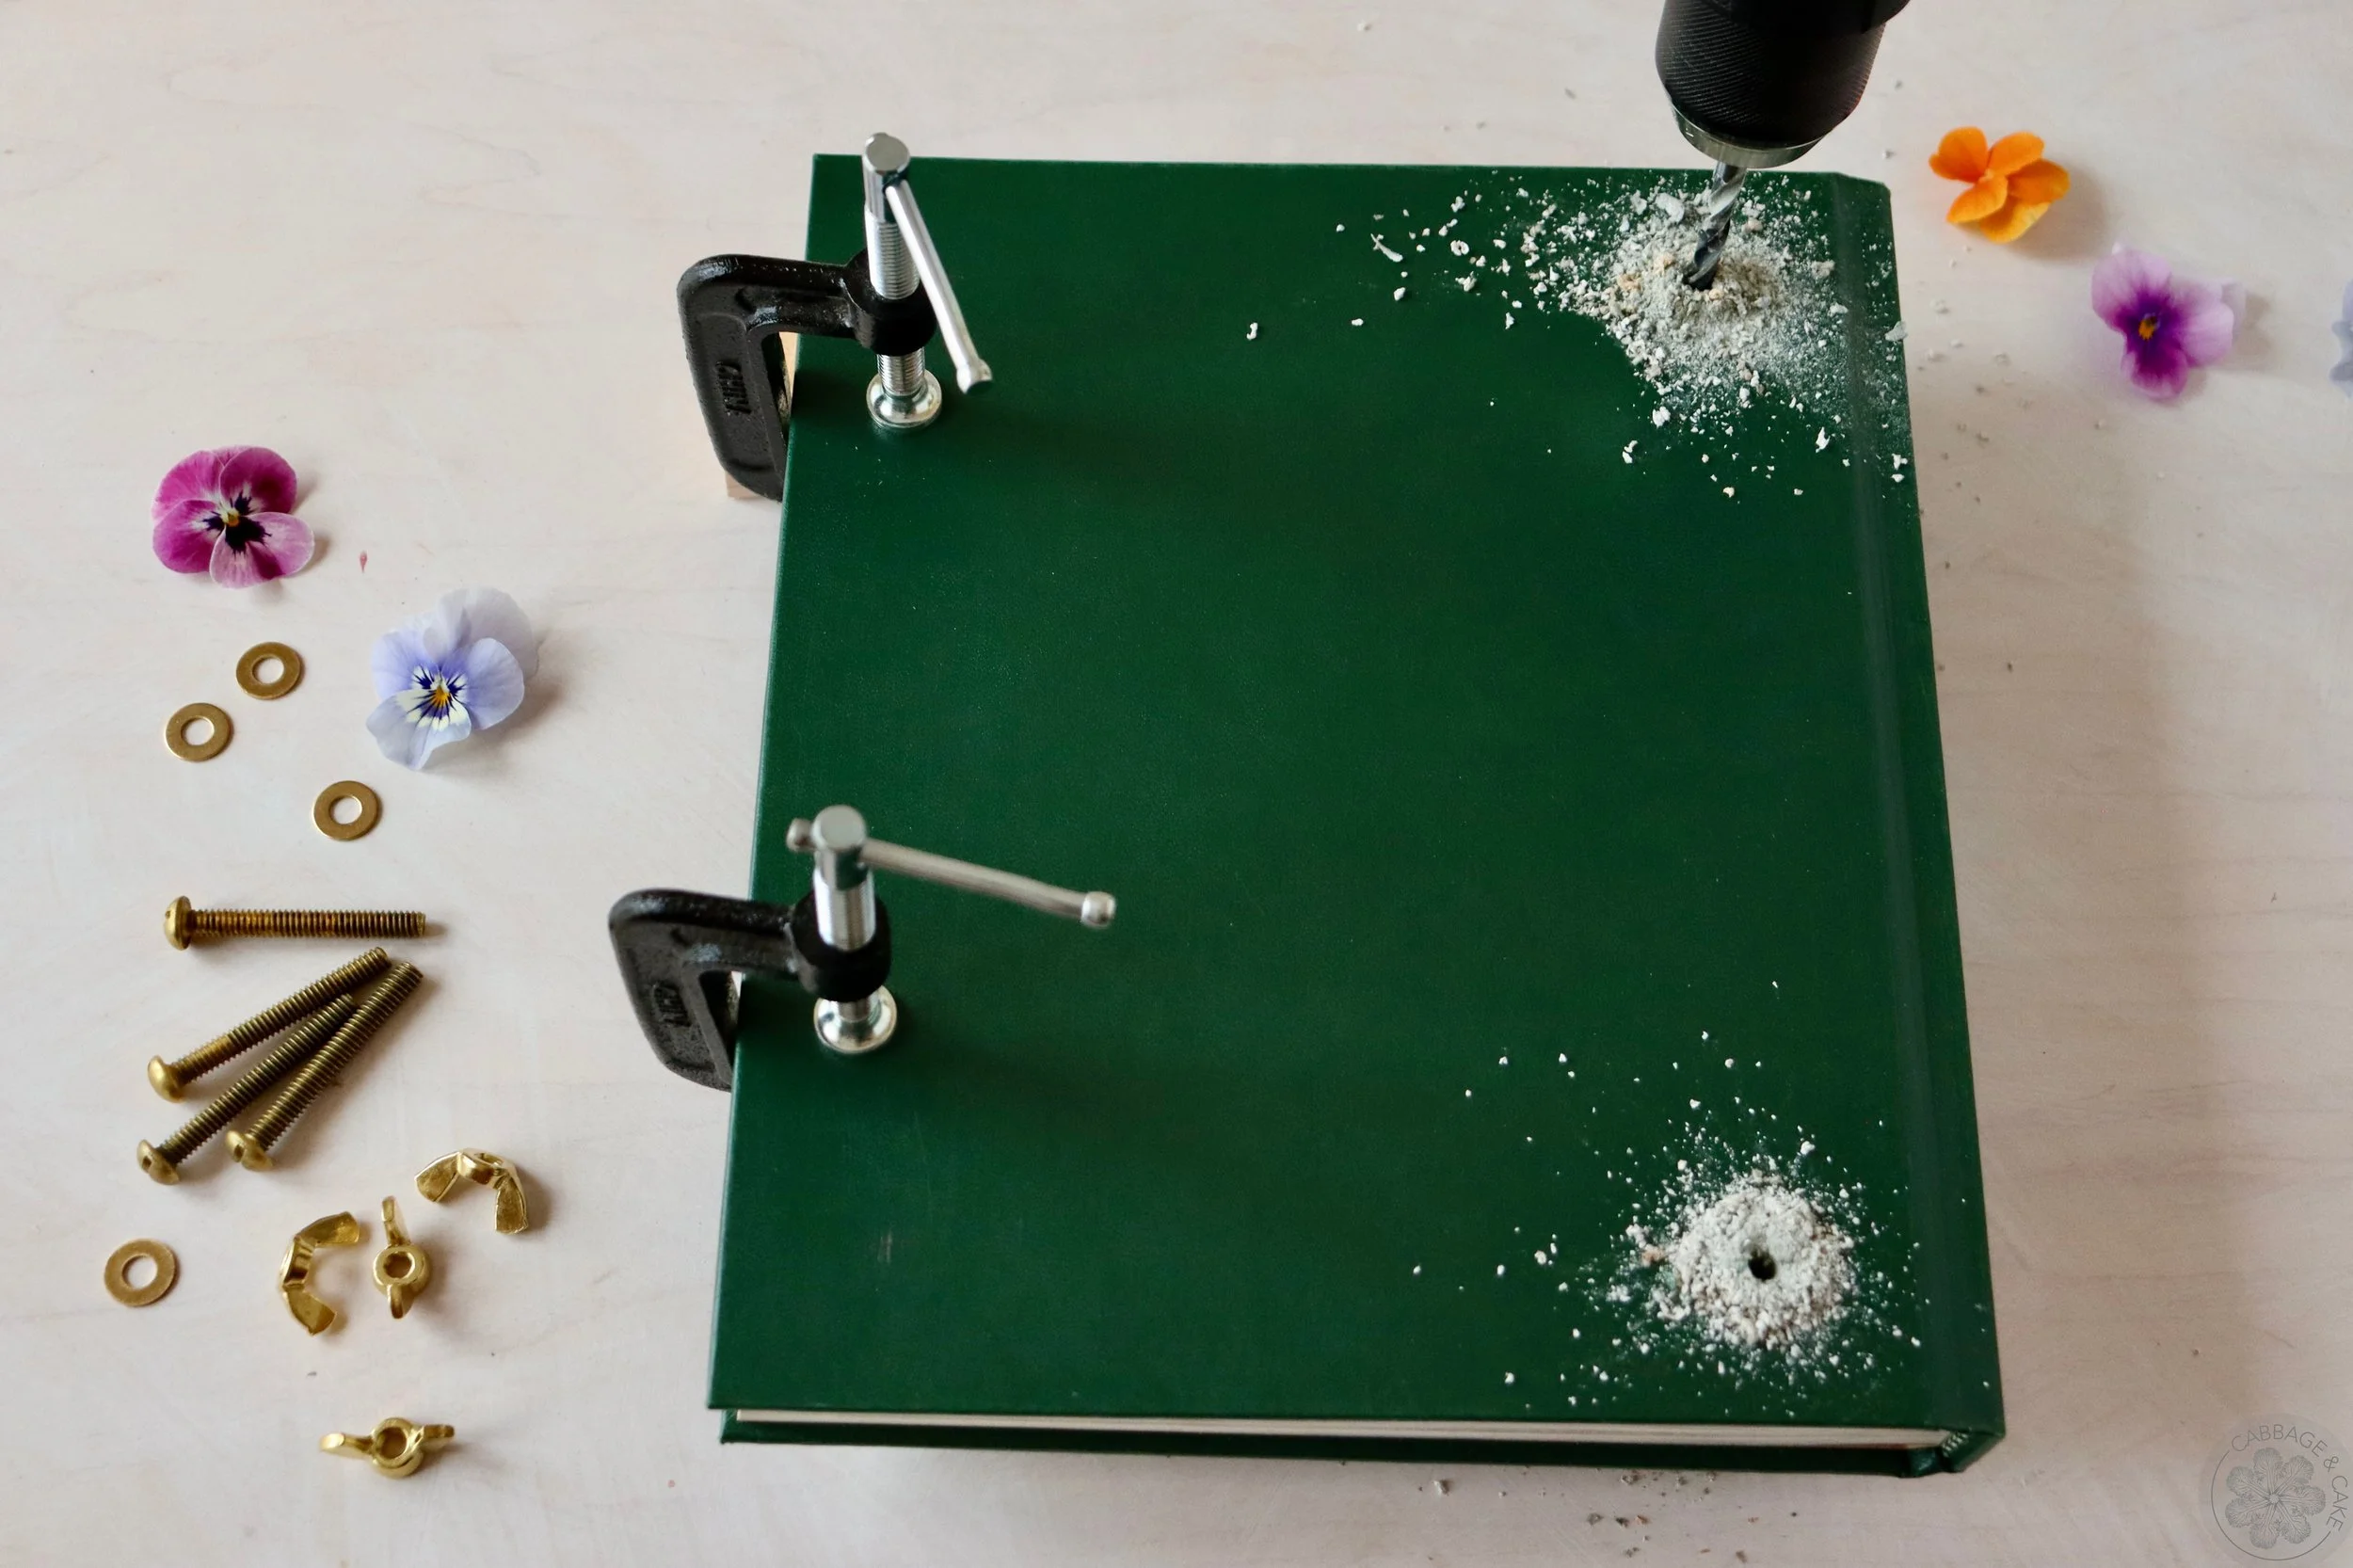
Drill your holes, using a sharp drill bit at low speed on the marked spots through all layers of your book.
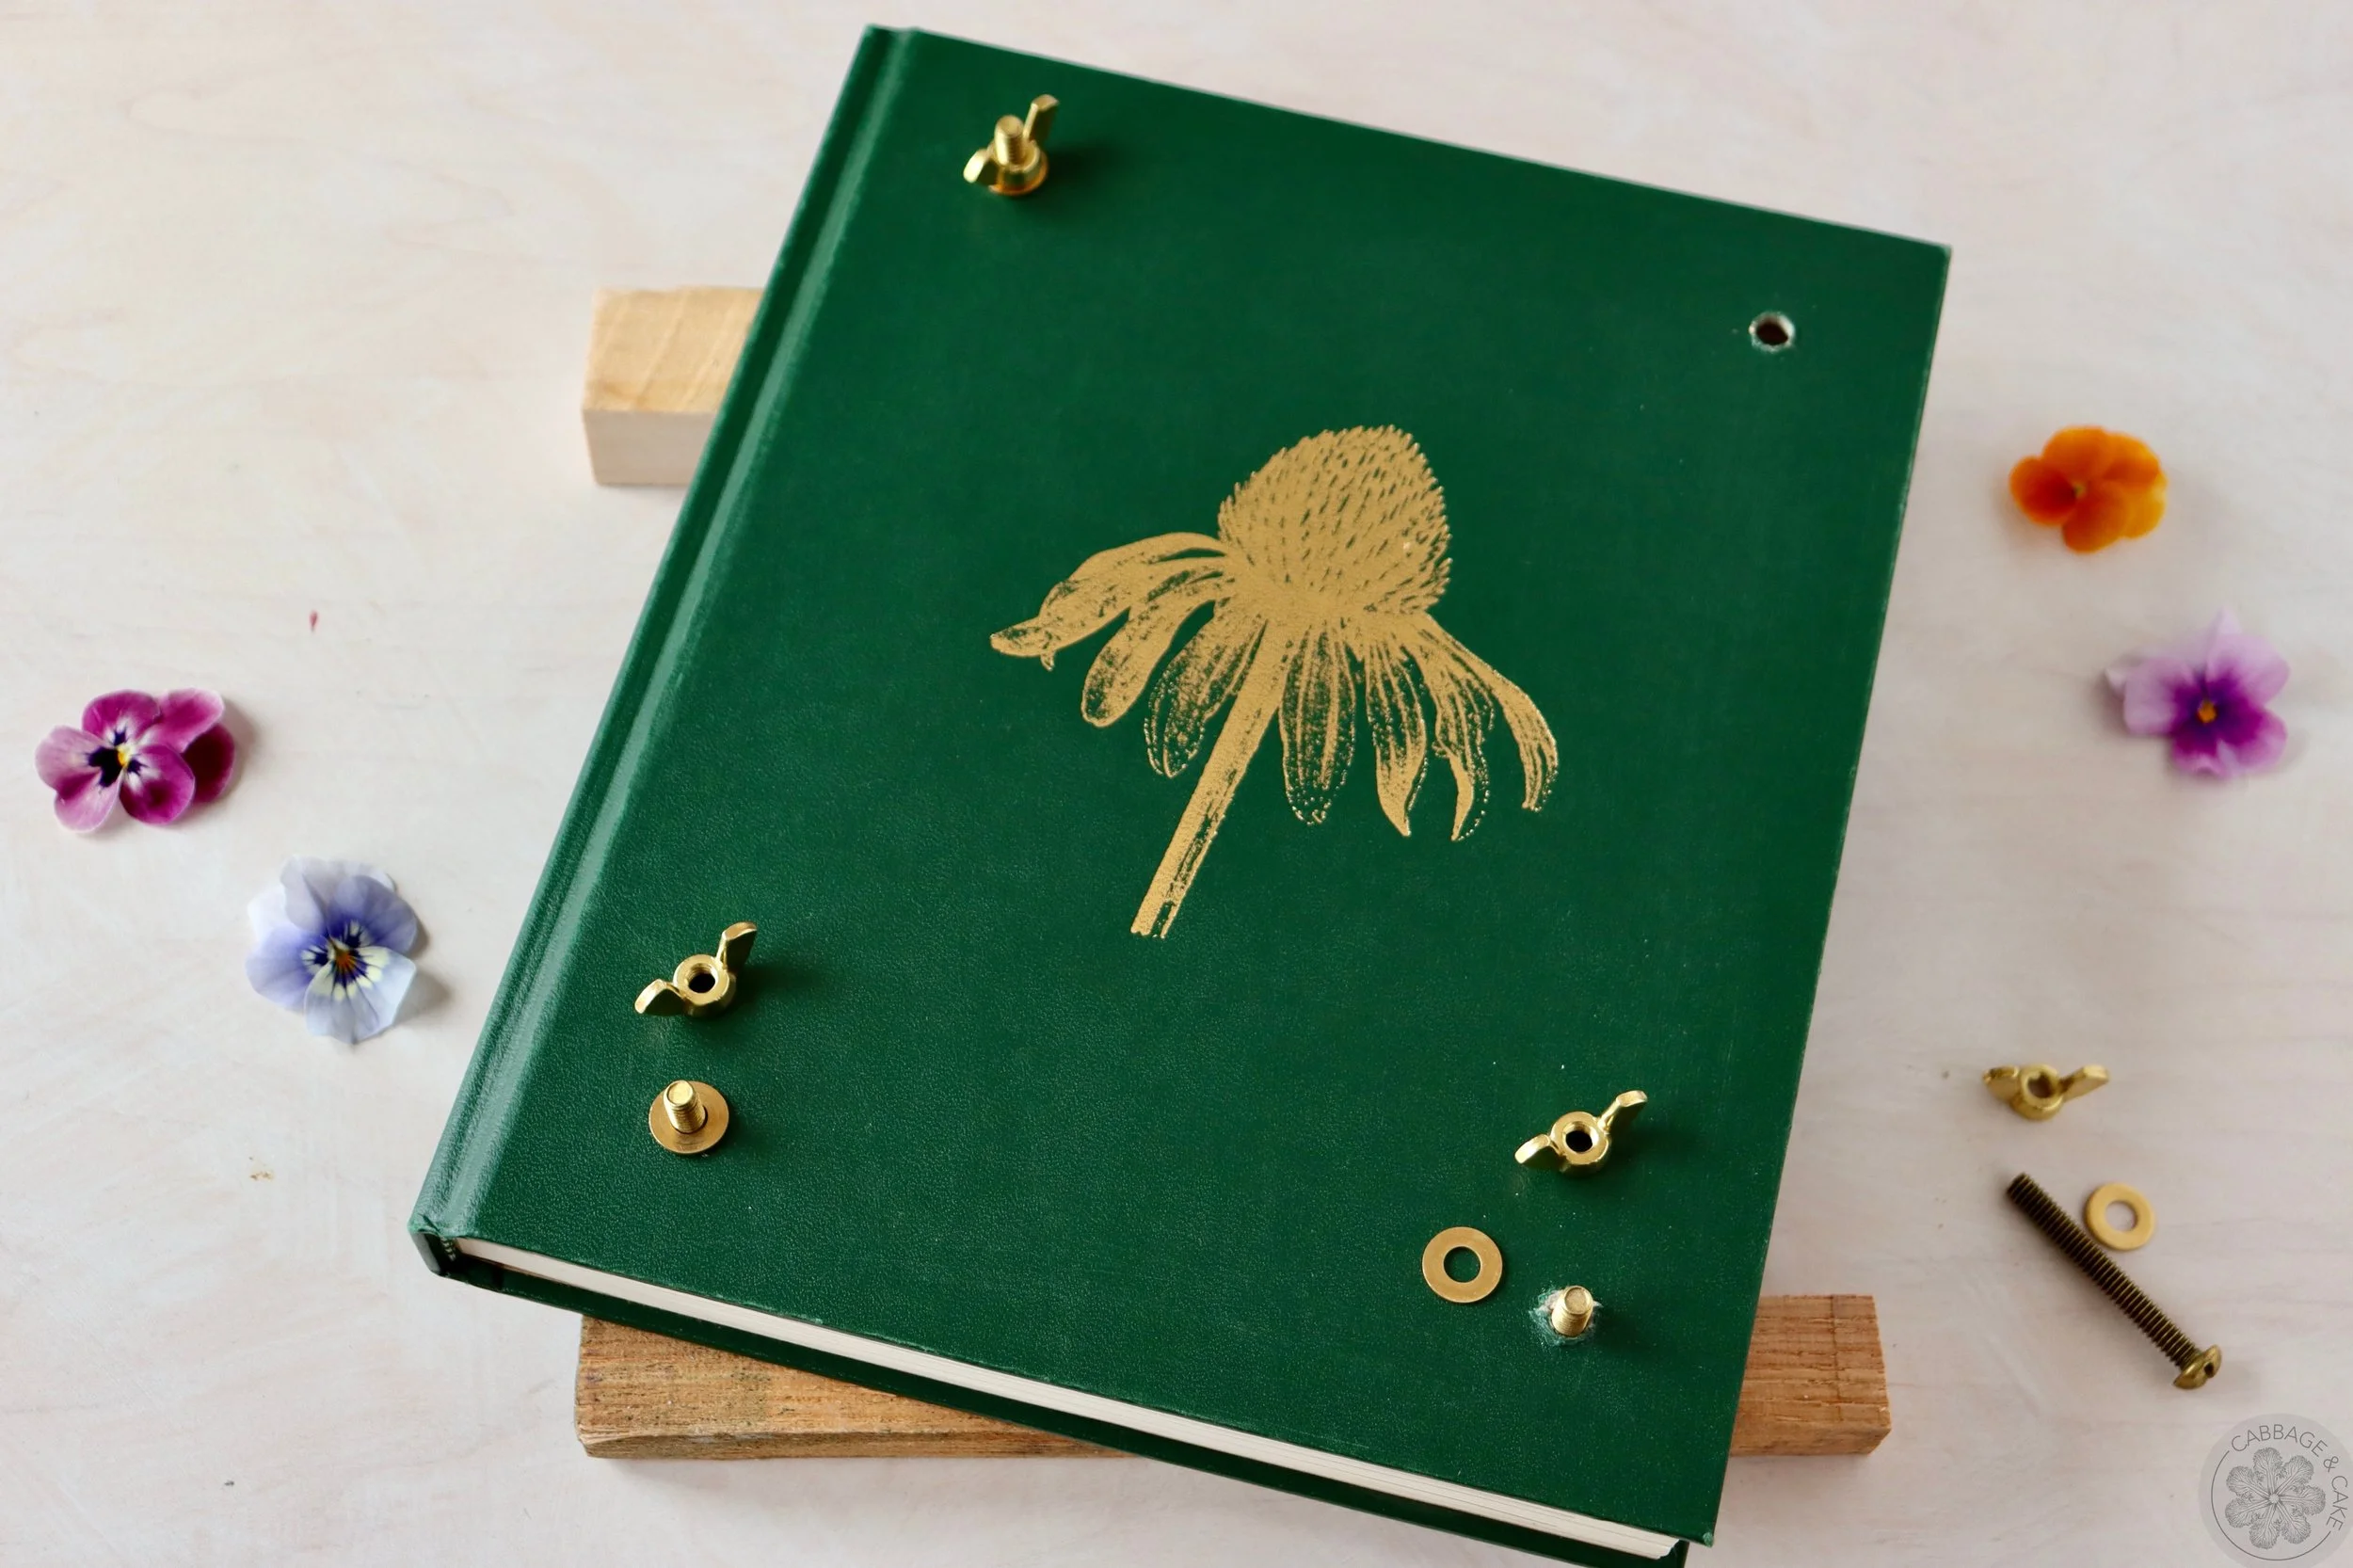
Clean up the drill holes and assemble the screws with wing nuts and washers so that they will face upwards, with the wing nuts on the front of your book press.
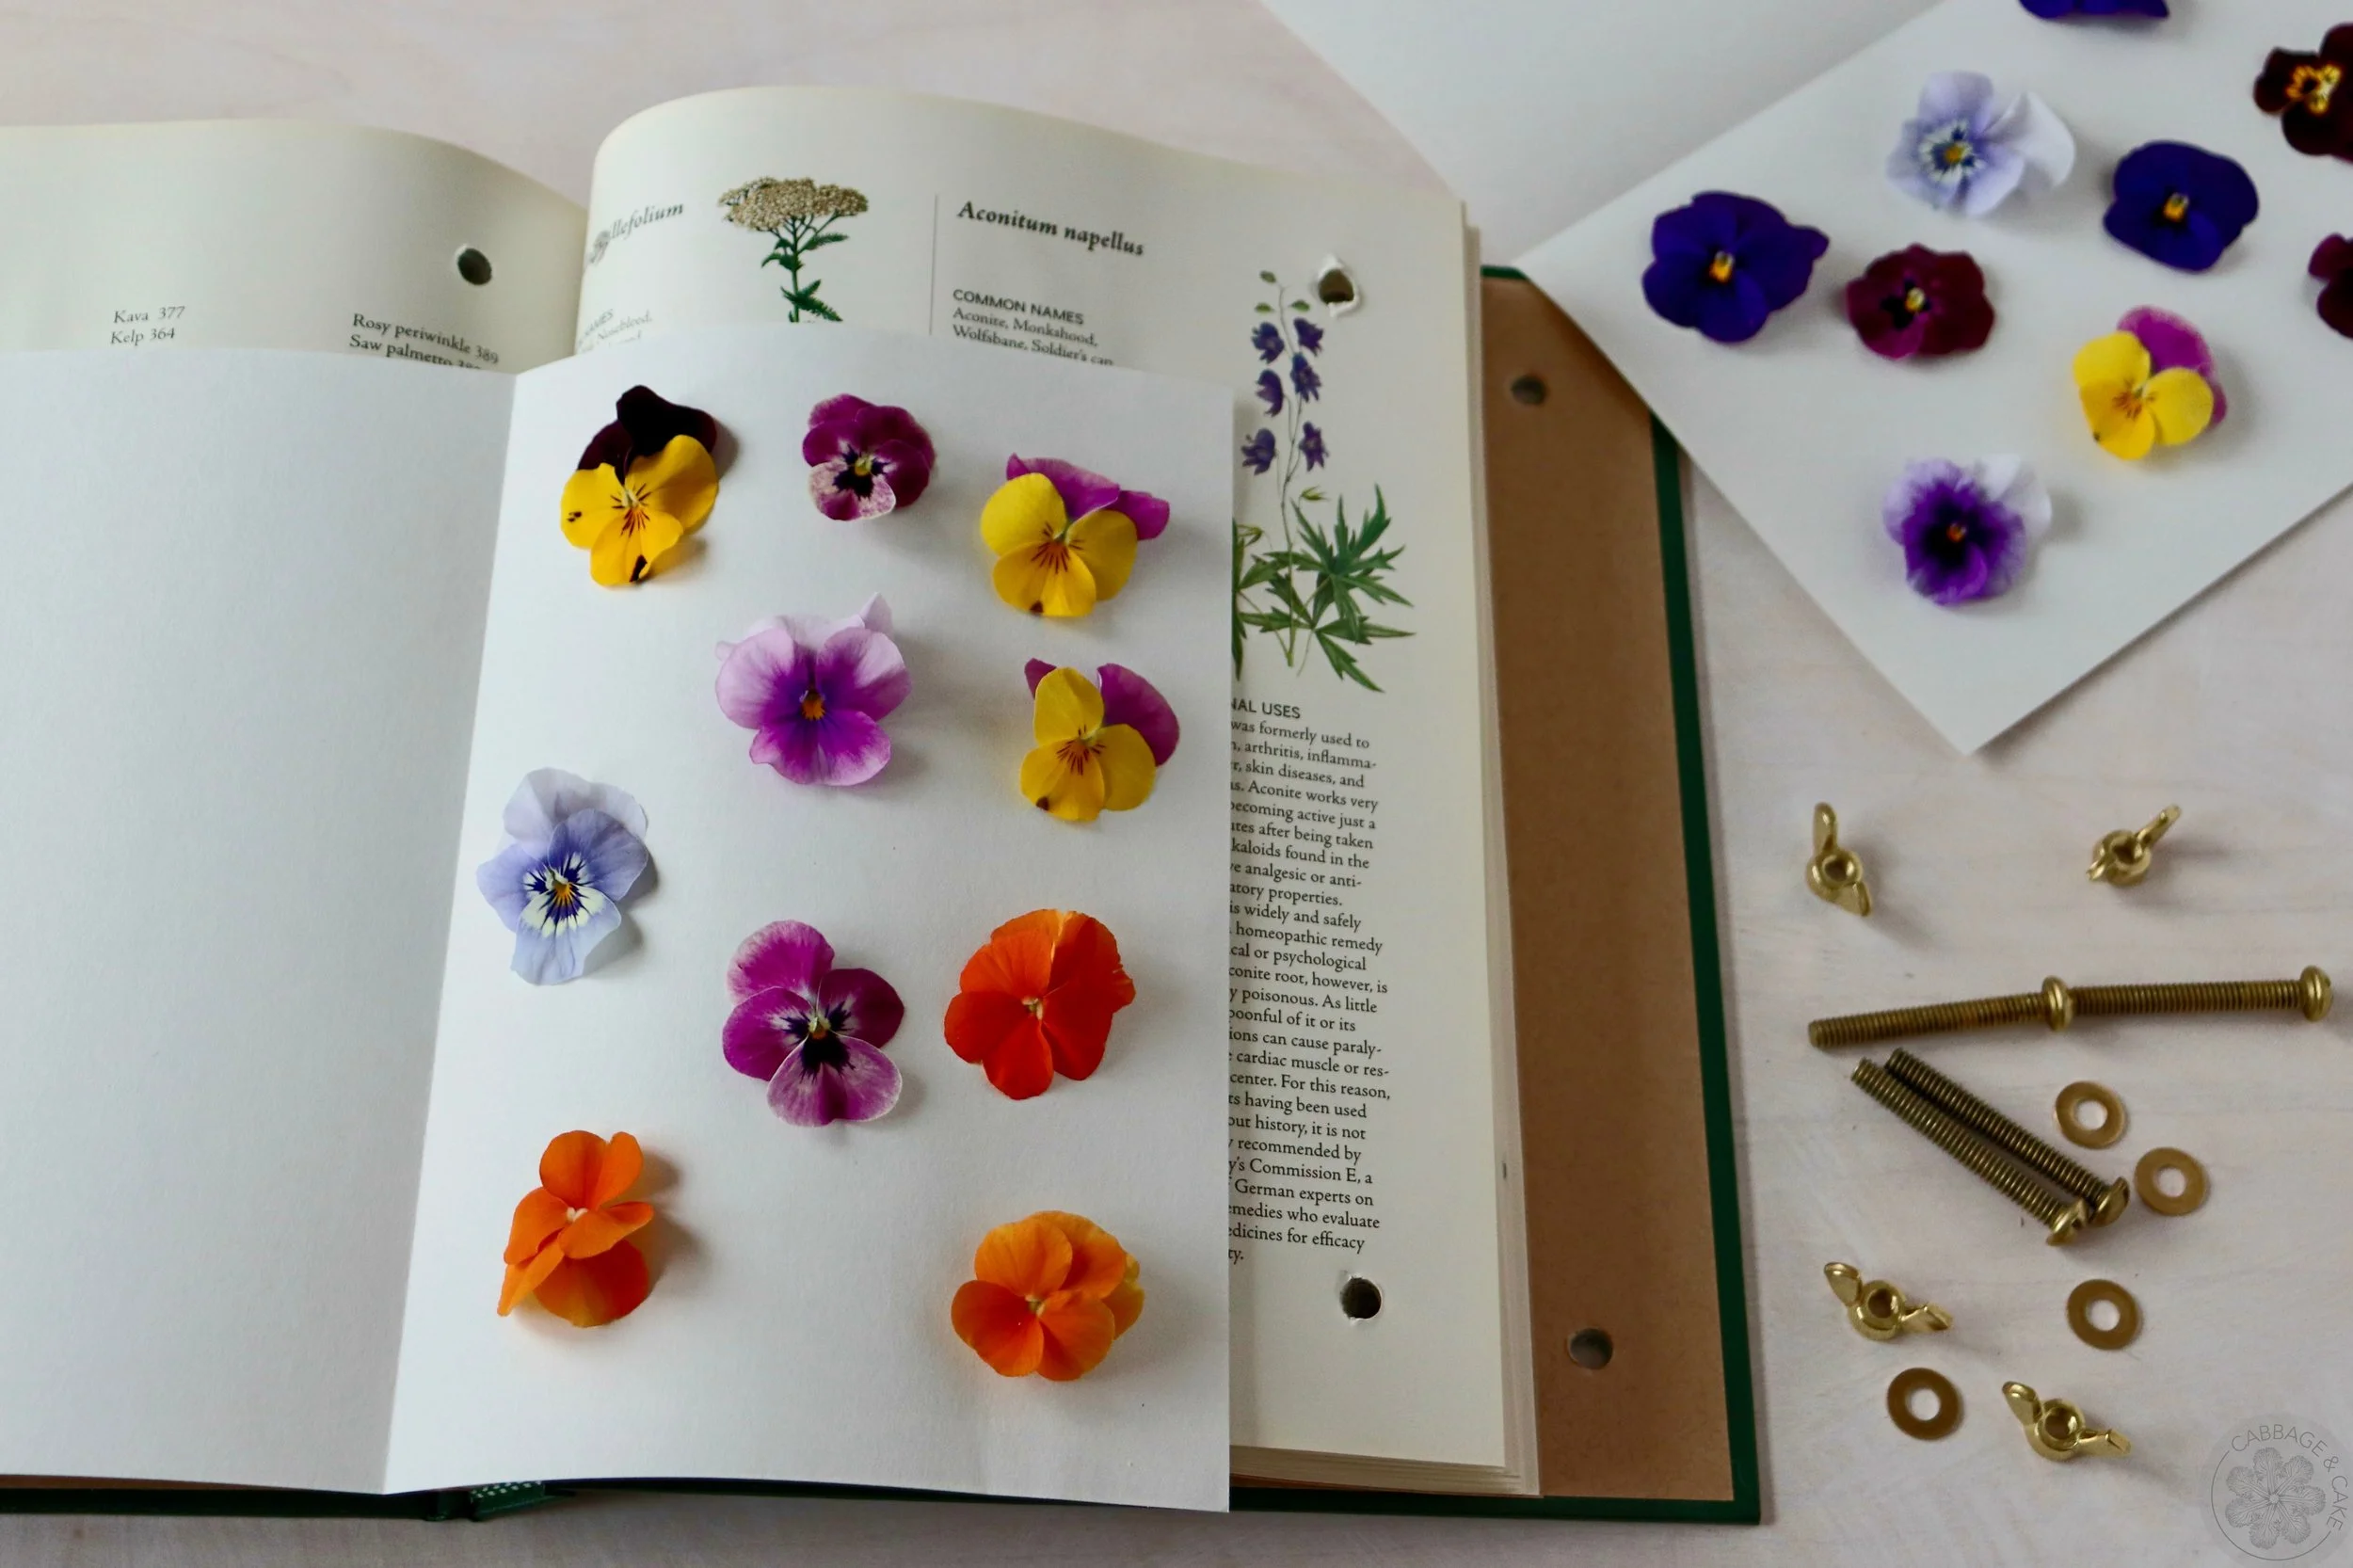
To load your flower press, add some absorbing plain paper without texture between the pages of your book flower press and your flowers and screw the wing nuts tight. This flower press works well for all smaller, thinner and delicate flowers and leaves. To press bigger and thicker flowers, you can pile more books on top to add some extra weight.
Check on your flowers after a couple of days, eventually change the plain paper to avoid too much moisture and let them in the press until they are completely dried.
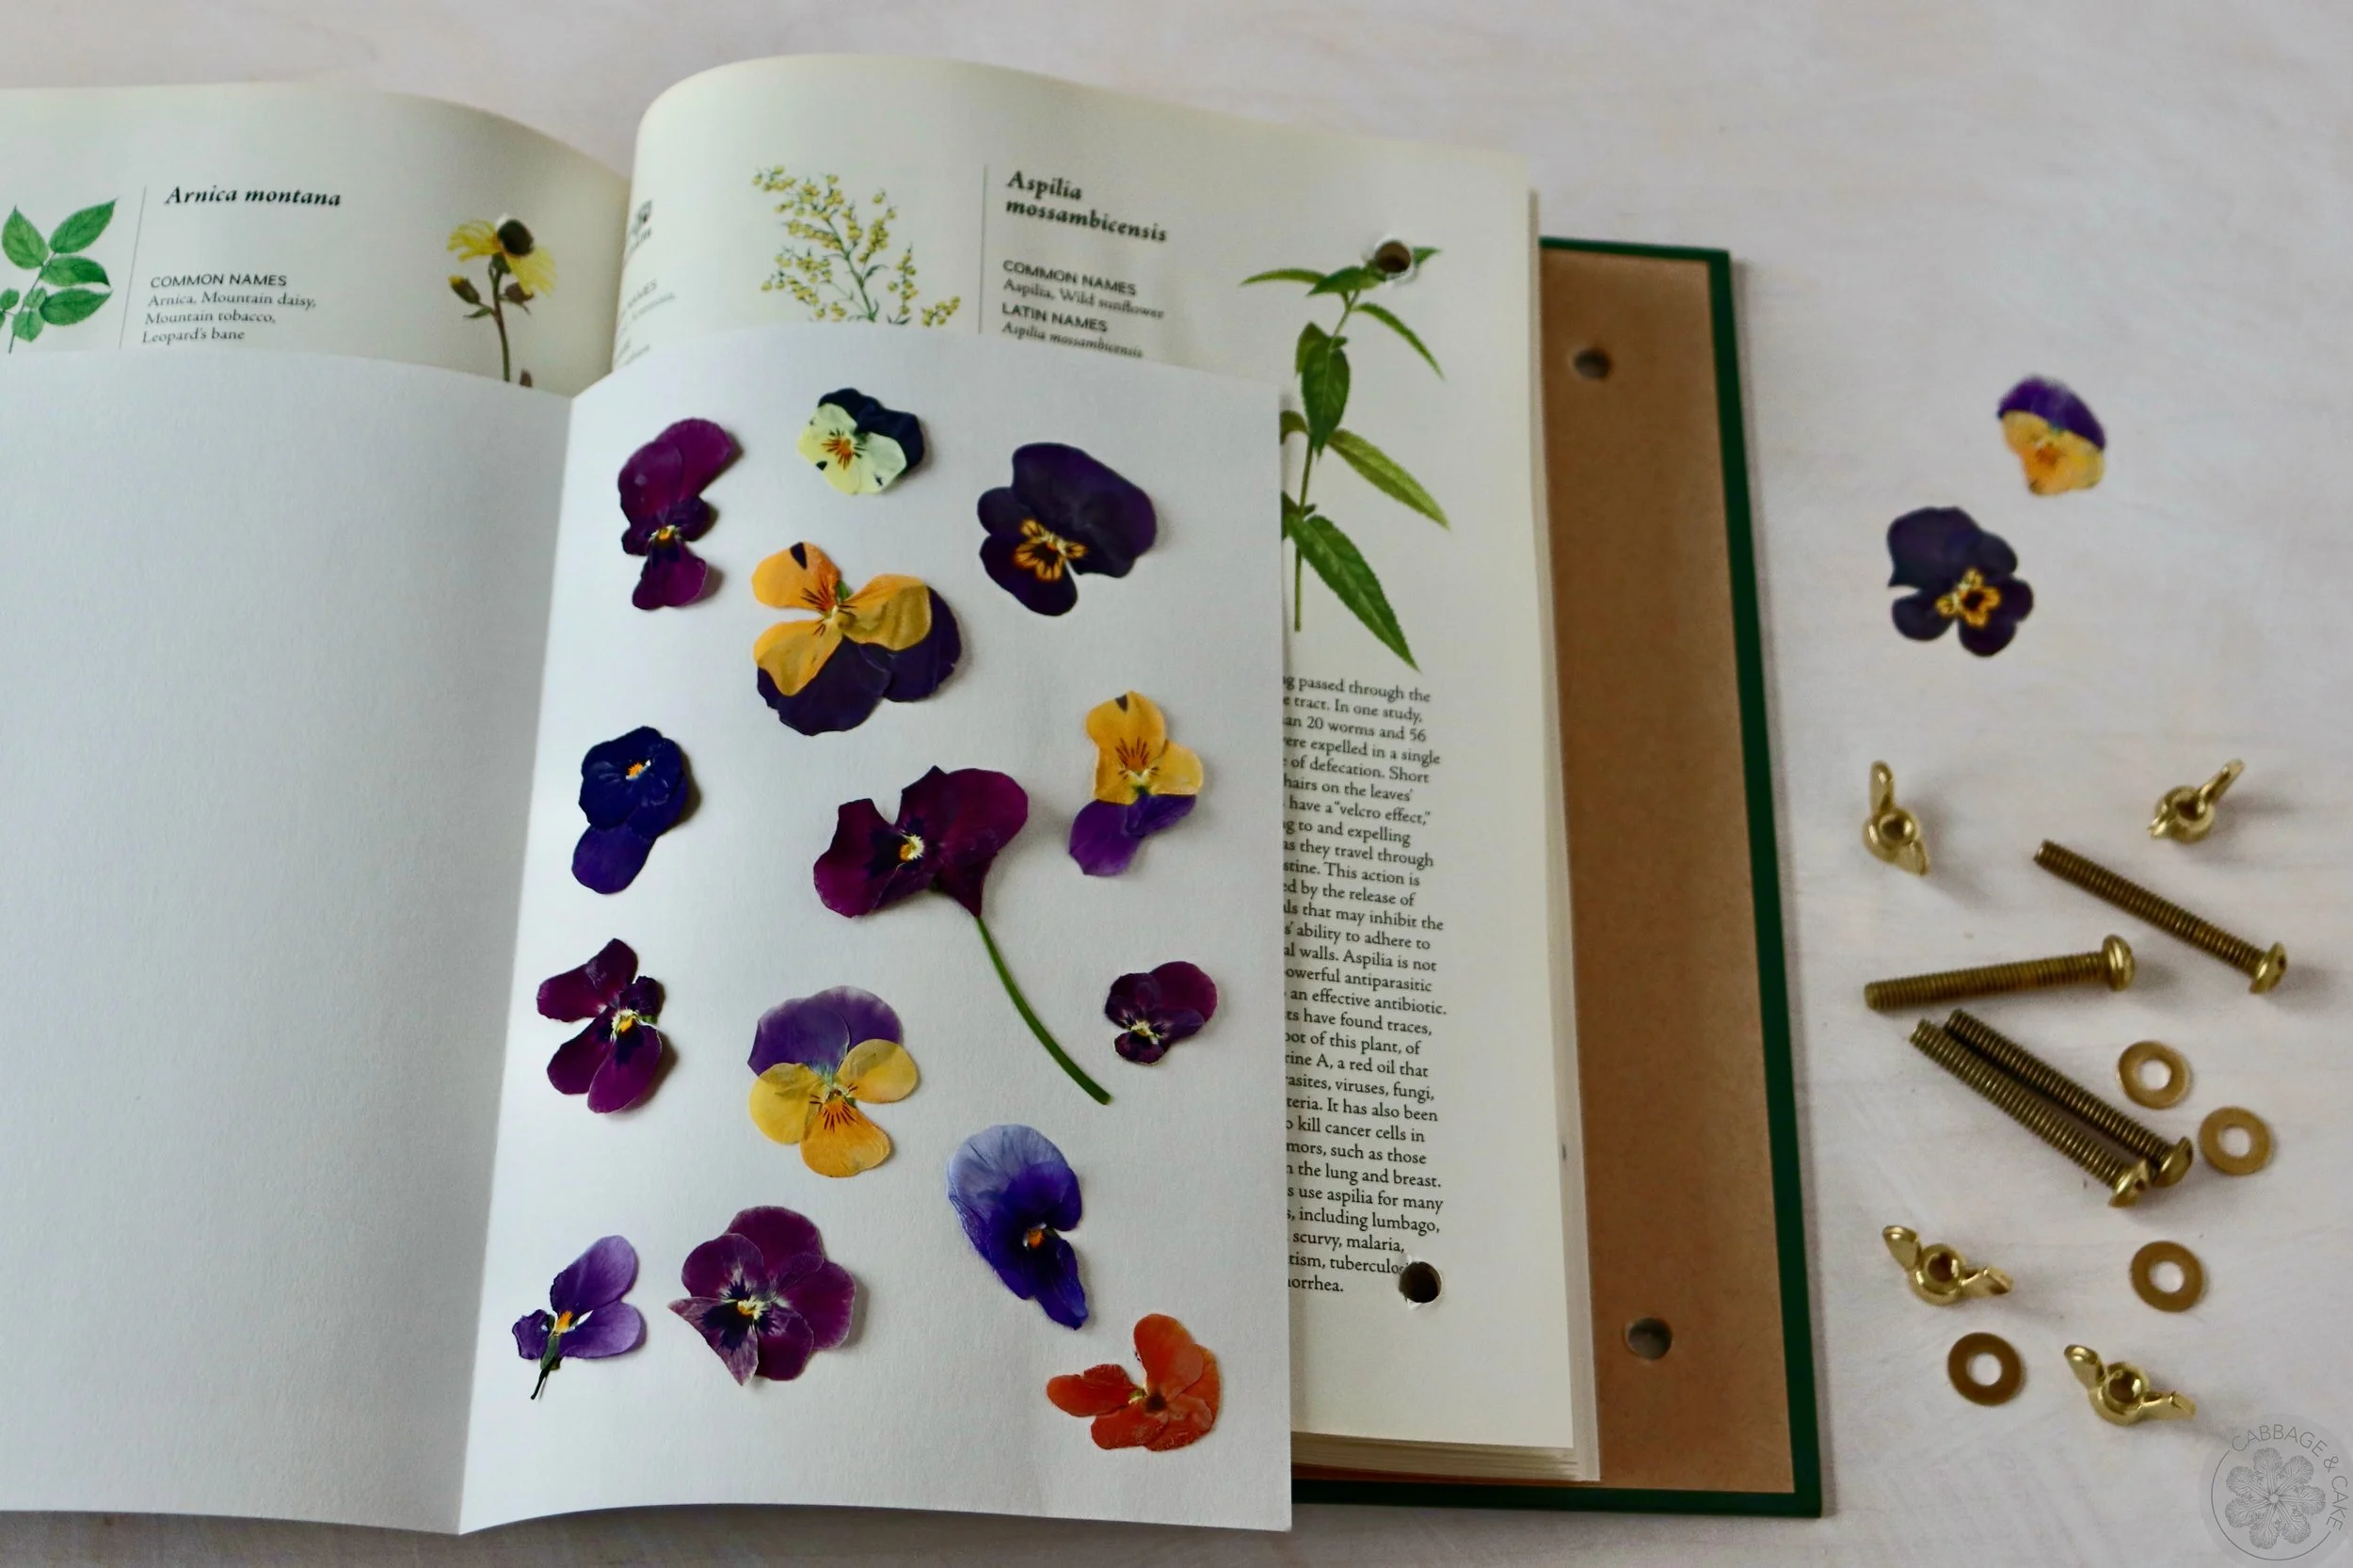
To unload your flower press, unscrew your wing nuts and gently lift out our precious flat dried flower treasures.
DIY UPCYCLED BOOK FLOWER PRESS
by Julia
There’s something nostalgic and romantic about pressing flowers in old books. All you need to make your own unique and upcycled flower press is an old hardcover book, four screws with wing nuts and washers, a drill, c-clamps and some paper.
MATERIALS
hardcover book
4 screws
4 wing nuts
4 washers
measuring tape or ruler
pencil
construction or printer paper
two pieces of waste wood (optional)
c-clamps
drill
drill bit
INSTRUCTIONS
Using a measuring tape or ruler, mark the spots on the backside of your book where you will add the four screws about an inch from each corner with a pencil.
Clamp the book tightly with two c-clamps and use two pieces of waste wood to prop the book up for drilling facing down.
Drill your holes, using a sharp drill bit at low speed on the marked spots through all layers of your book.
Clean up the drill holes and assemble the screws with wing nuts and washers so that they will face upwards, with the wing nuts on the front of your book press.
To load your flower press, add some absorbing plain paper without texture between the pages of your book flower press and your flowers and screw the wing nuts tight. This flower press works well for all smaller, thinner and delicate flowers and leaves. To press bigger and thicker flowers, you can pile more books on top to add some extra weight. Check on your flowers after a couple of days, eventually change the plain paper to avoid too much moisture and let them in the press until they are completely dried.
To unload your flower press, unscrew your wing nuts and gently lift out our precious flat dried flower treasures.