

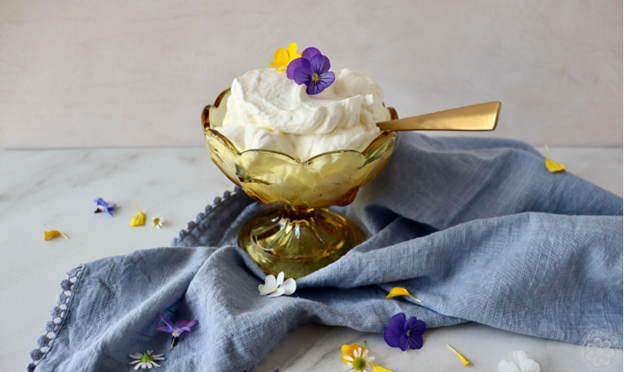
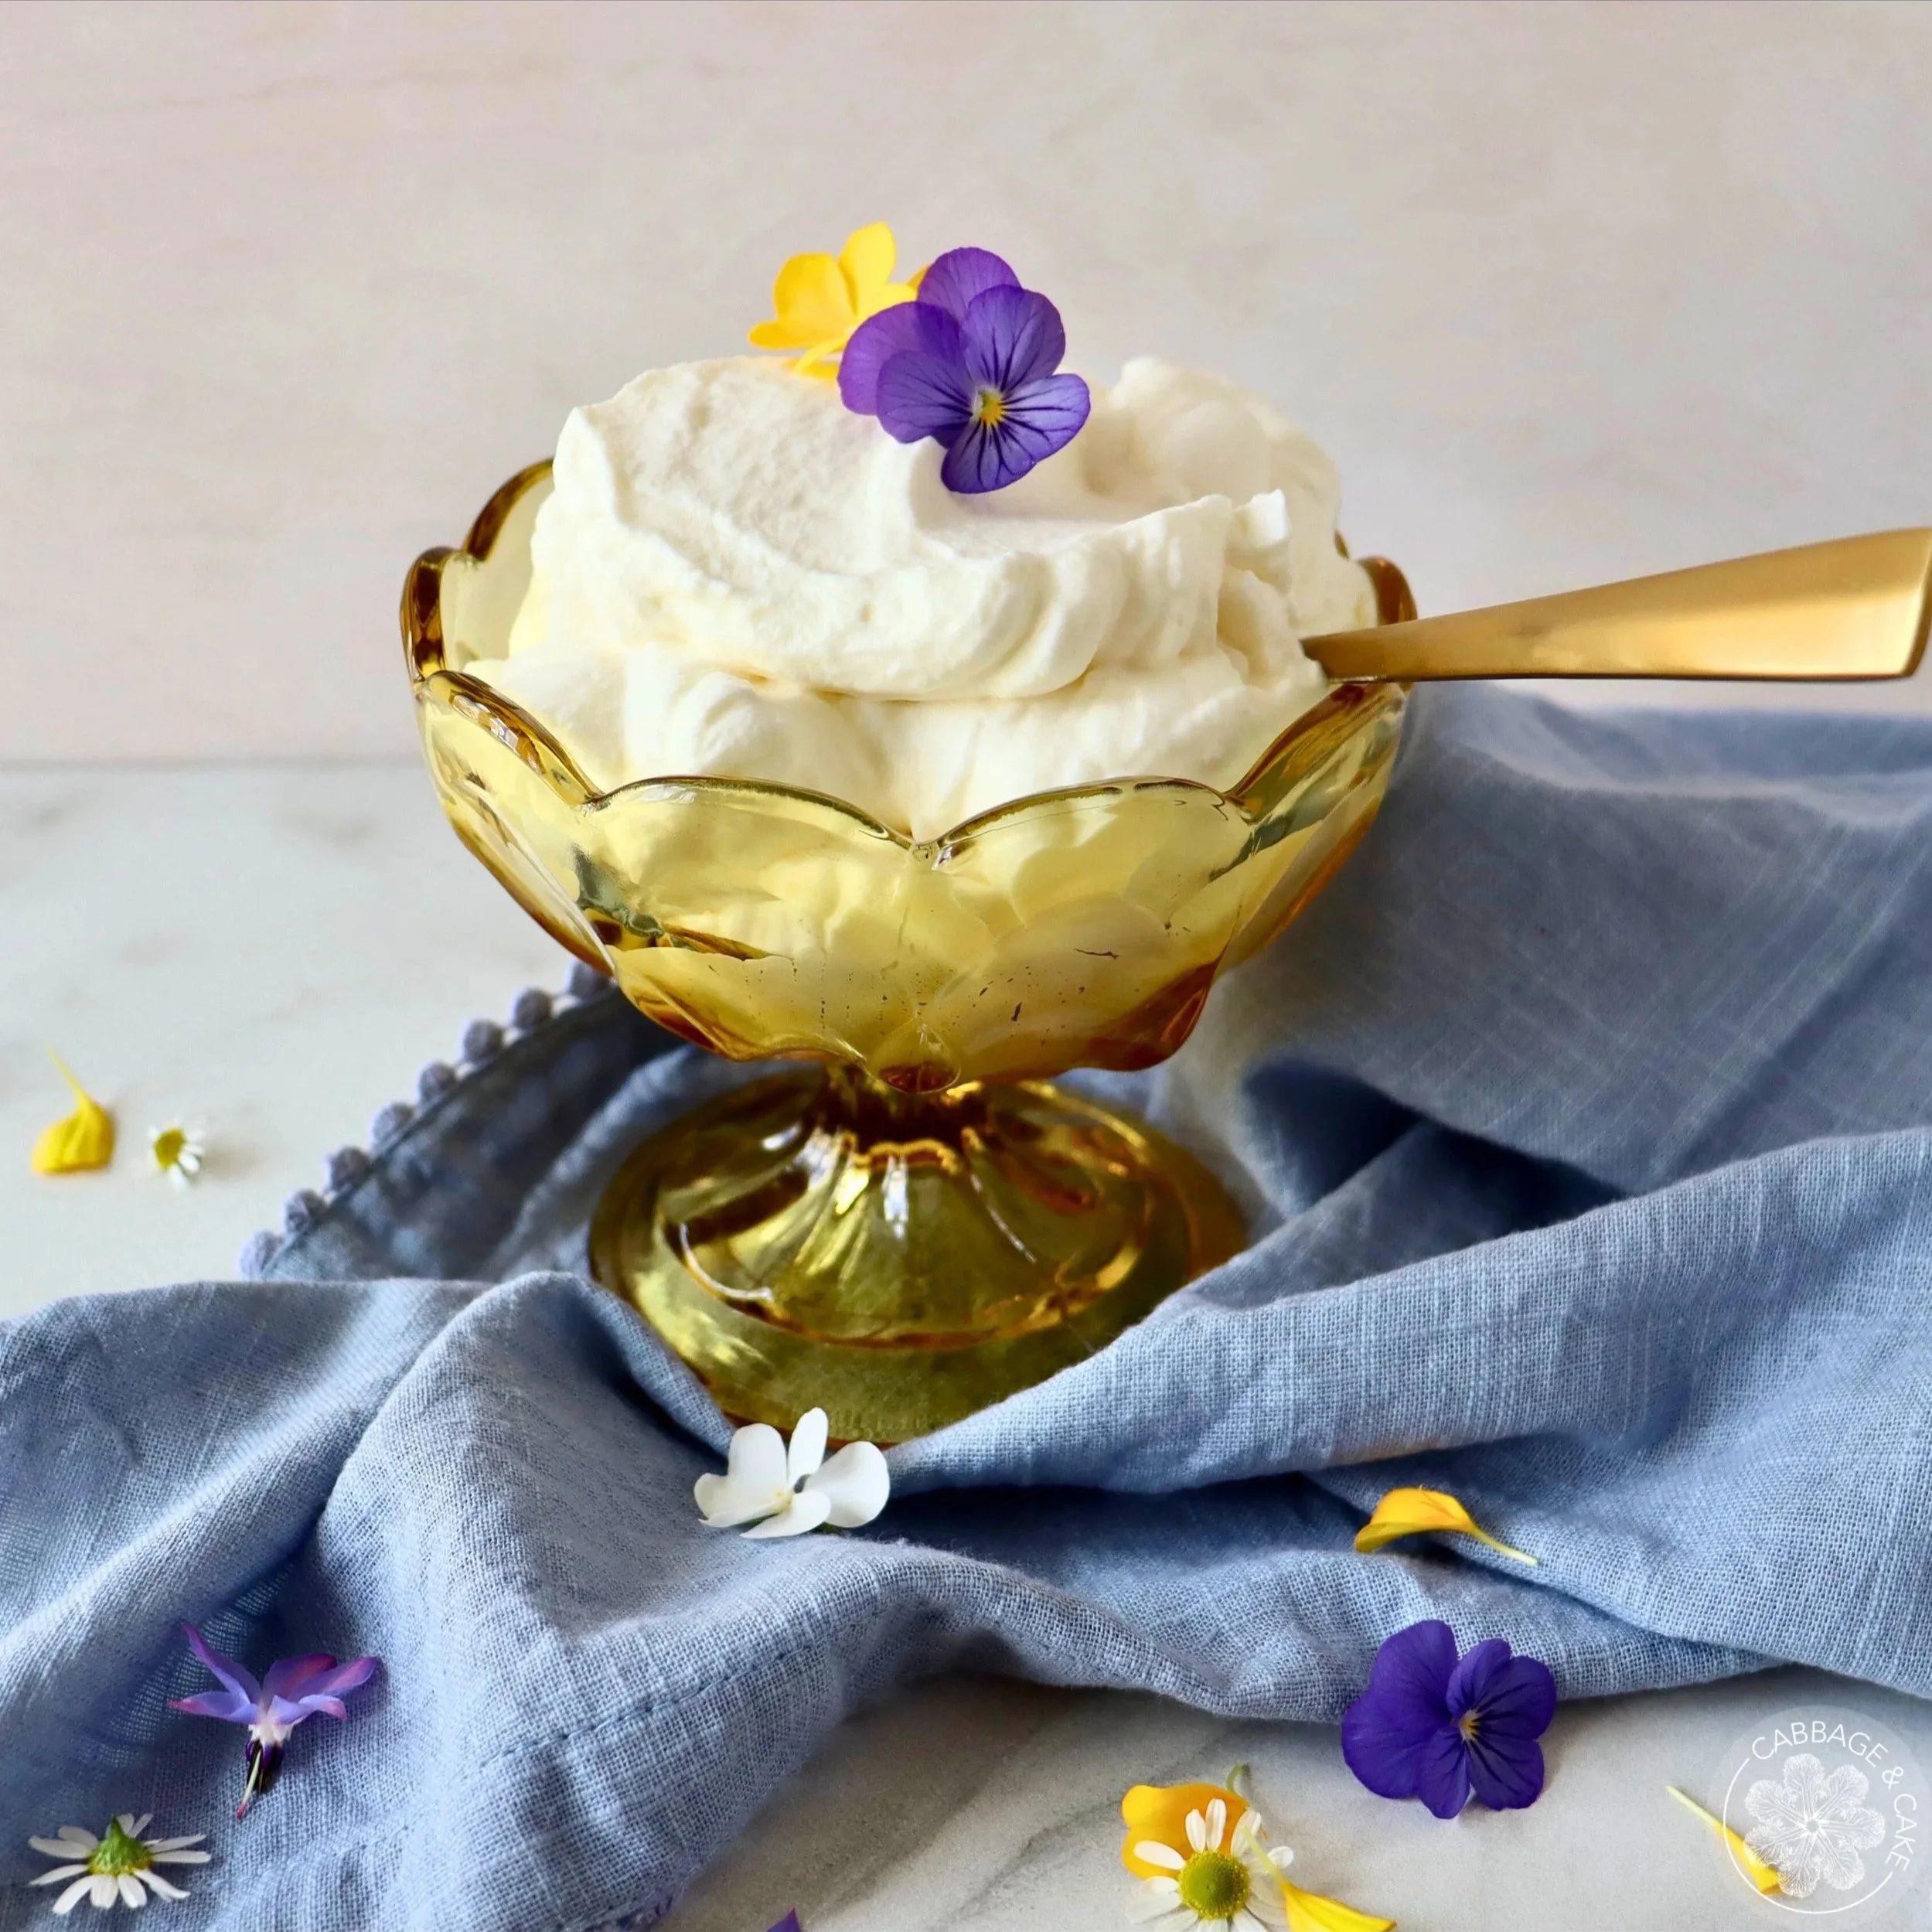
HOMEMADE WHIPPED CREAM
Growing up in Germany homemade whipped cream was a given with almost every cake, either as a generous dollop on top of every piece or as part of the cake itself.
One of my fondest childhood memories is sitting on the kitchen countertop, licking whipped cream off the hand mixer. Oh, the delight in little things! Now my kids love to do the same thing, and it fills me with so much gratitude and joy.
When I came to Canada and made homemade whipped cream a lot of times people would ask me with surprise if this was homemade whipped cream. Only then I realized that people don’t necessarily know how to make this easy, light and heavenly creamy addition to cake without any additives or preservatives at all.
TIPS FOR THE PERFECT HOMEMADE WHIPPED CREAM

Keep your cream very chilled until you use it.
Make sure your bowl is clean and cold. You can even put it in the fridge or freezer for twenty minutes to ensure its really nice and cold.
Start by whipping your cream on low to medium speed at first or cover it with a kitchen towel to avoid sprinkling your kitchen and yourself in cream.
If you have a recipe that asks for whipped cream be aware that cream doubles in volume once its whipped. If you need 2 cups of whipped cream for example, you will have to whip 1 cup of heavy whipping cream.
Never leave your cream unattended to avoid overwhipping! If you are not sure at which stage your cream is, stop your mixer and test the cream if it has the desired consistency before it’s too late.
In case you do overmix it, it will look grainy and deflated because fat and liquids have started to separate into butter and buttermilk. You can try saving it by folding in some extra spoons of cold cream and placing it in the fridge. In case this doesn’t help, you could always keep mixing it and make butter out of it.
Keep your homemade whipped cream chilled and covered until you serve it for best flavour and texture and enjoy it the same day you made it. It will deflate overtime and become runny again within 1-2 days in the fridge.
INGREDIENTS
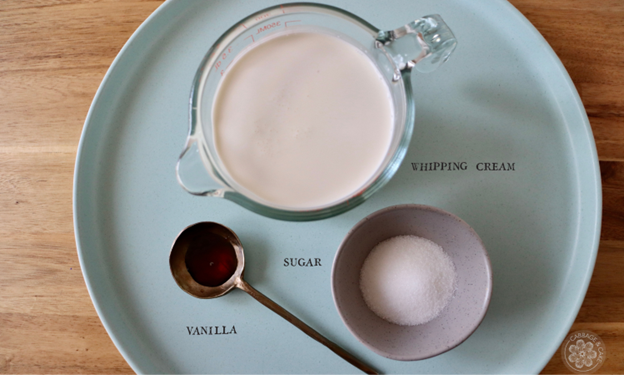
360 ml/ 1 ½ cups heavy whipping cream
1-2 tbsp granulated sugar (optional)
½ tsp pure Vanilla extract (optional)
The only real ingredient is heavy whipping cream, since sugar and vanilla are optional. The fat content of your cream should at least be 35% otherwise you won’t be able to whip it. Trust me I’ve tried when I first came to Canada and didn’t realize I had the “wrong” type of cream;)
As an addition to a 10” inch cake I like to use 1 ½ cups/ 360 ml of heavy whipping cream, 1-2 tbsp of granulated sugar and ½ tsp of pure Vanilla extract or Vanilla sugar.
If you want to use Vanilla make sure to get pure Vanilla extract without artificial ingredients and additives. The only two ingredients should be vanilla beans and alcohol.
I like to use granulated sugar, but you can substitute with icing sugar and add more if you like it sweeter, depending on the dessert or hot drink you would like to use it for.
If you like to experiment with different flavours in your cream, you could try and add Maple syrup, vanilla, cinnamon or cardamom.
TOOLS YOU WILL NEED
Hand mixer and bowl or stand mixer
Rubber spatula
INSTRUCTIONS
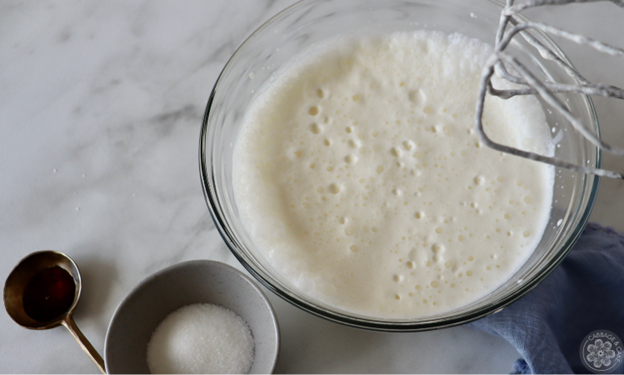
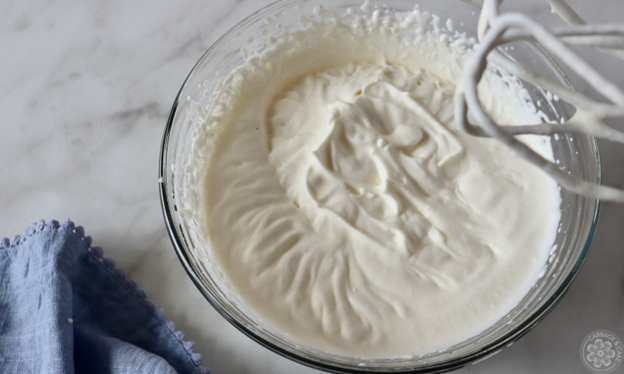
In the clean and cold bowl of your stand mixer fitted with the whisk attachment, add chilled, heavy whipping cream on low-medium speed for 1-2 minutes until frothy and bubbly.
Add sugar and Vanilla extract and beat on medium-high speed 1-2 more minutes until soft peaks form.
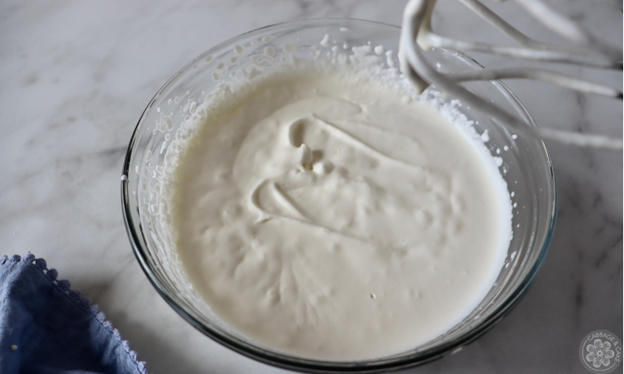
Soft peaks mean that the cream forms soft, droopy peaks on the whisk when lifted. It looks like melting ice cream and is perfect for folding into desserts with soft and fluffy consistency.
If you keep beating it will turn to medium peaks. When the whisk is lifted it will hold peaks that bend over at the end. The cream has more swirls and will hold its shape better. This is the perfect stage for your whipped cream when serving with cake.
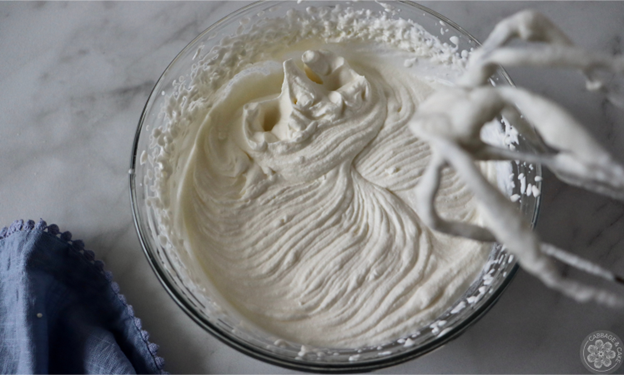
Beat a little longer and your cream will get a really swirly texture and hold stiff peaks that stand straight up when the whisk is lifted out of the bowl. This texture is great for filling cake or piping cream with a piping bag.
And if you continue whisking now, you will eventually make butter;)
HOMEMADE WHIPPED CREAM
by Julia
Make this easy, light and heavenly creamy addition to cake without any
additives or preservatives at all! Homemade whipped cream is a great addition to
a piece of cake, pie, ice cream, coffee or hot chocolate.
PREP: 10 minutes YIELD: 3 cups
INGREDIENTS
360 ml/ 1 ½ cups heavy whipping cream
1-2 tbsp granulated sugar (optional)
½ tsp pure Vanilla extract (optional)
INSTRUCTIONS
In the clean and cold bowl of your stand mixer fitted with the whisk attachment, add chilled, heavy whipping cream on low-medium speed for 1-2 minutes until frothy and bubbly.
Add sugar and Vanilla extract and beat on medium-high speed 1-2 more minutes until soft peaks form. Soft peaks mean that the cream forms soft, droopy peaks on the whisk when lifted. It looks like melting ice cream and is perfect for folding into desserts with soft and fluffy consistency.
If you keep beating it will turn to medium peaks. When the whisk is lifted it will hold peaks that bend over at the end. The cream has more swirls and will hold its shape better. This is the perfect stage for your whipped cream when serving with cake.
Beat a little longer and your cream will get a really swirly texture and hold stiff peaks that stand straight up when the whisk is lifted out of the bowl. This texture is great for filling cake or piping cream with a piping bag.
And if you continue whisking now, you will eventually make butter;)