

HANGING ORCHID KOKEDAMA
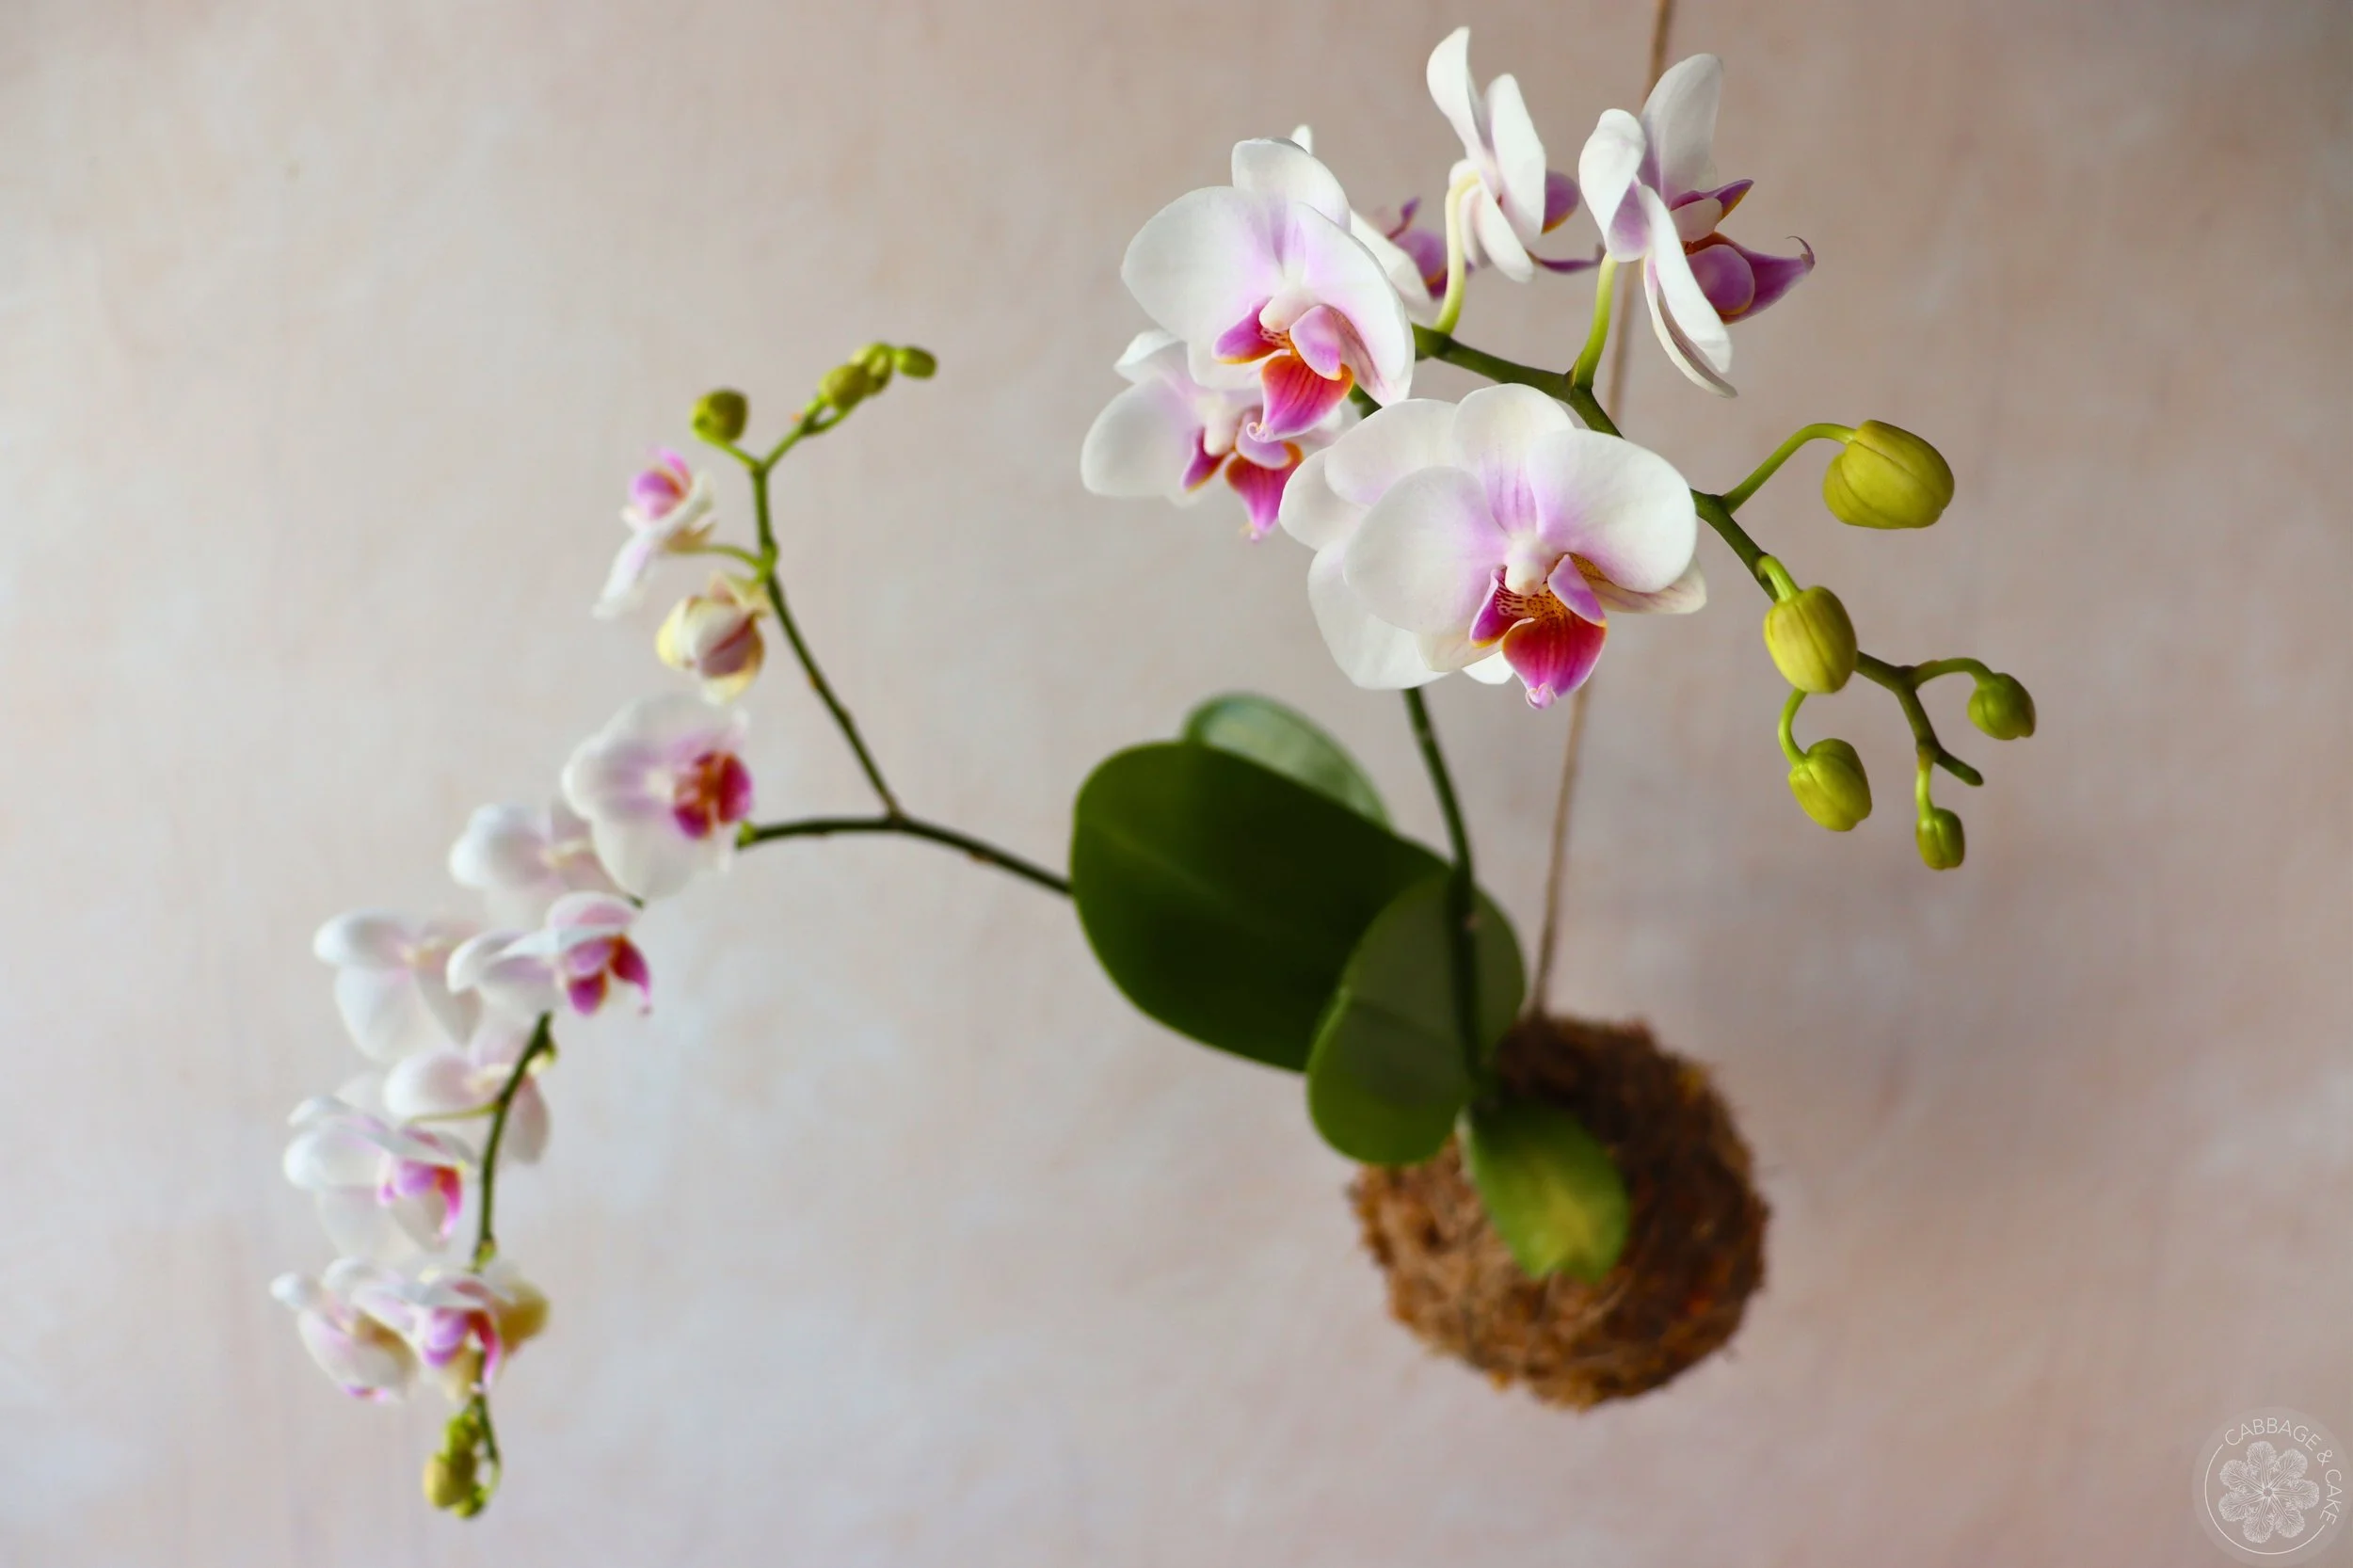
Kokedama is a Japanese style of gardening and translates to “moss ball.” Instead of potting plants they are traditionally covered in a ball of soil, wrapped in a layer of moss and secured with string to form a sphere. They can be displayed on a decorative plate, saucer or terrarium or hung up for a stunning floating effect.
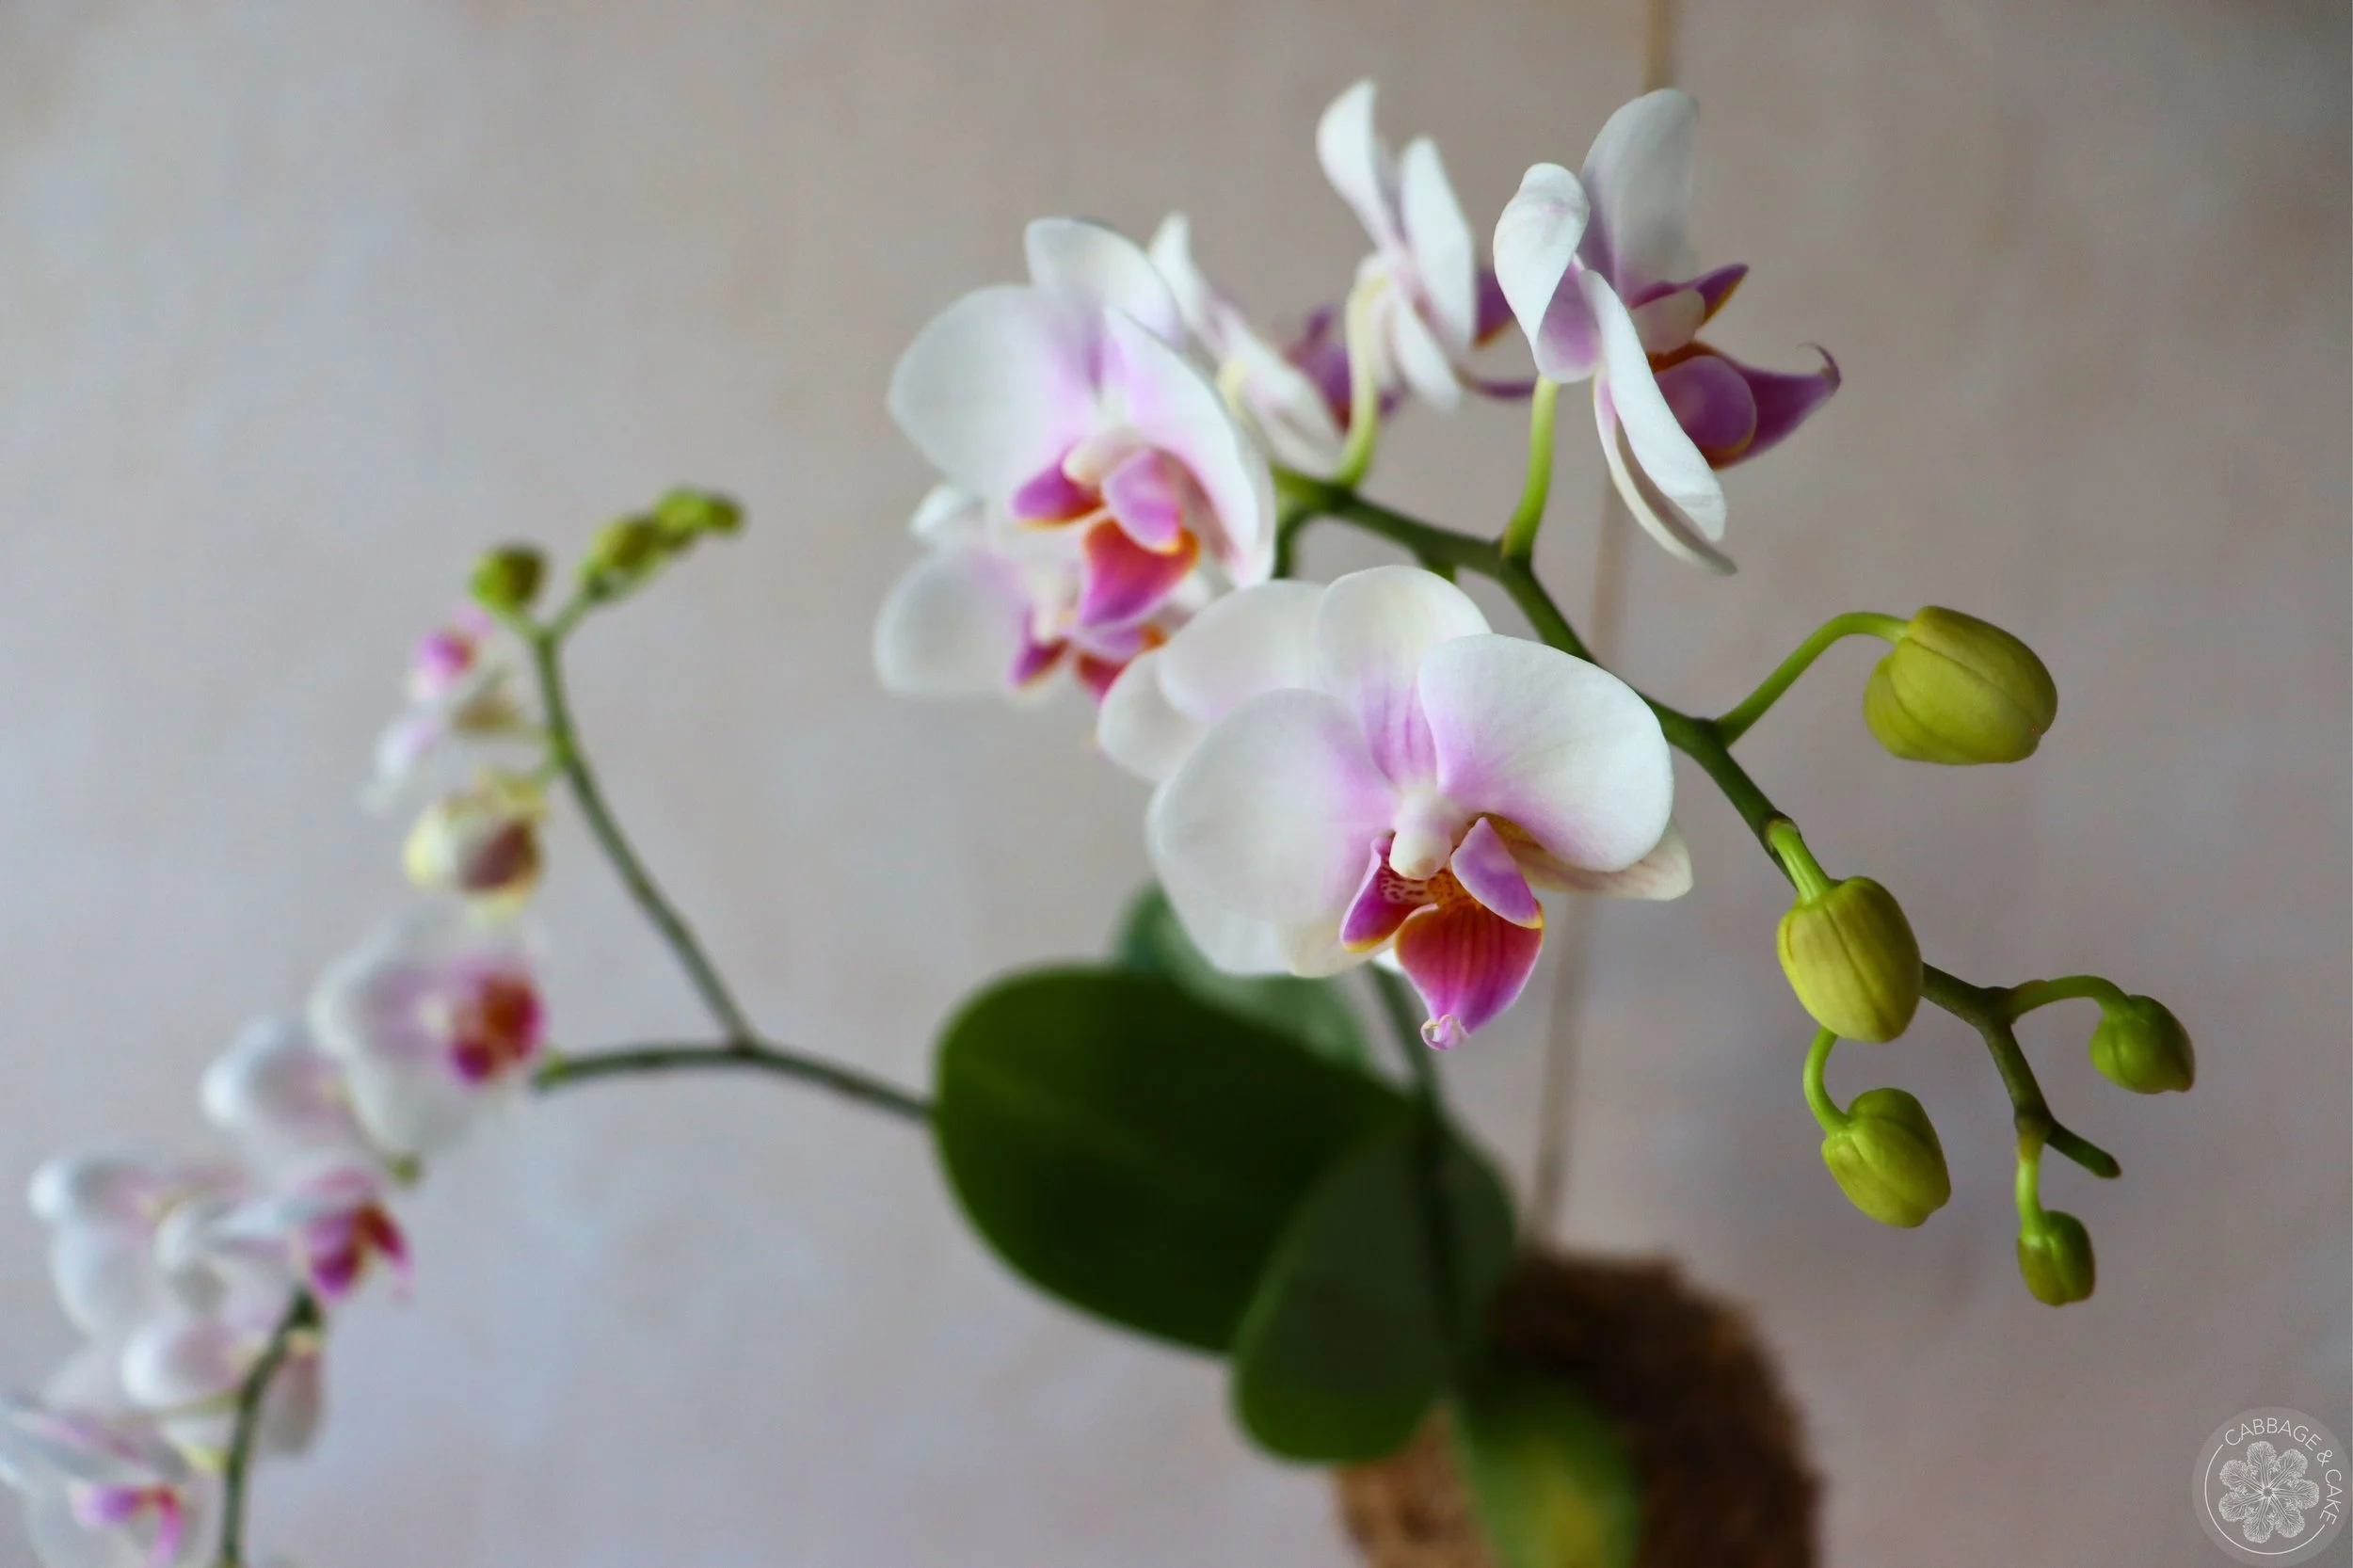
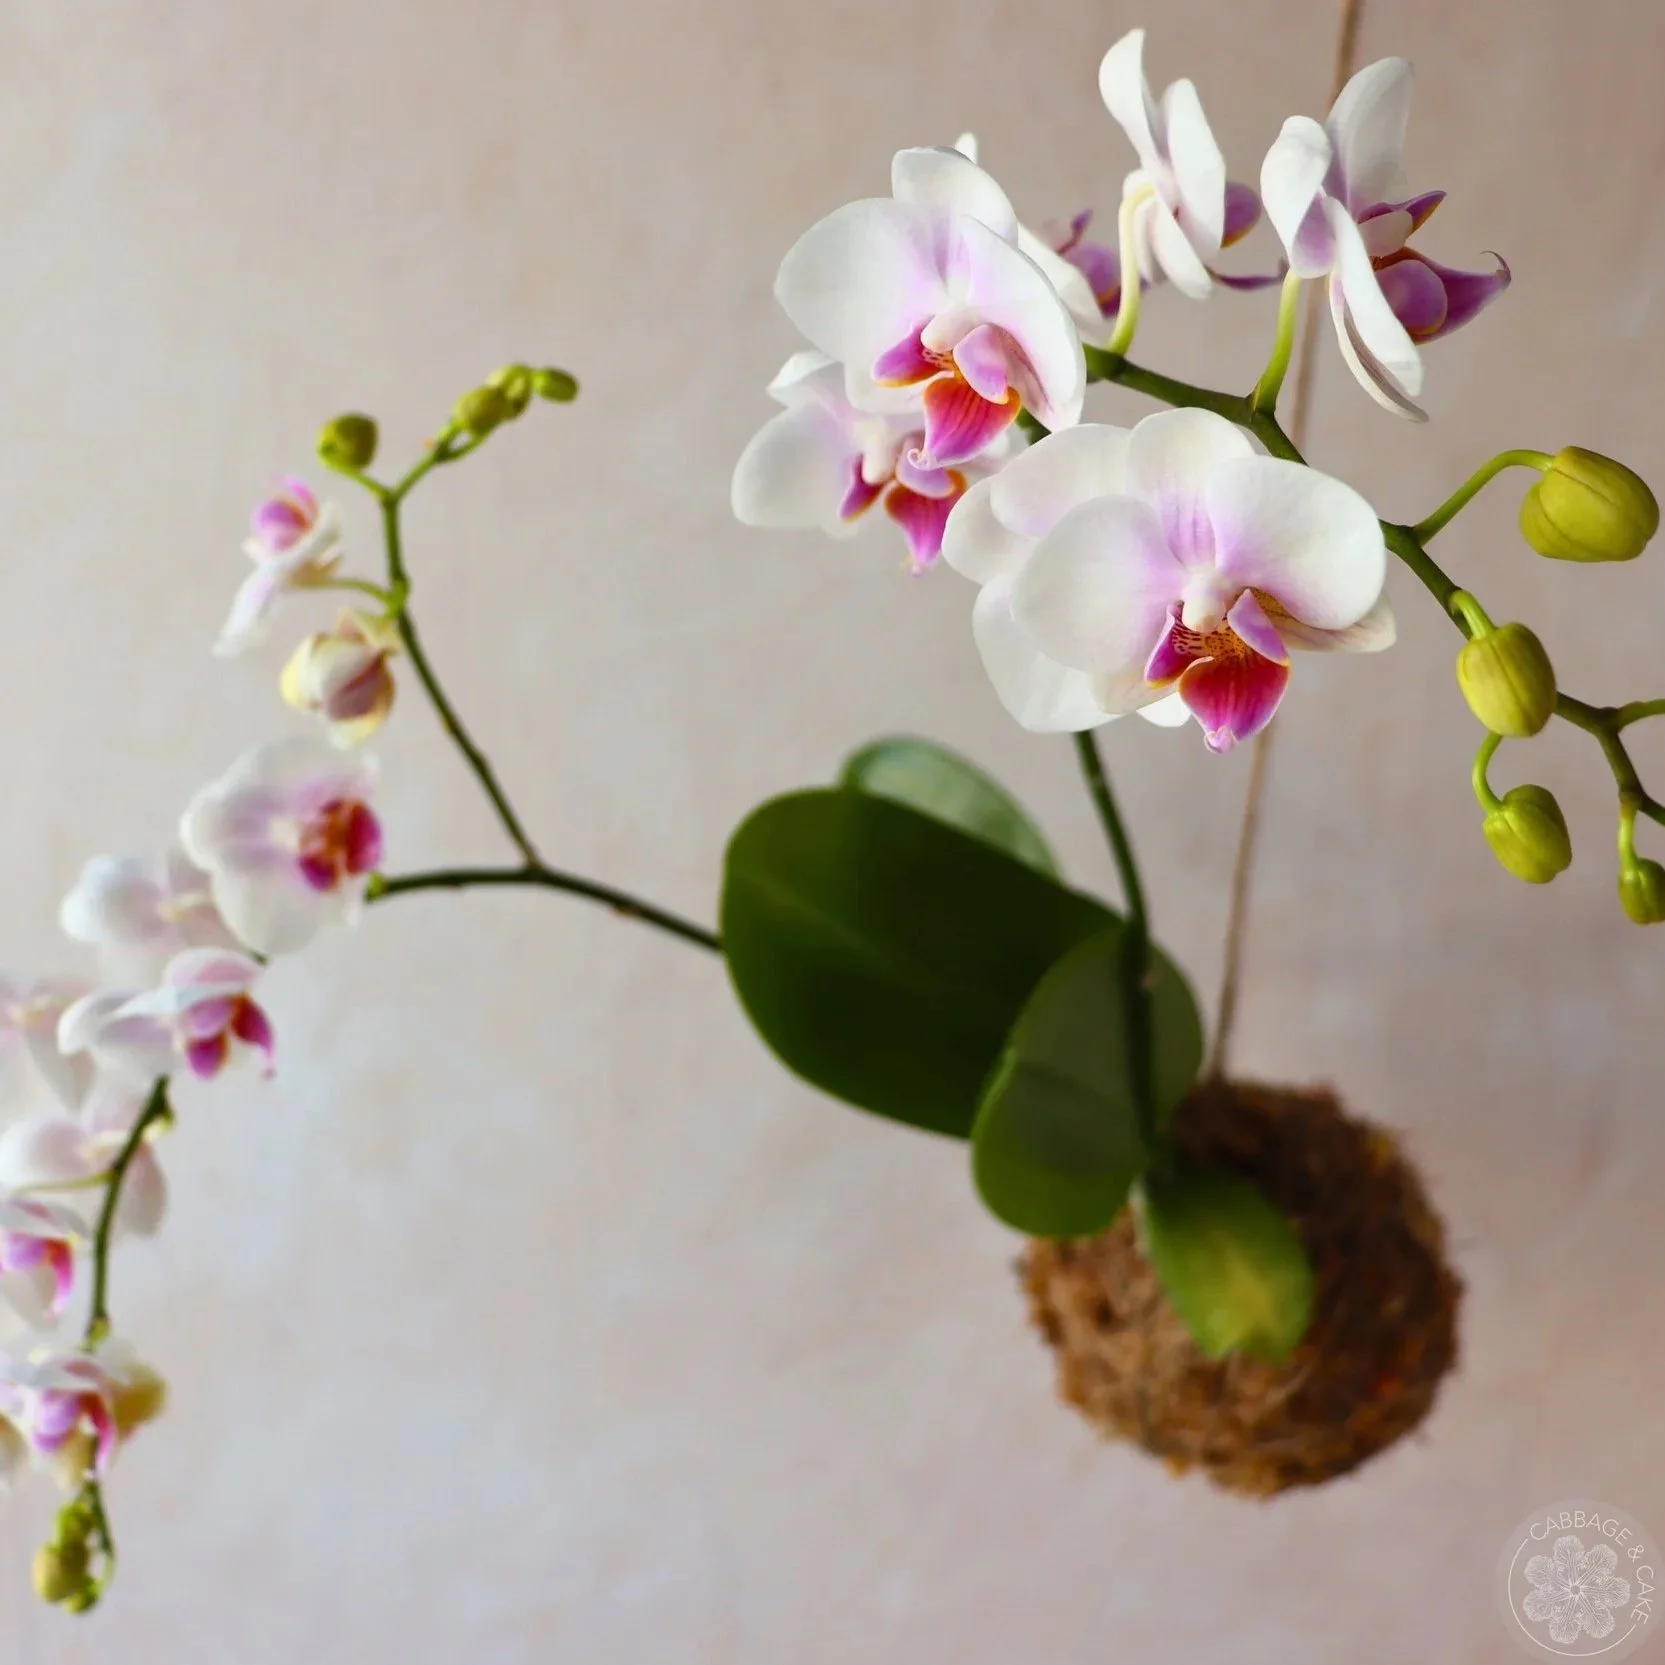
Hanging kokedamas can be a beautiful way to display your favourite plants and add a new decorative element to your space. This beautiful hanging orchid kokedama is made by encasing an orchid in orchid potting mix, wrapping it with sphagnum moss and tightly securing it with twine.
Not having any windowsill space and quite a lot of plants moving to our new place (as well as toddlers and cats), I had to find a different way to display some of our plants and making kokedamas has become one of my favourite ways to incorporate them into our living space.
Kokedamas can come in different sizes and can be made with sphagnum, sheet or live green moss. Beside orchids you can make kokedamas with tropical plants, ferns, trees, herbs and flower bulbs. Moisture- loving and slow growing varieties are recommended as well as ones with rather small root systems.
Get creative and transform your favourite plants with this beautiful Japanese gardening art!
TIPS TO MAKE THE PERFECT HANGING ORCHID KOKEDAMA
Orchids thrive in bright, humid and warm environments with good air circulation. When hanging your kokedama, avoid direct sunlight, cold drafts and fireplaces. The ones I have hanging in my bright bathroom are doing the best and I like to hang them outside underneath our deck for a couple of months of the year and bring them back inside once the temperatures drop in the fall, since we have a hot and humid summer where I live.
You can water your kokedama by soaking it in warm water once a week and adding some liquid orchid fertilizer once every month or two.
I prefer using a strong natural jute or hemp twine which is environmentally friendly and will decompose after a few years. But you could also use nylon twine if you have it on hand or would like to add a pop of colour to your moss ball.
Your kokedama can last 3-4 years and will need some redoing after that.
The optimal time to put an orchid into a kokedama would be when it is done blooming and is getting ready to grow its roots system.
It takes some practice to form a perfect round moss ball. Don’t give up if it doesn’t turn into a perfect ball right away and enjoy the process.
You don’t need to follow a certain pattern or design when wrapping your kokedama. Go with the flow and keep wrapping it tightly around and around. Roll and press it onto the edge of your work surface, letting the plant hang off without damaging it, to give it a nice shape.
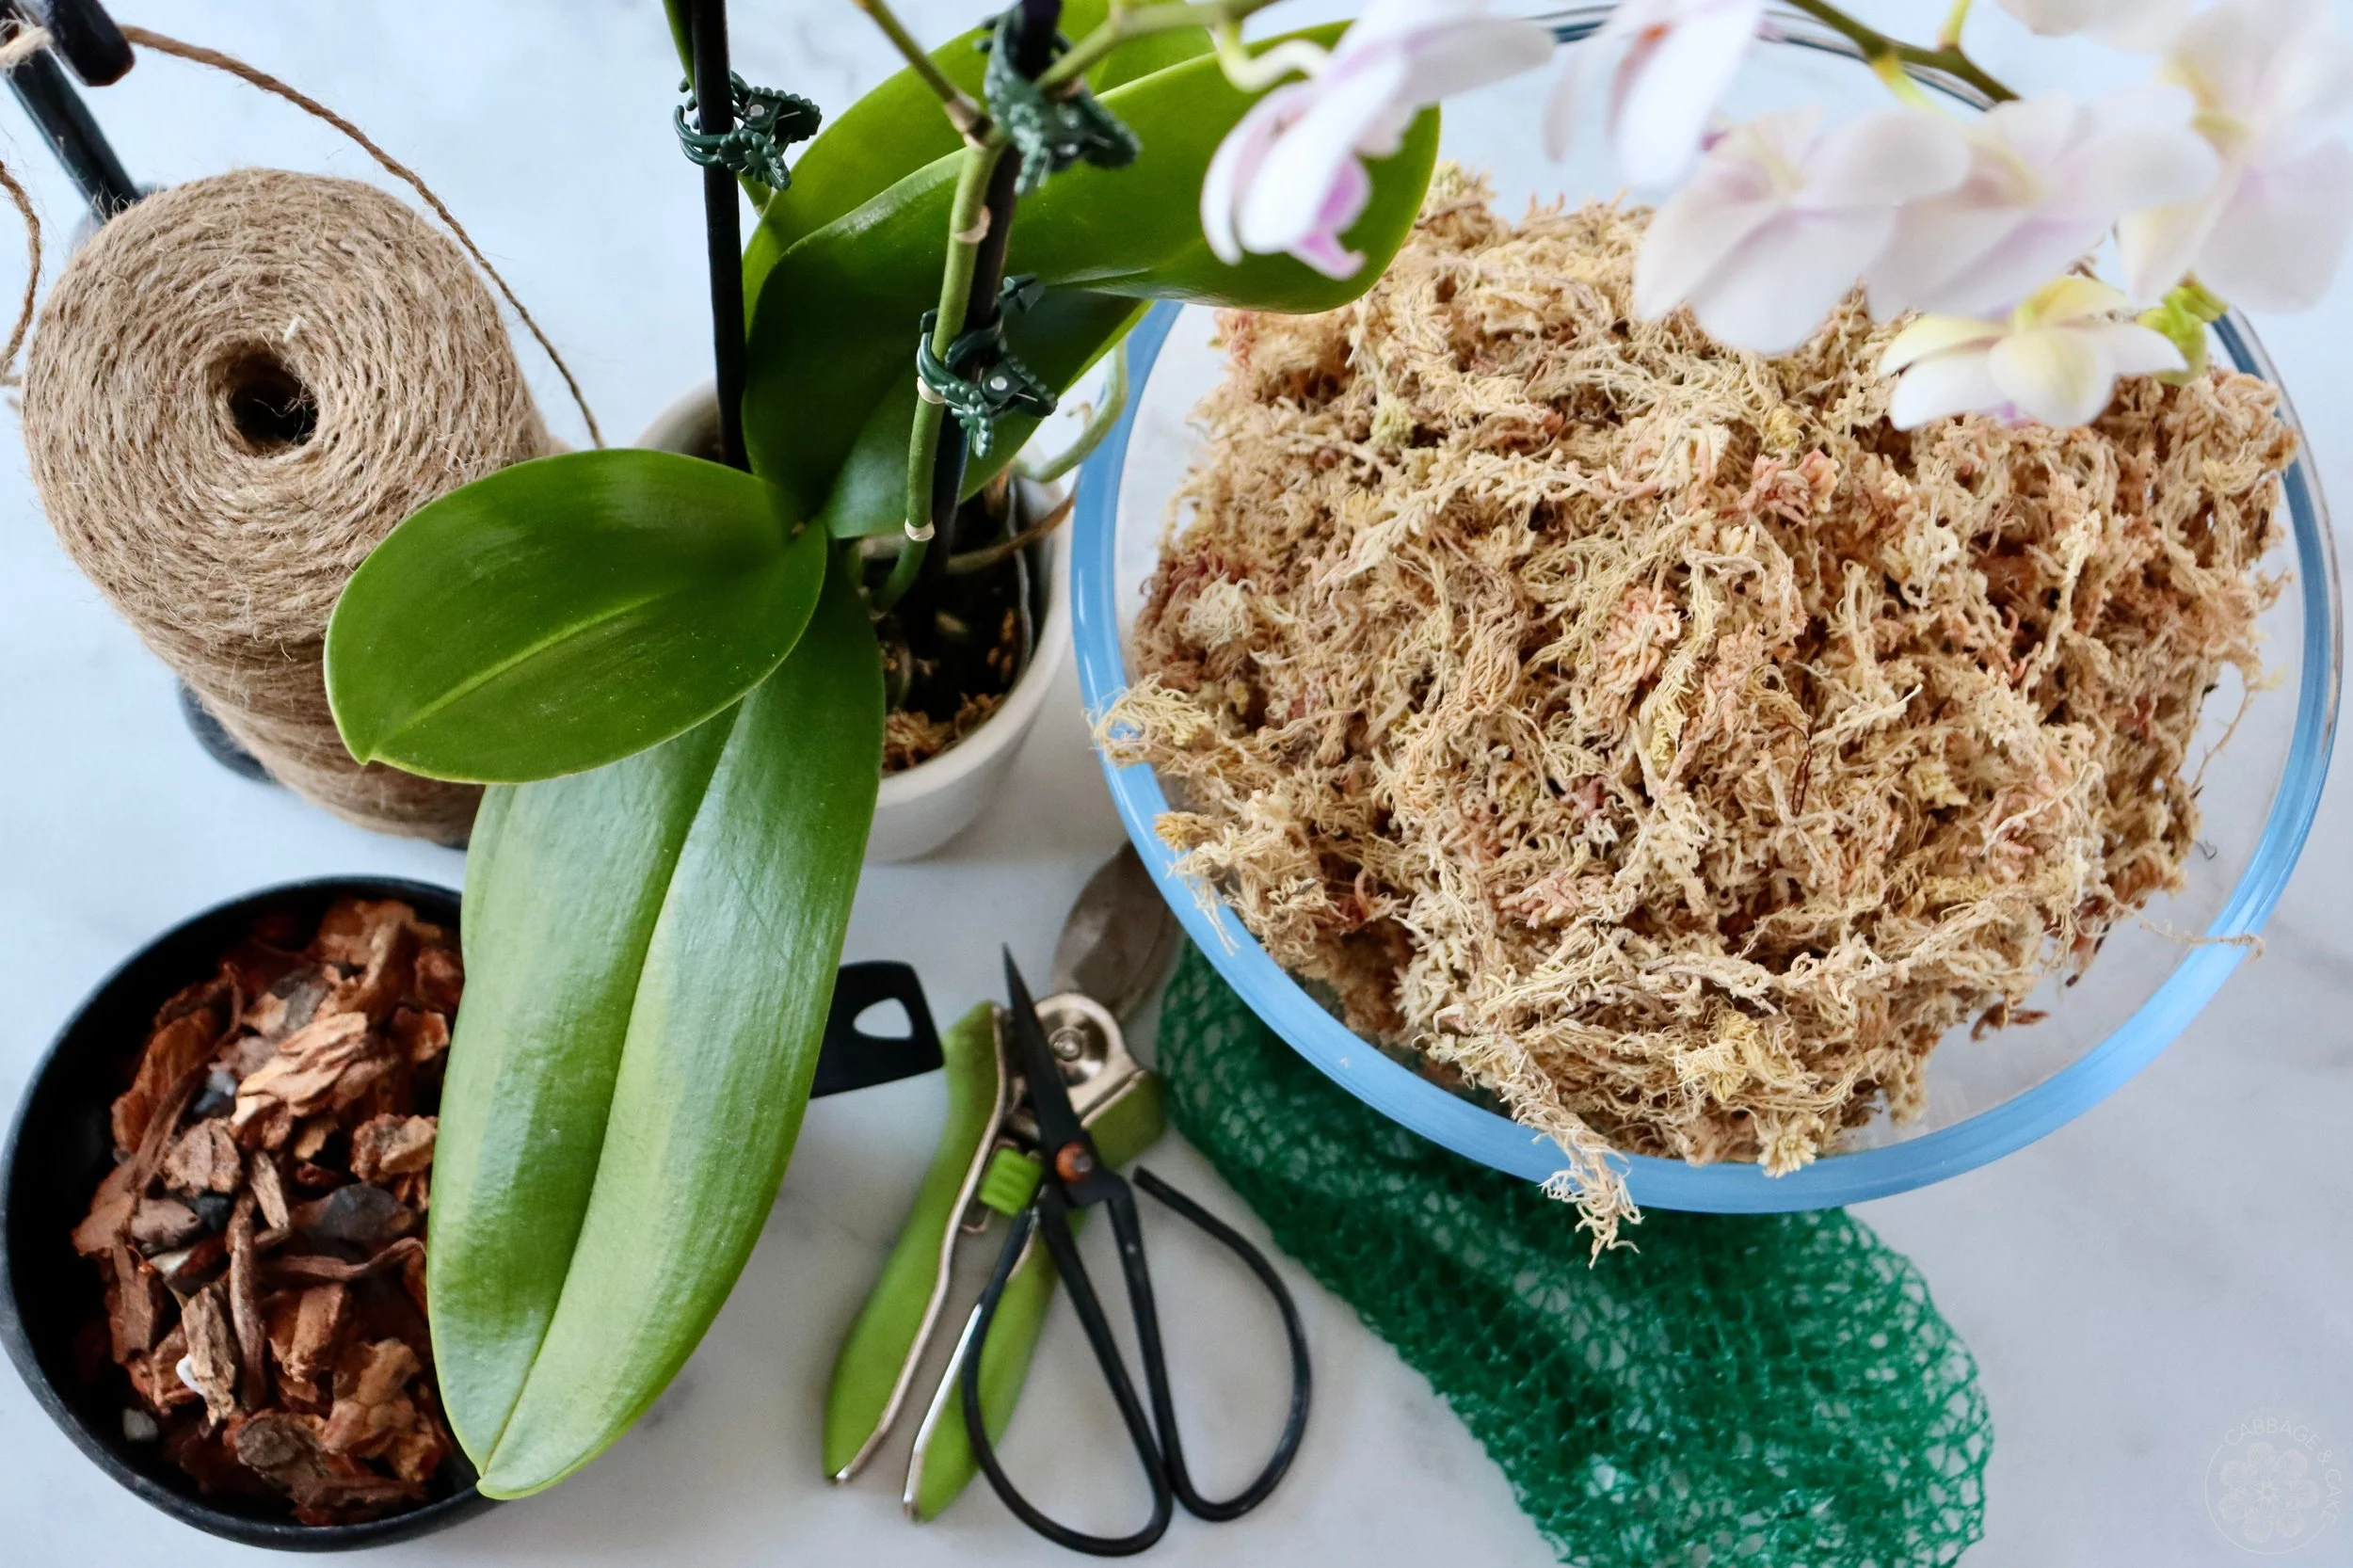
MATERIALS YOU WILL NEED
potted orchid
orchid potting mix
fruit mesh bag
sphagnum moss
strong natural jute, hemp or nylon twine
TOOLS YOU WILL NEED
newspaper or craft mat
big bowl filled with water
scissors
pruners
INSTRUCTIONS
Gather all your materials and tools for this project and cover your work surface with some newspaper or a craft mat for an easier clean up afterwards.
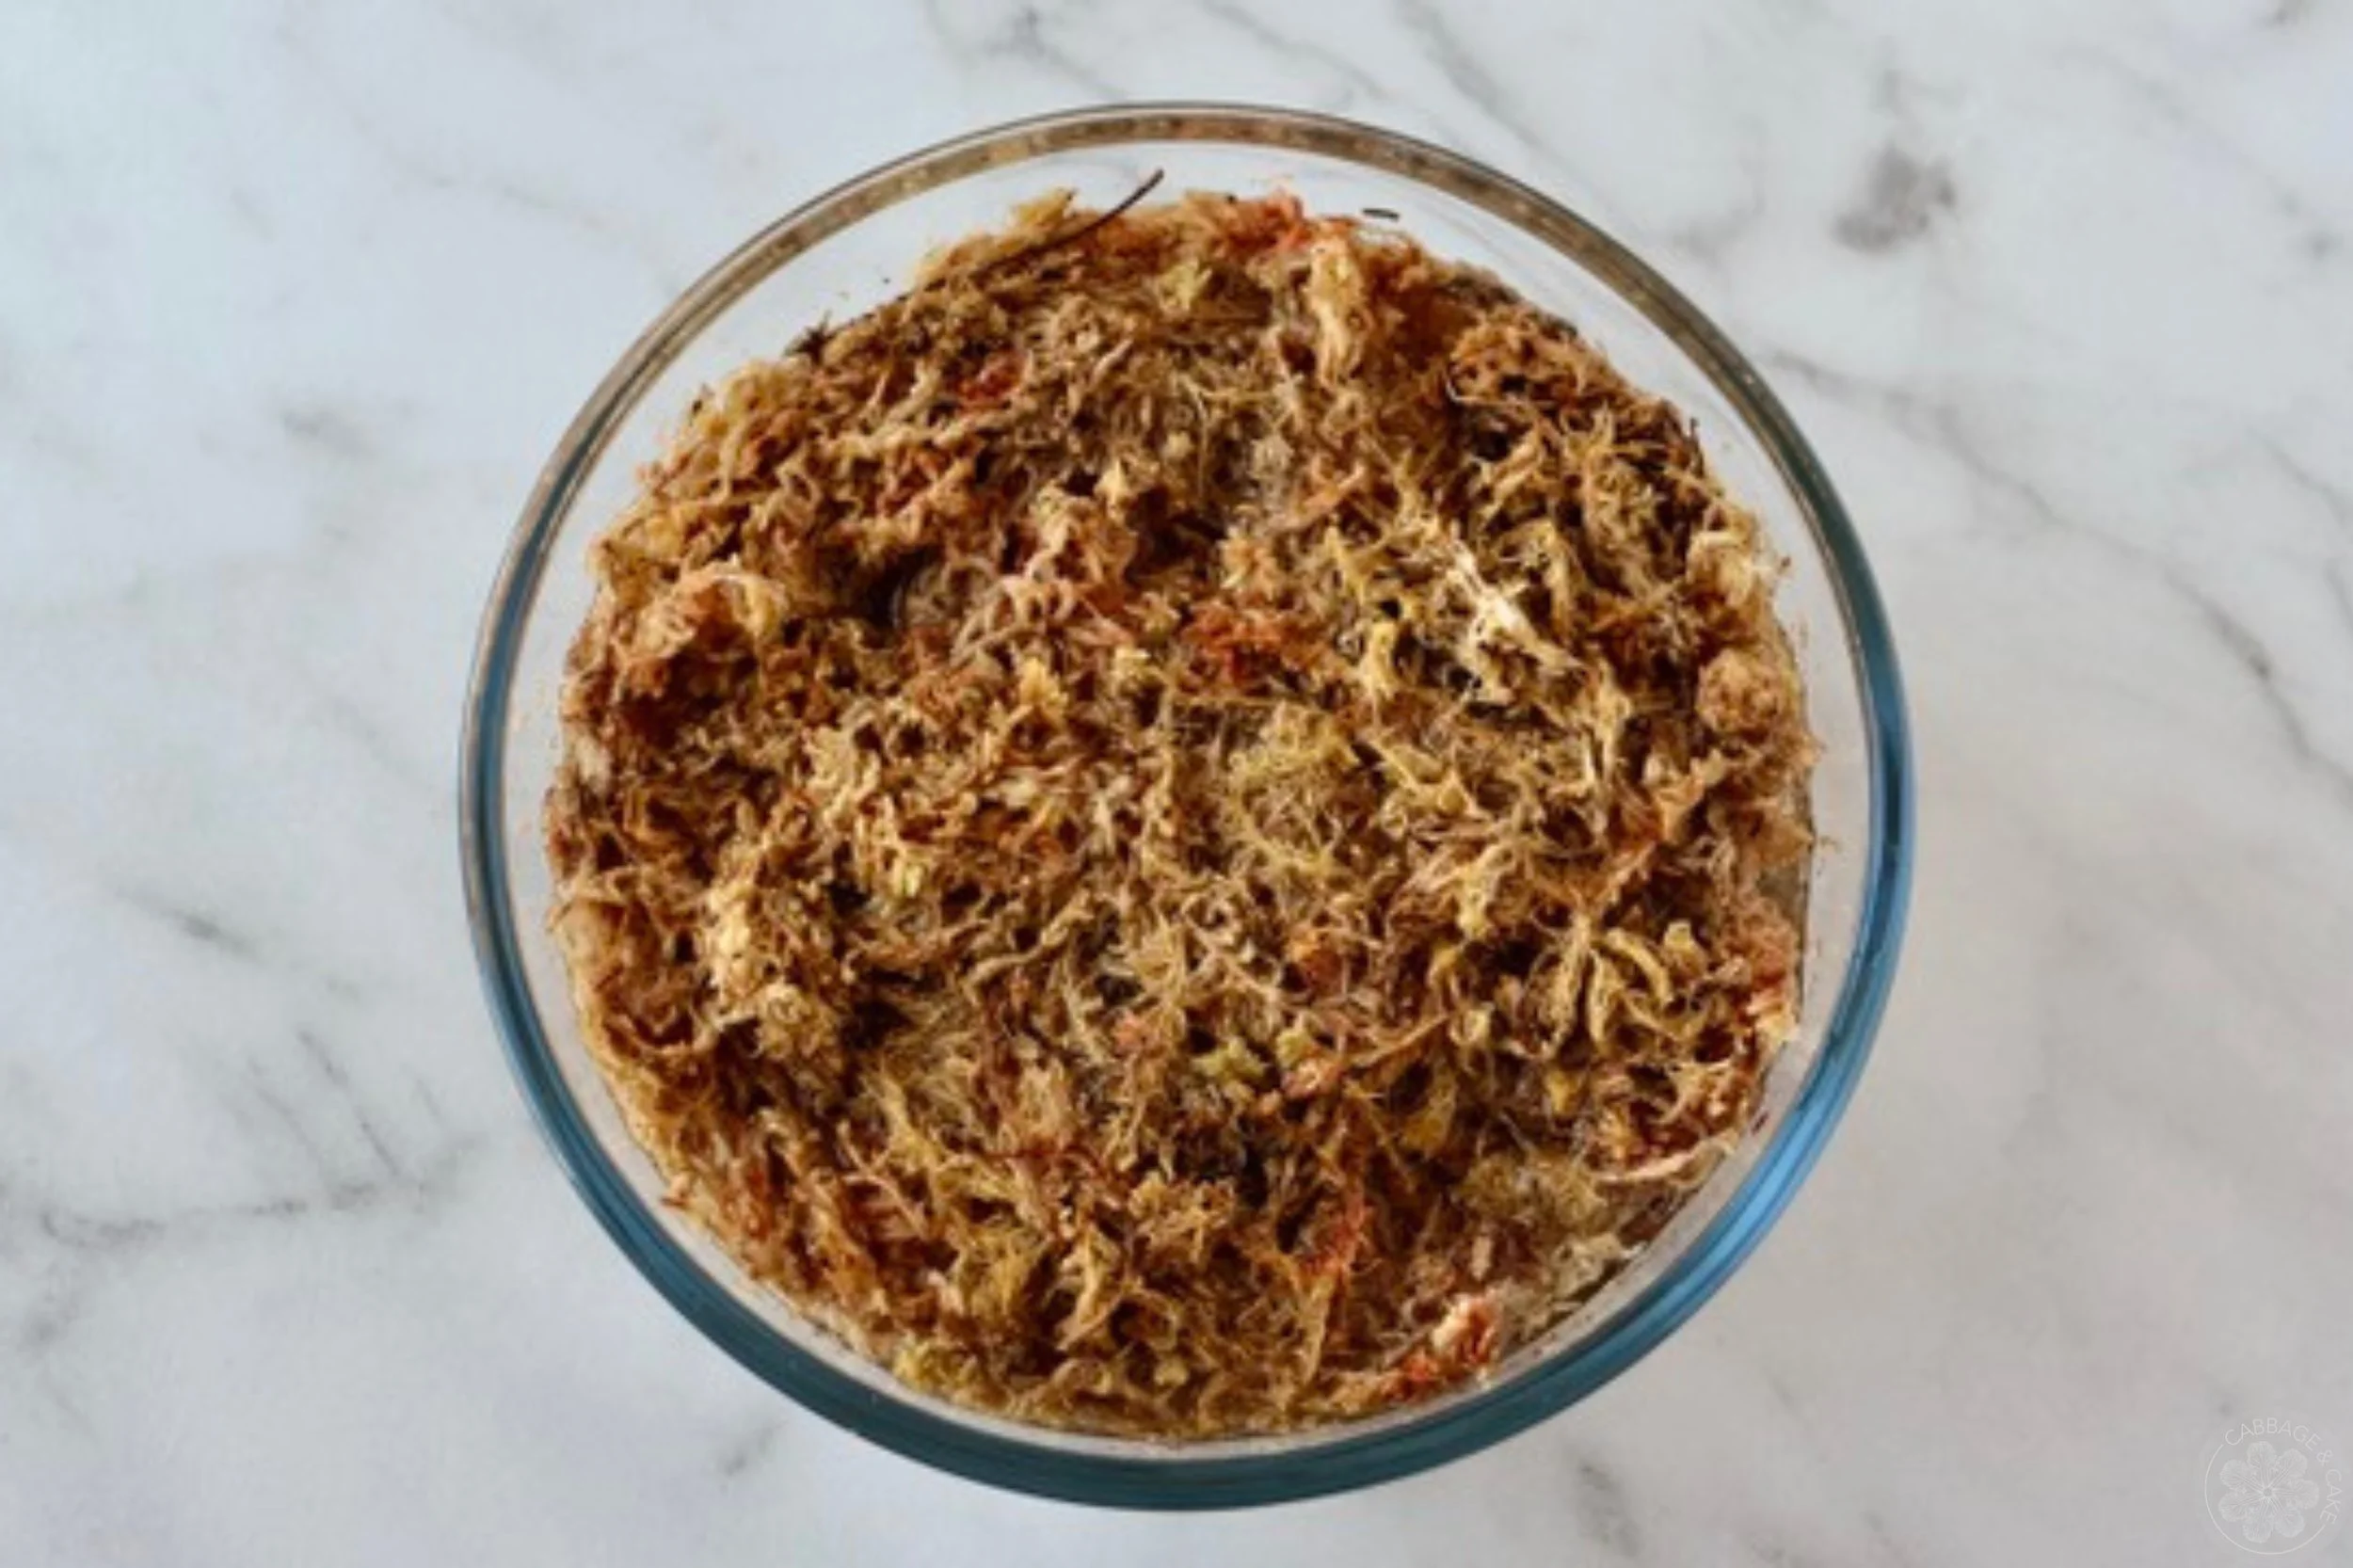
Place the sphagnum moss in the bowl with water and let it soak for 15-20 minutes.

Fill up the pot of your orchid and let it soak for 10 minutes.
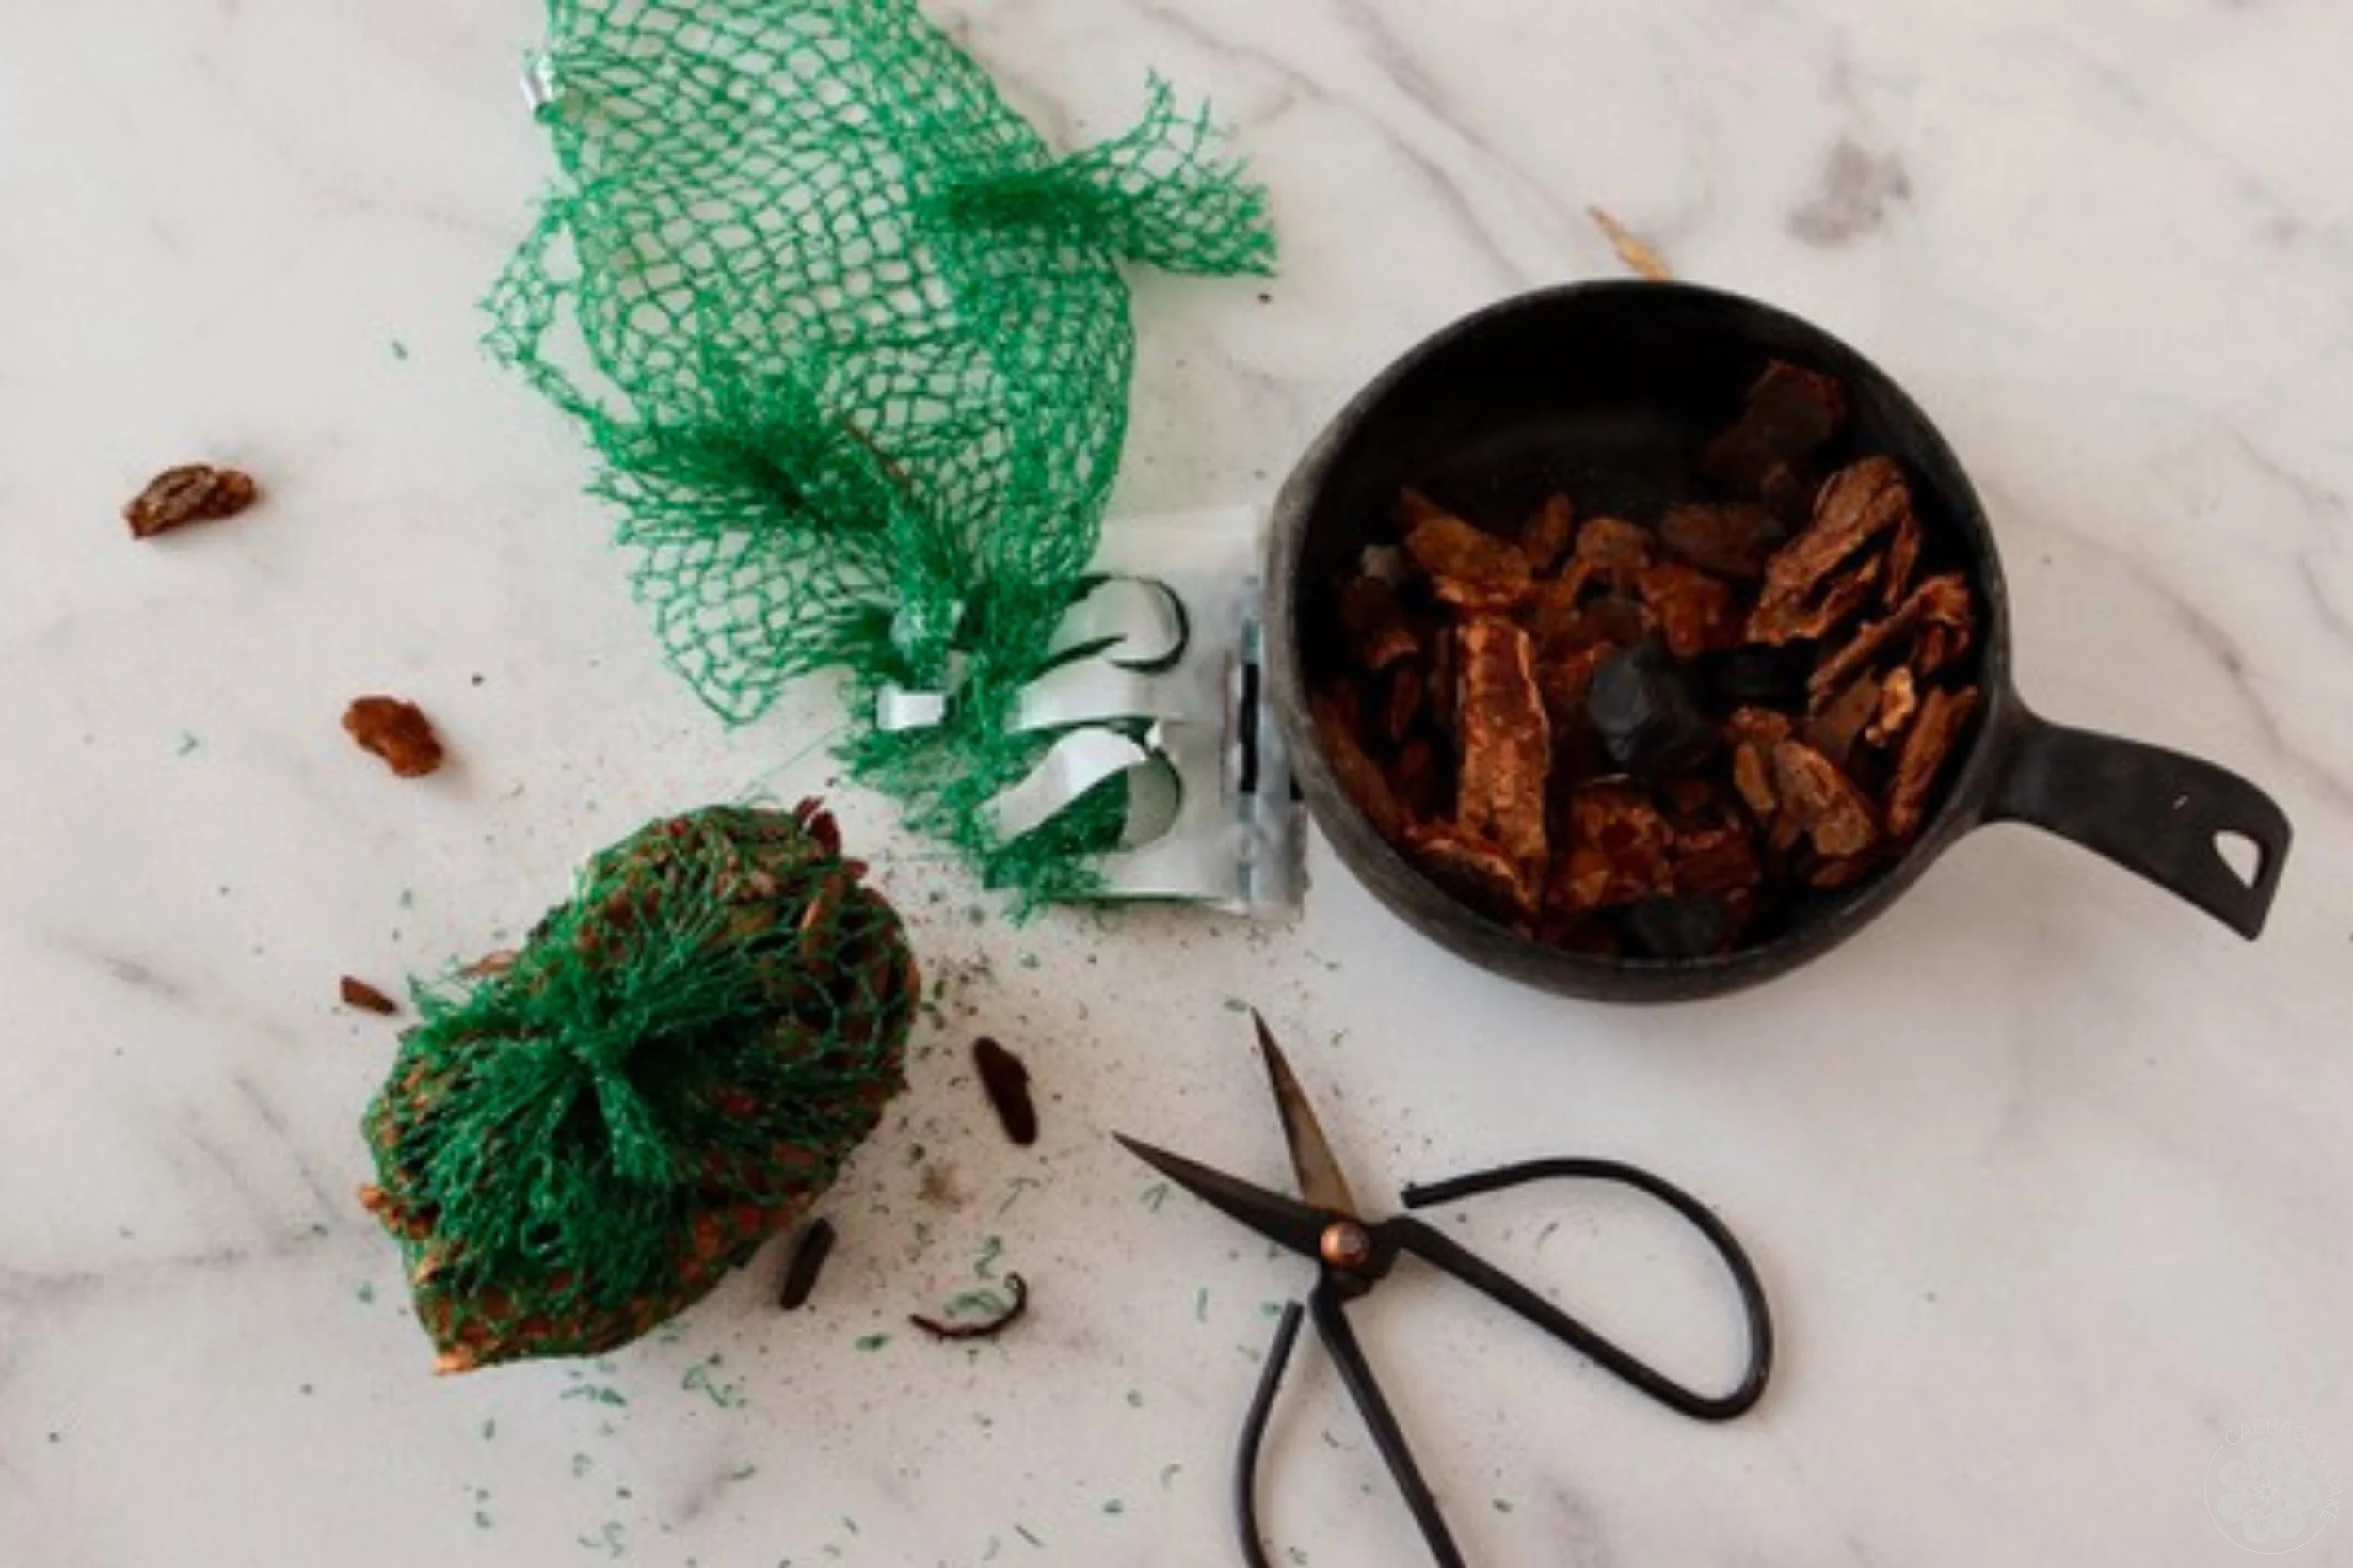
Cut open a fruit mesh bag (like the ones lemons or avocados come in), fill it with 1-2 handfuls of orchid mix and knot it off.
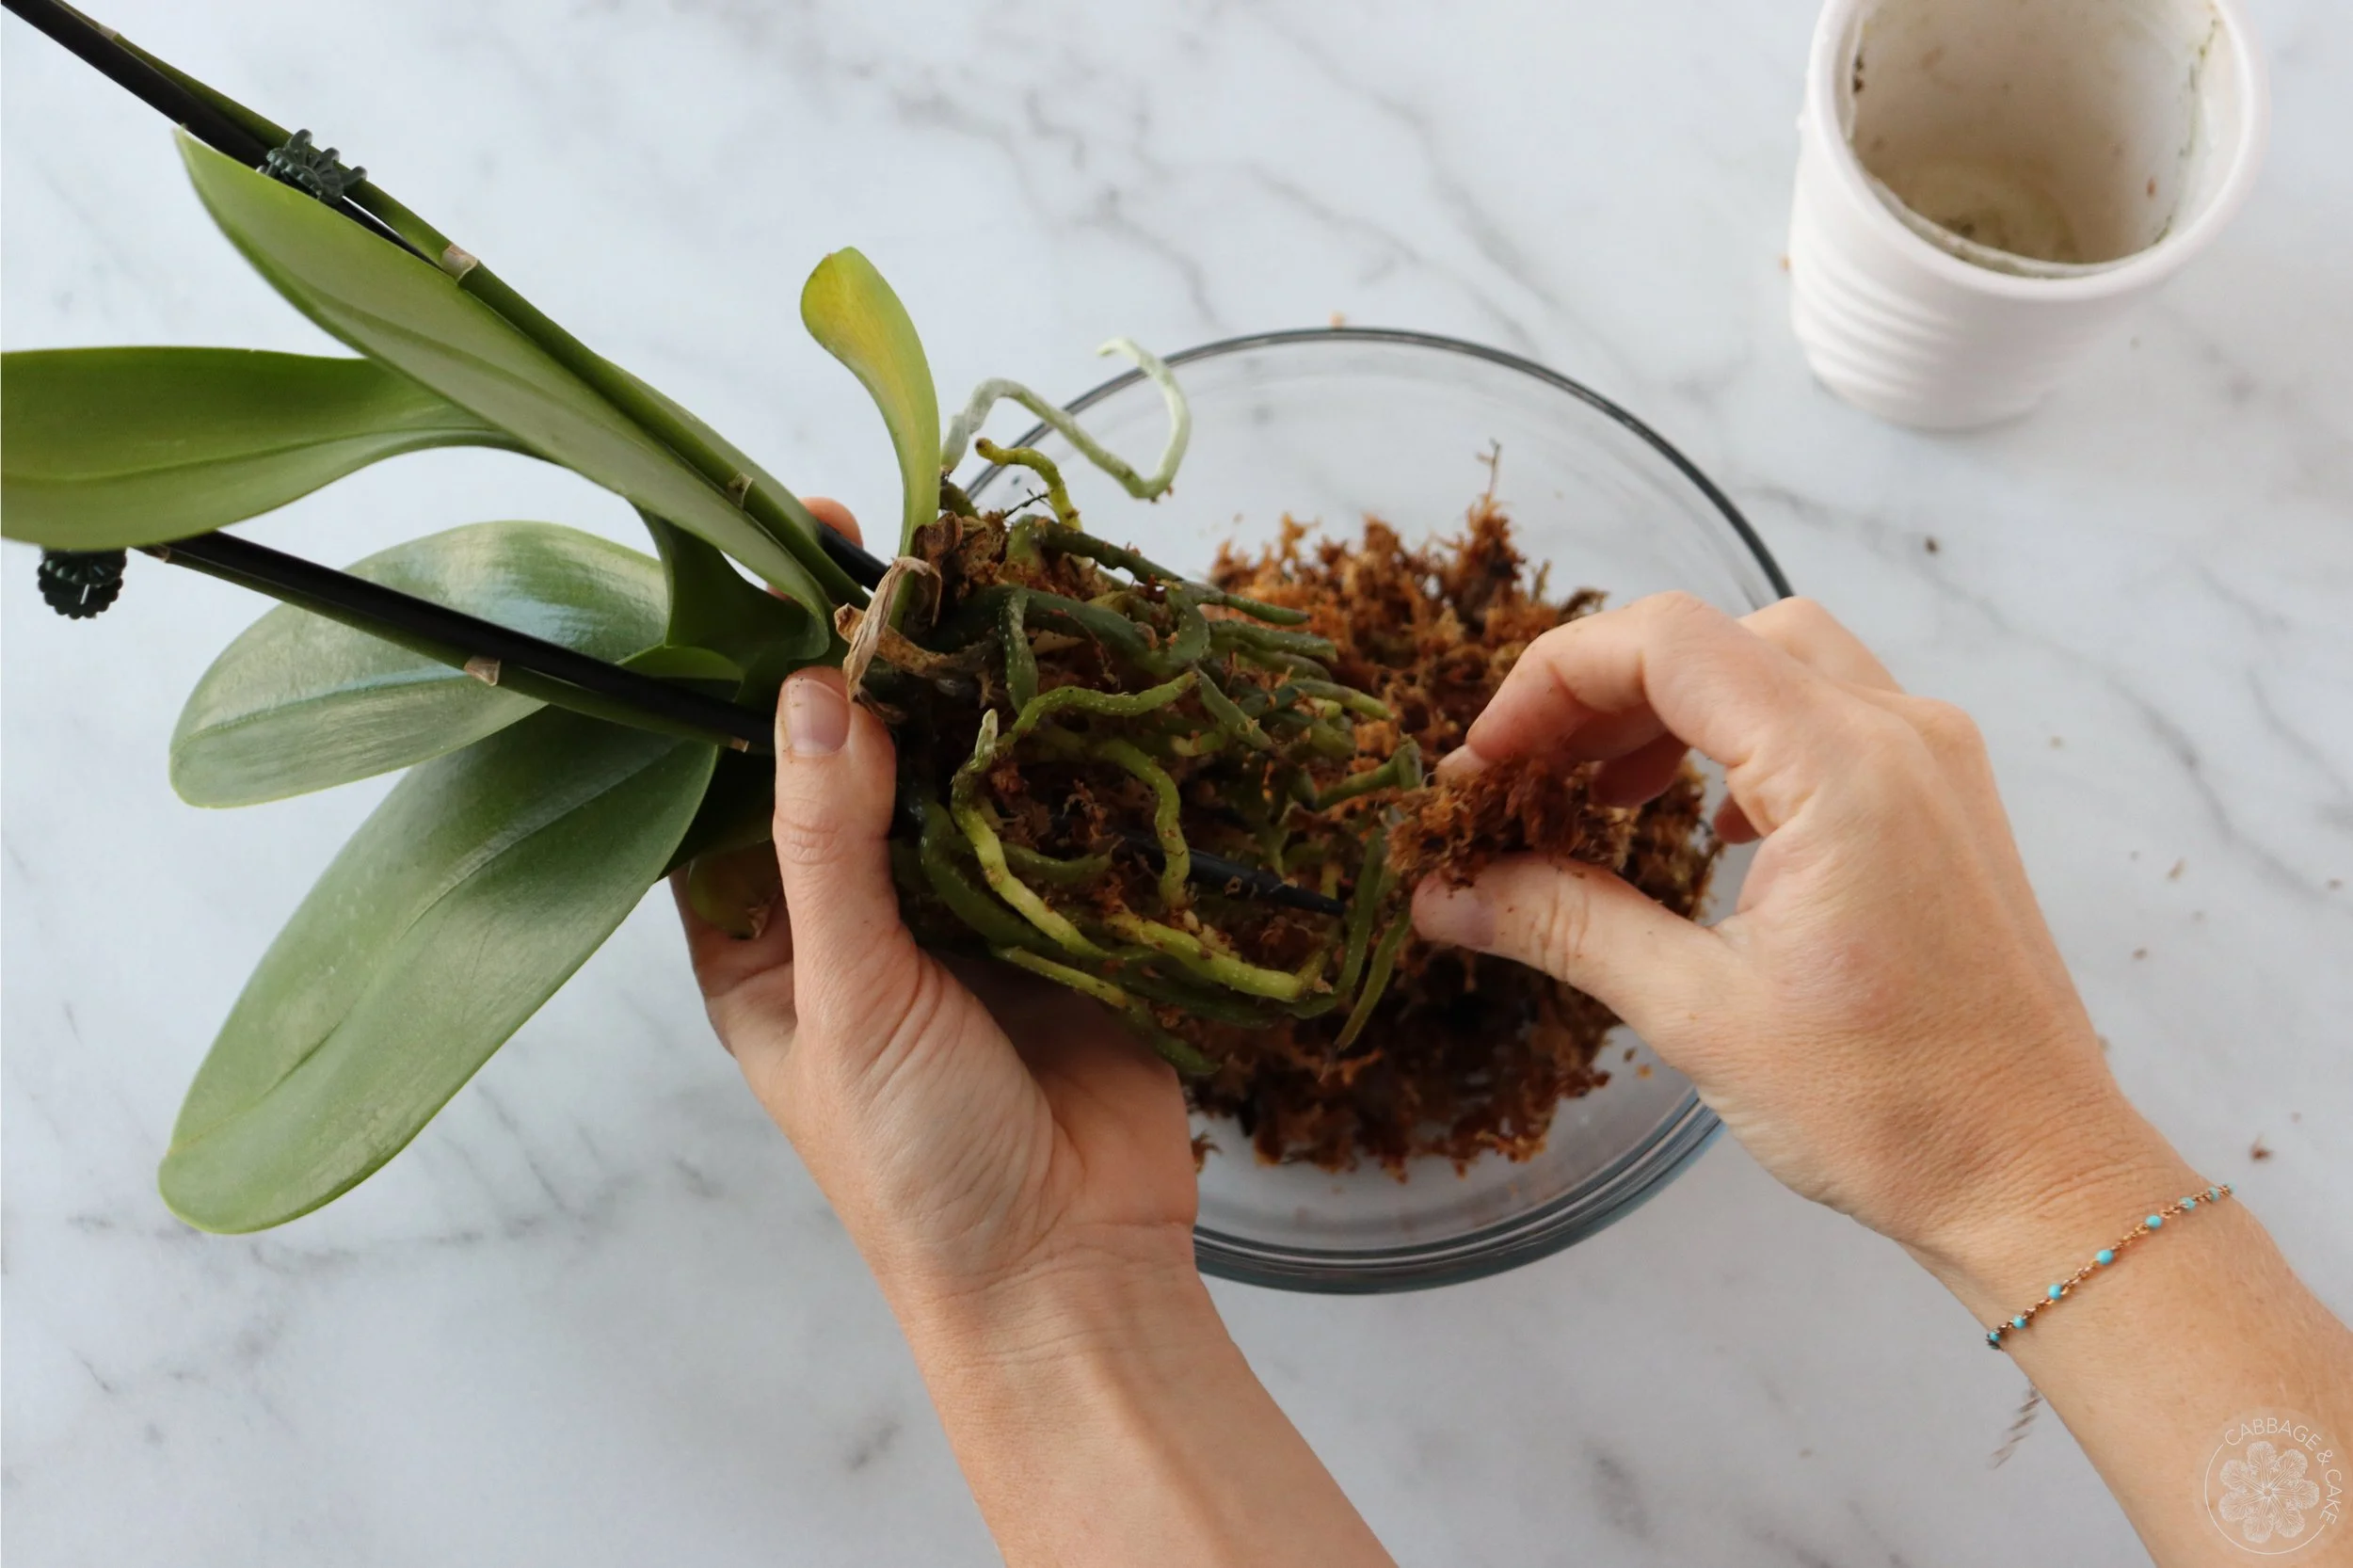
Remove your orchid from its container and carefully remove and discard the orchid mix or moss it came in.
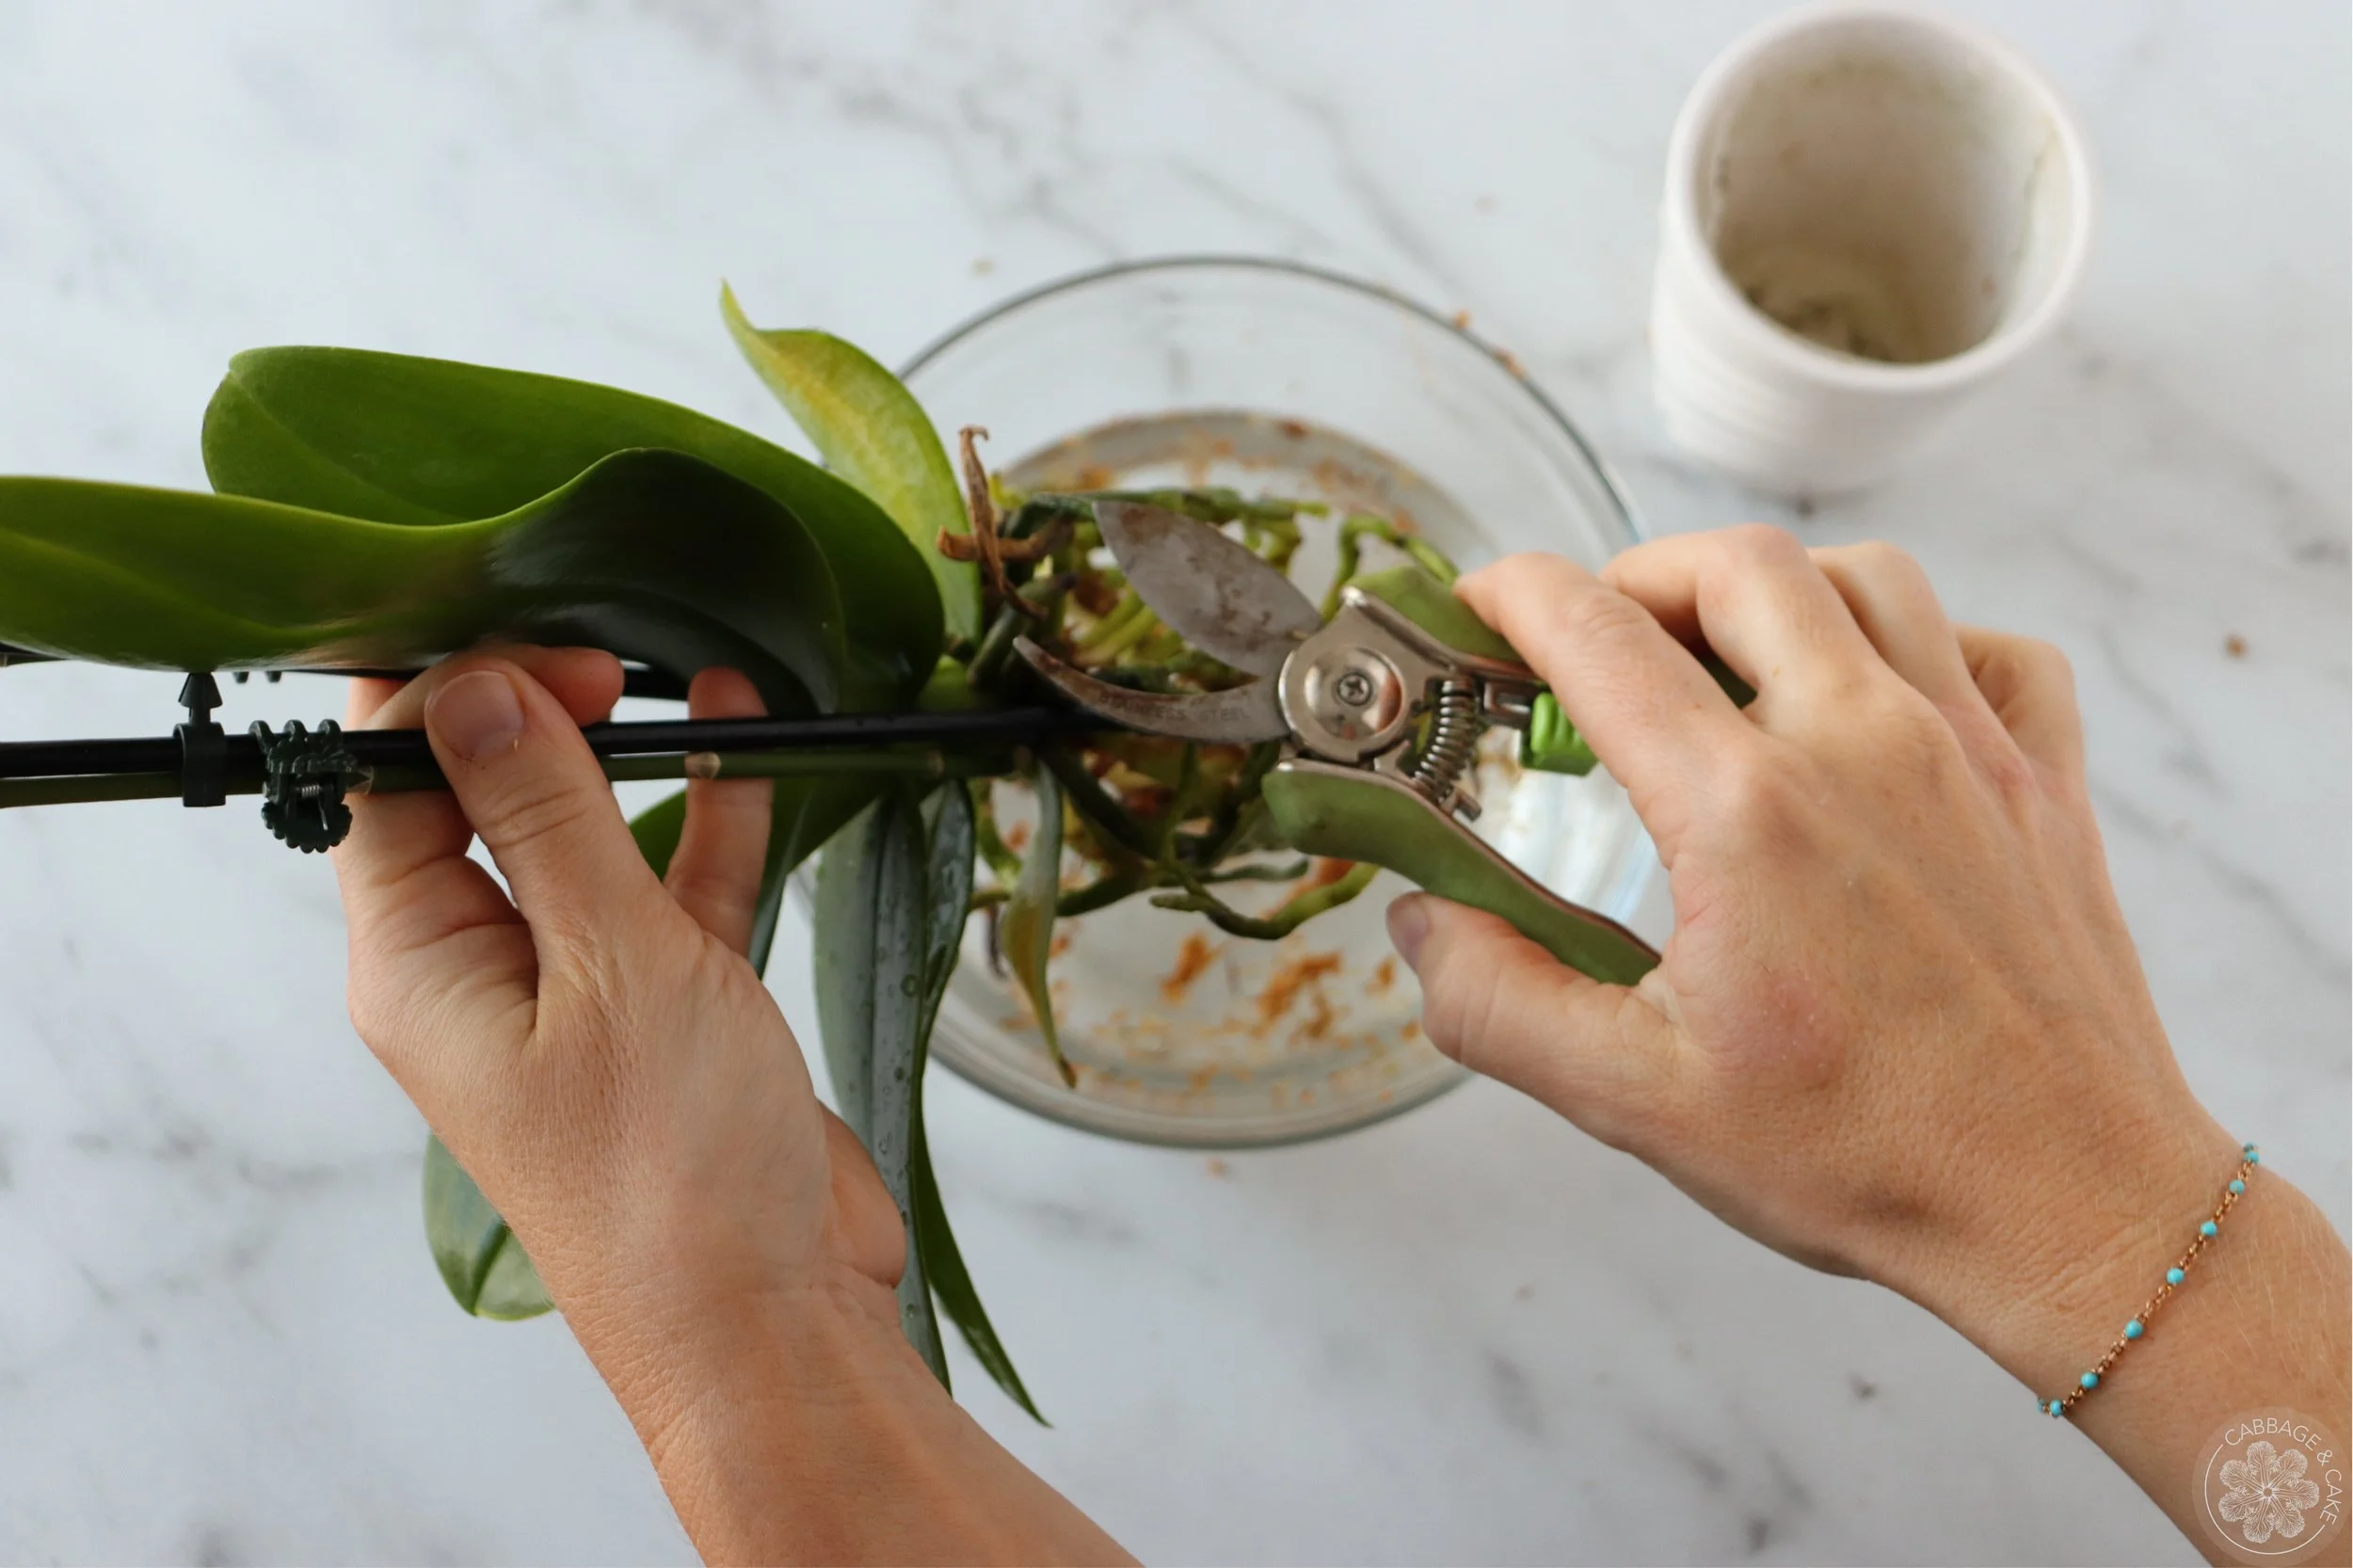
Rinse off the roots of your orchid and cut off any dead or rotten roots with clean, sharp pruners.
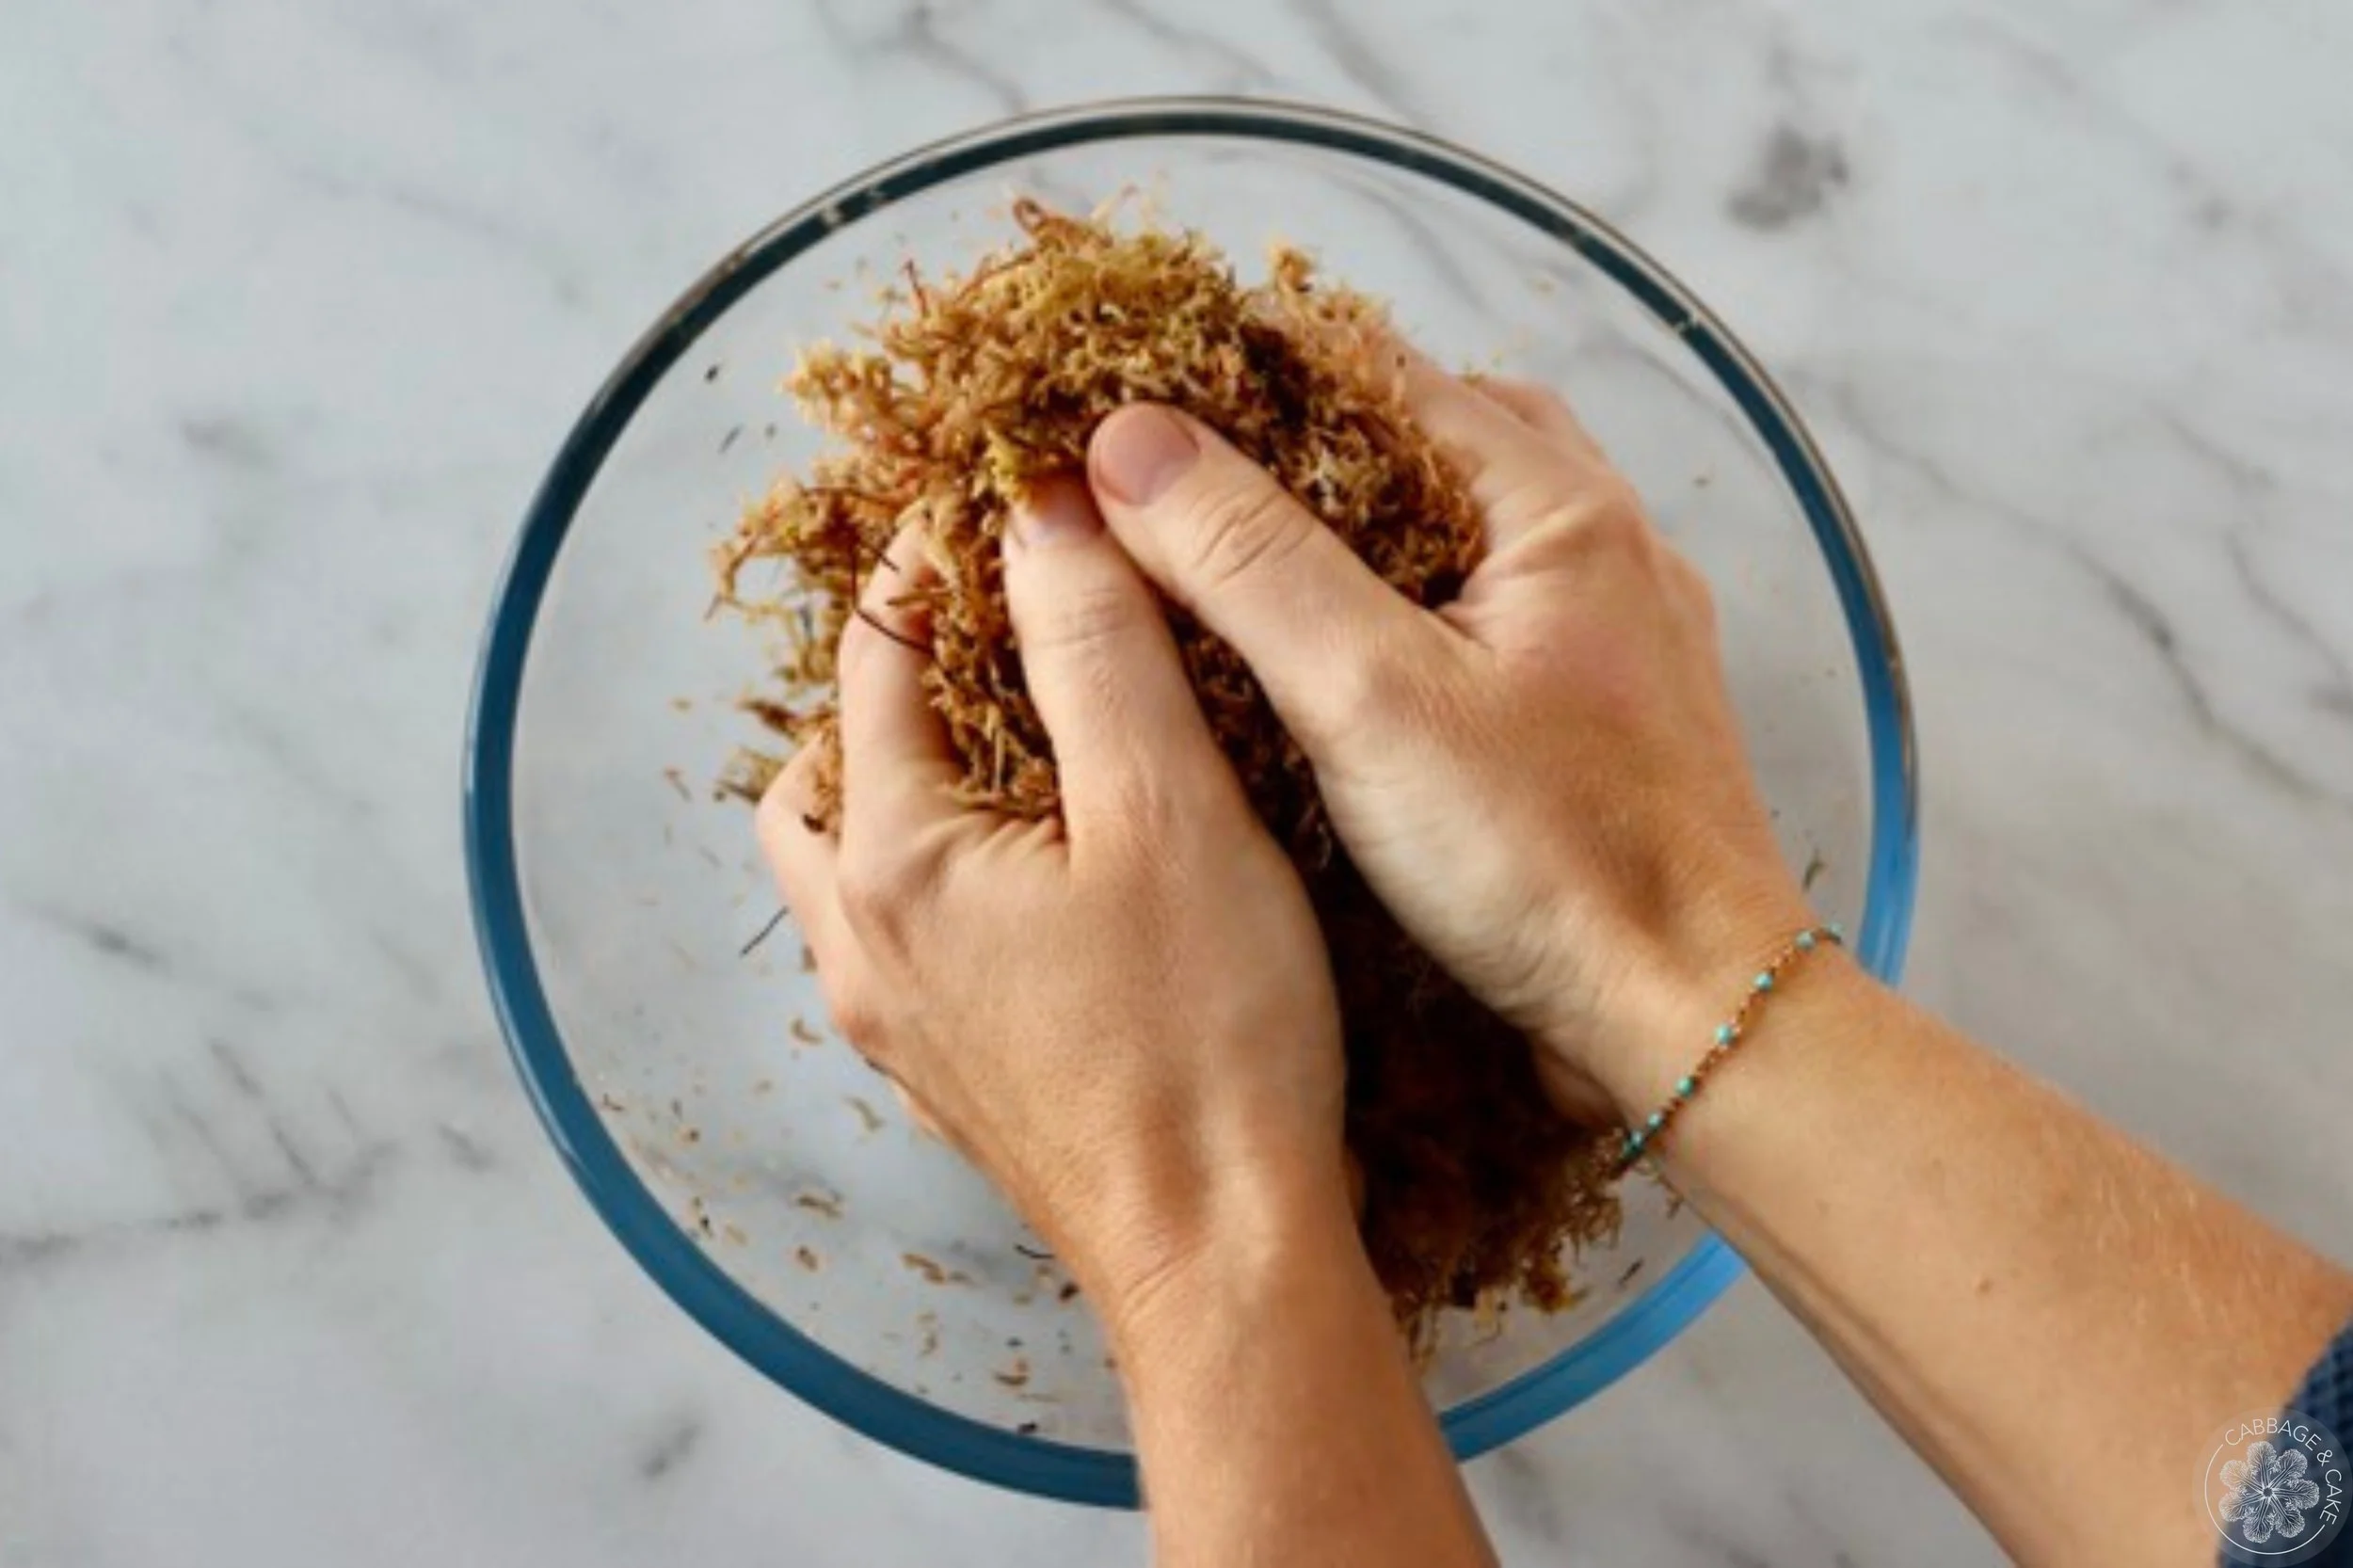
Pour out the soaking water from your moss and press it together with your hands to release any excess water.
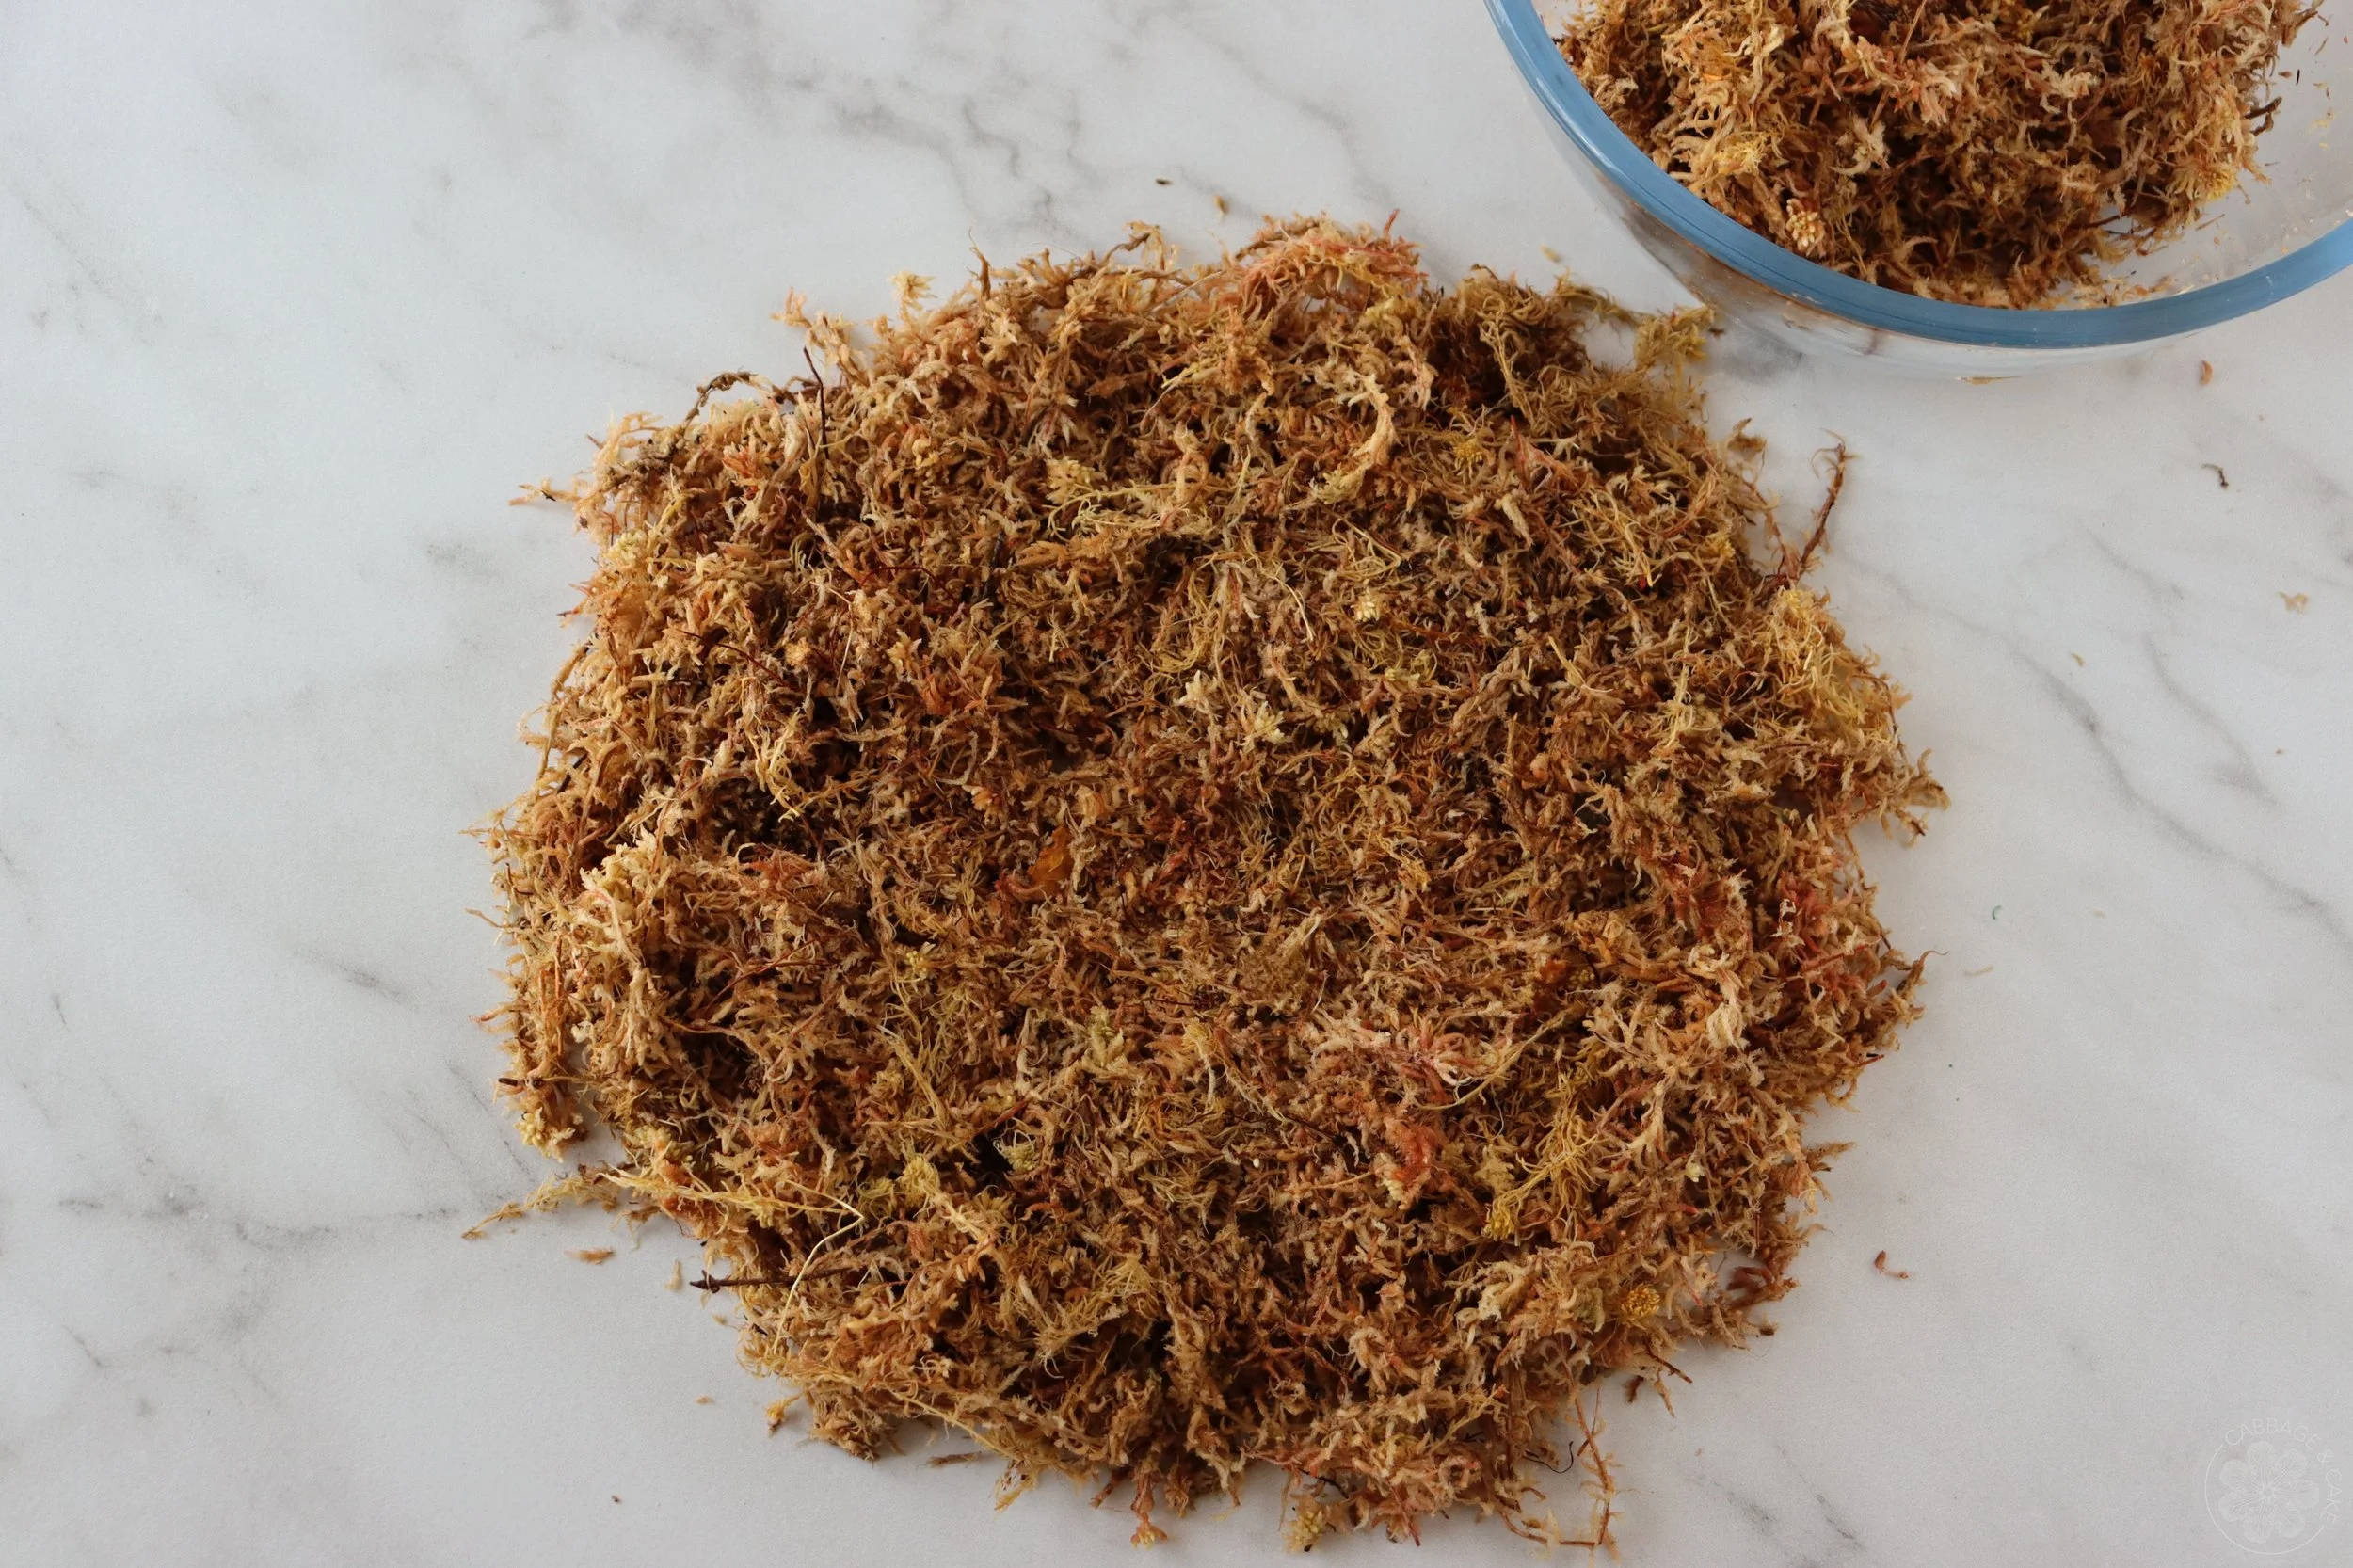
Put a 1 to 2-inch-thick layer of sphagnum moss on your work surface.
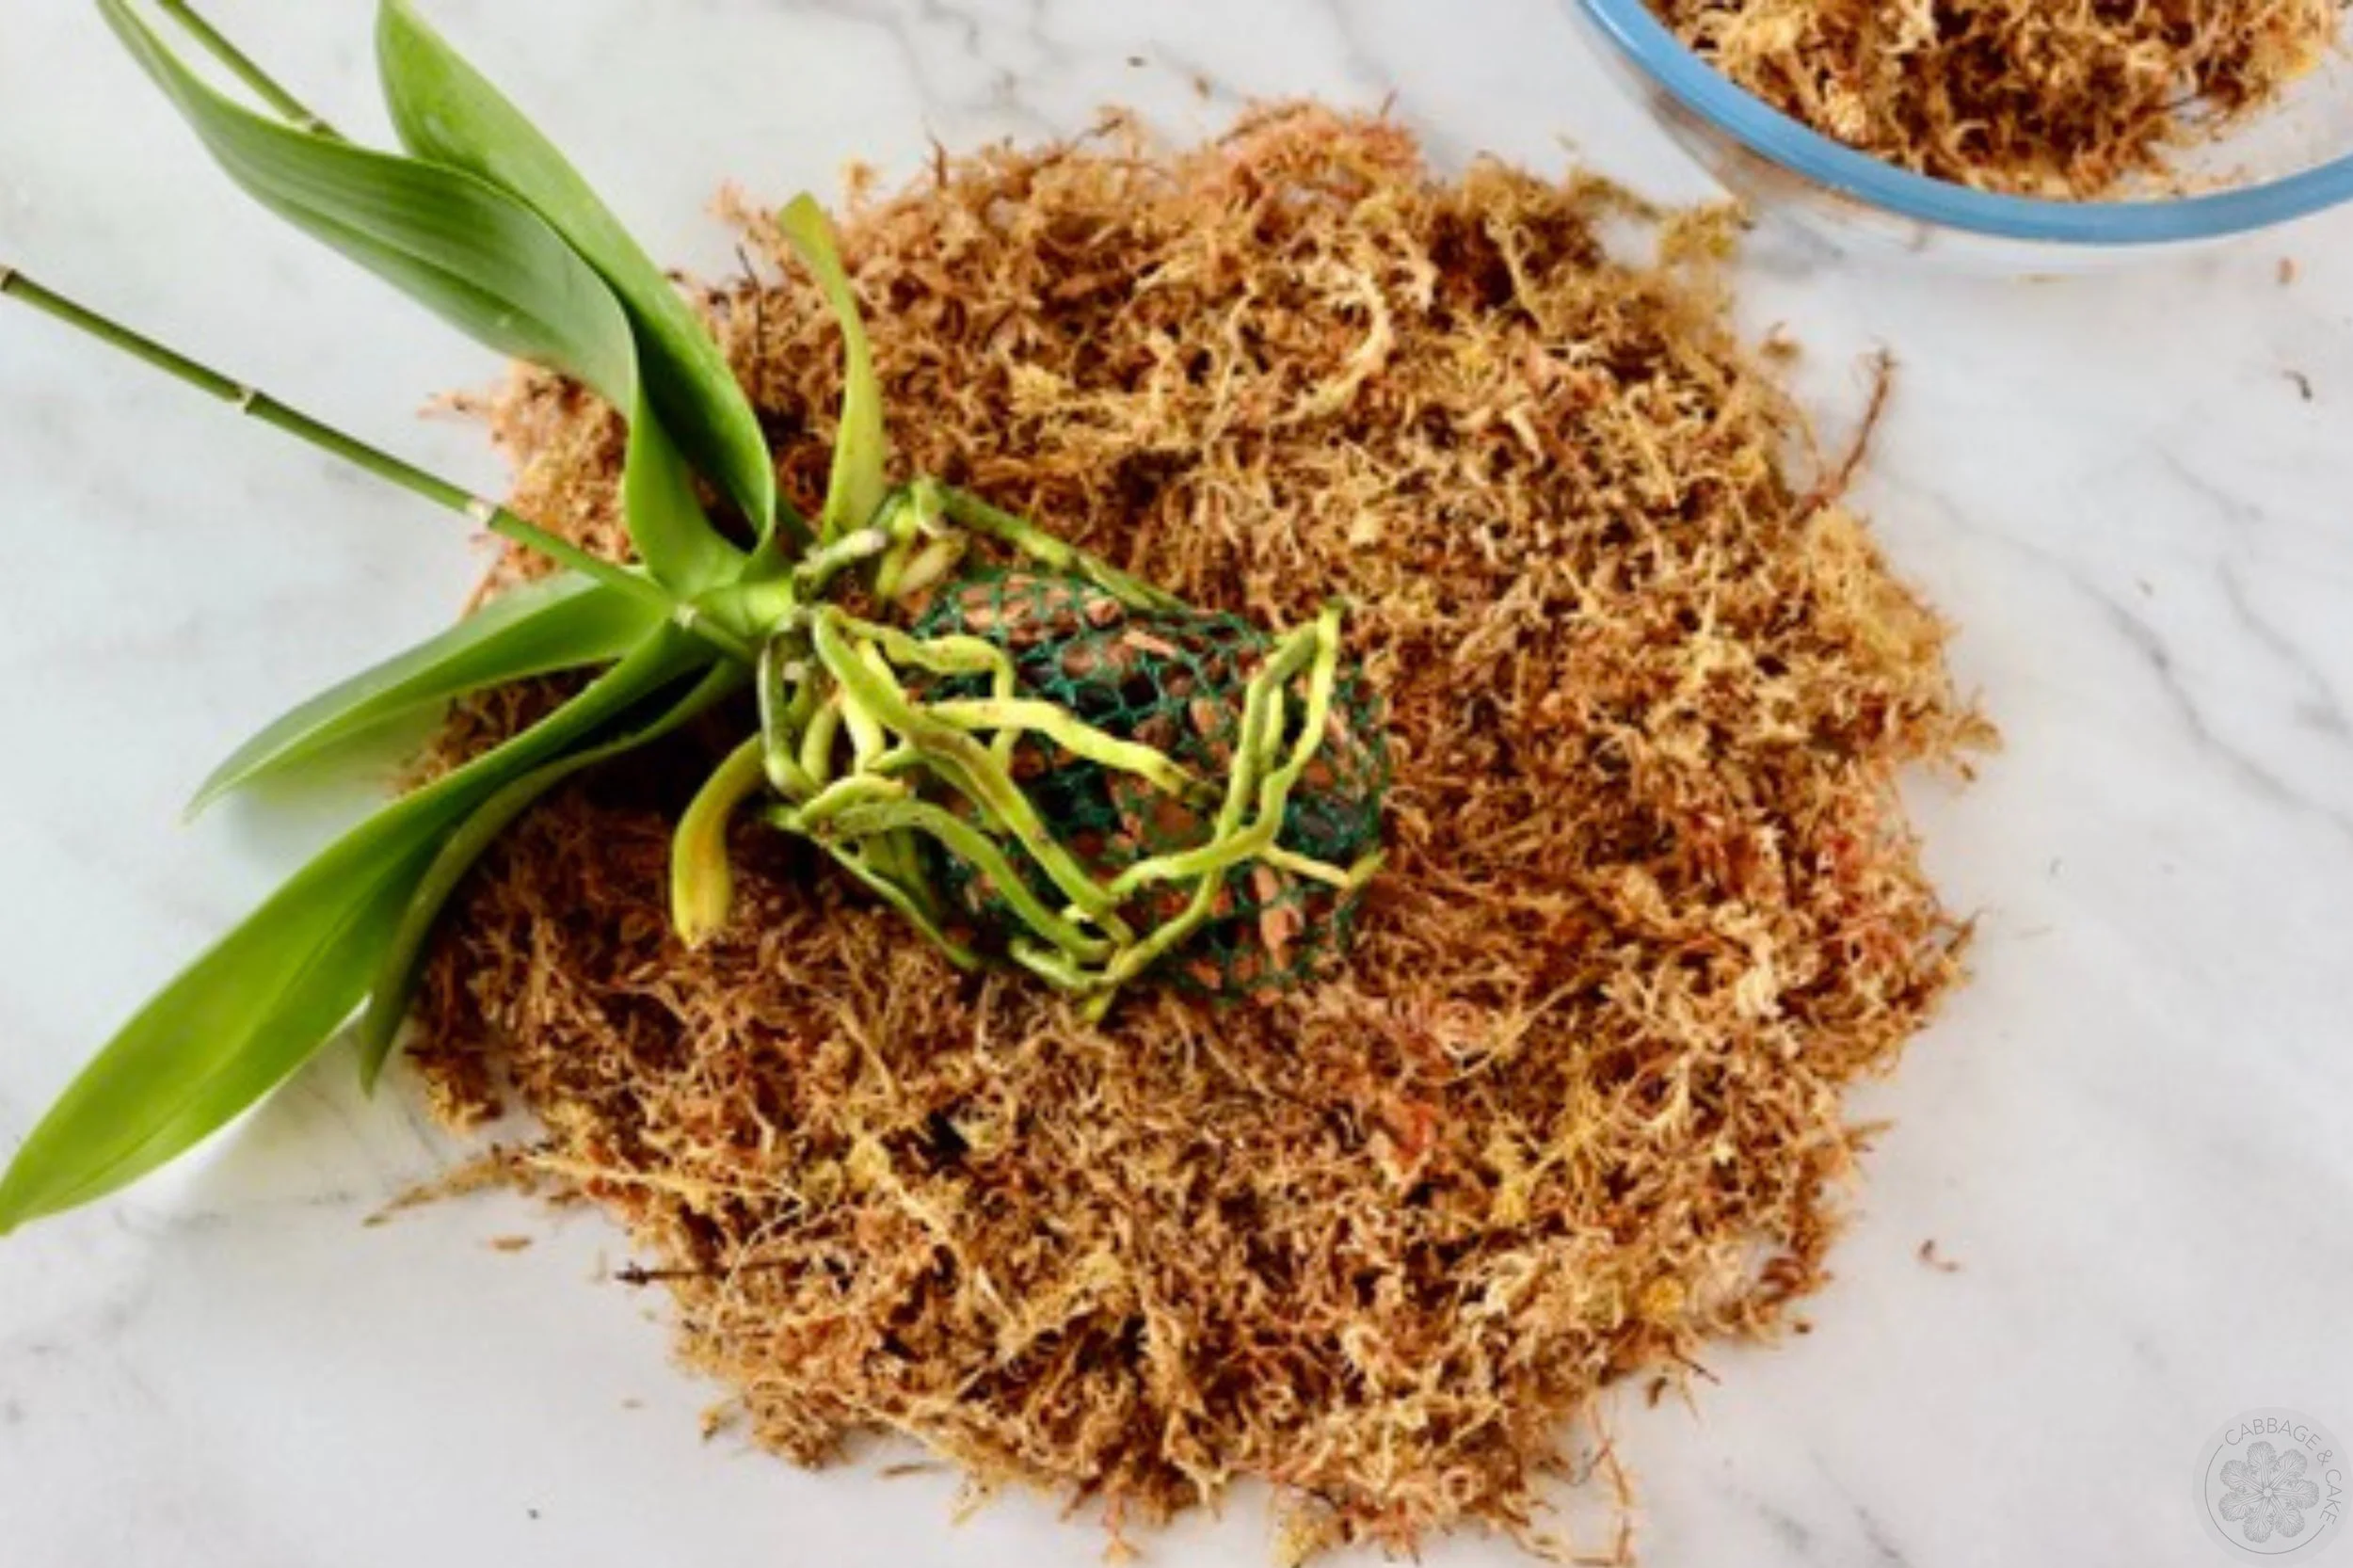
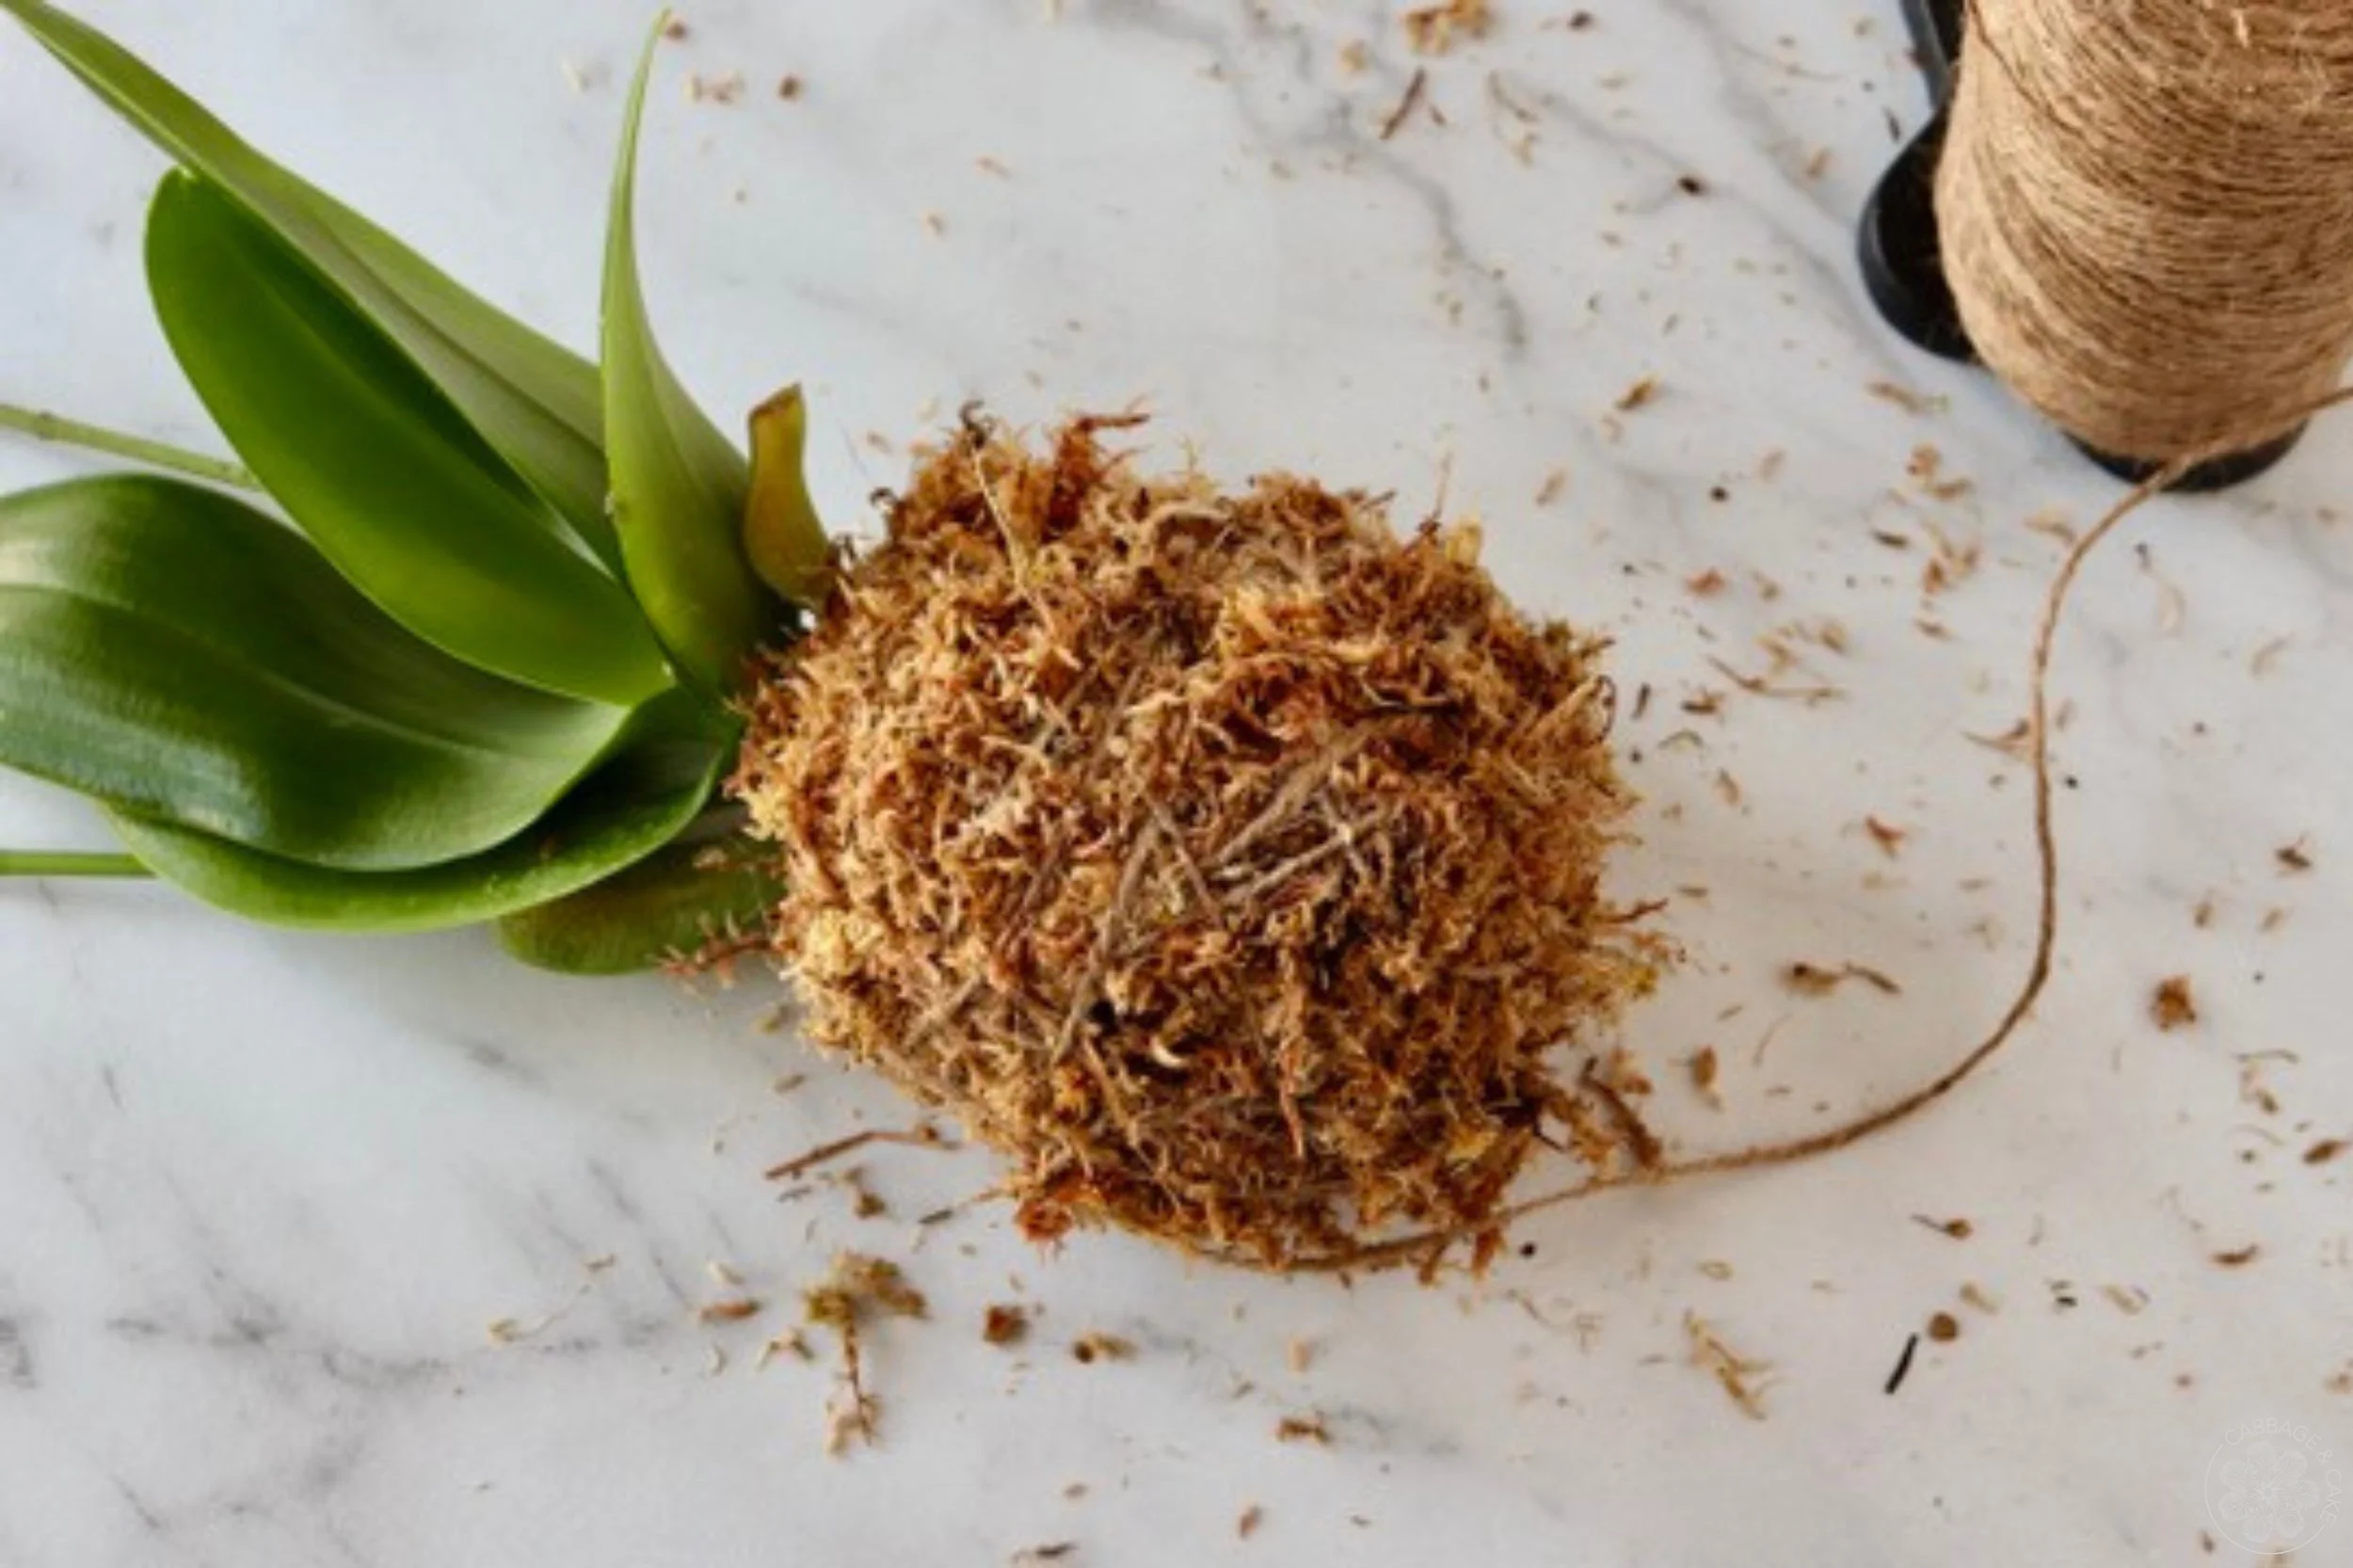
Place the orchid’s roots around the orchid potting mix in the net and set it in the middle of the sphagnum moss.
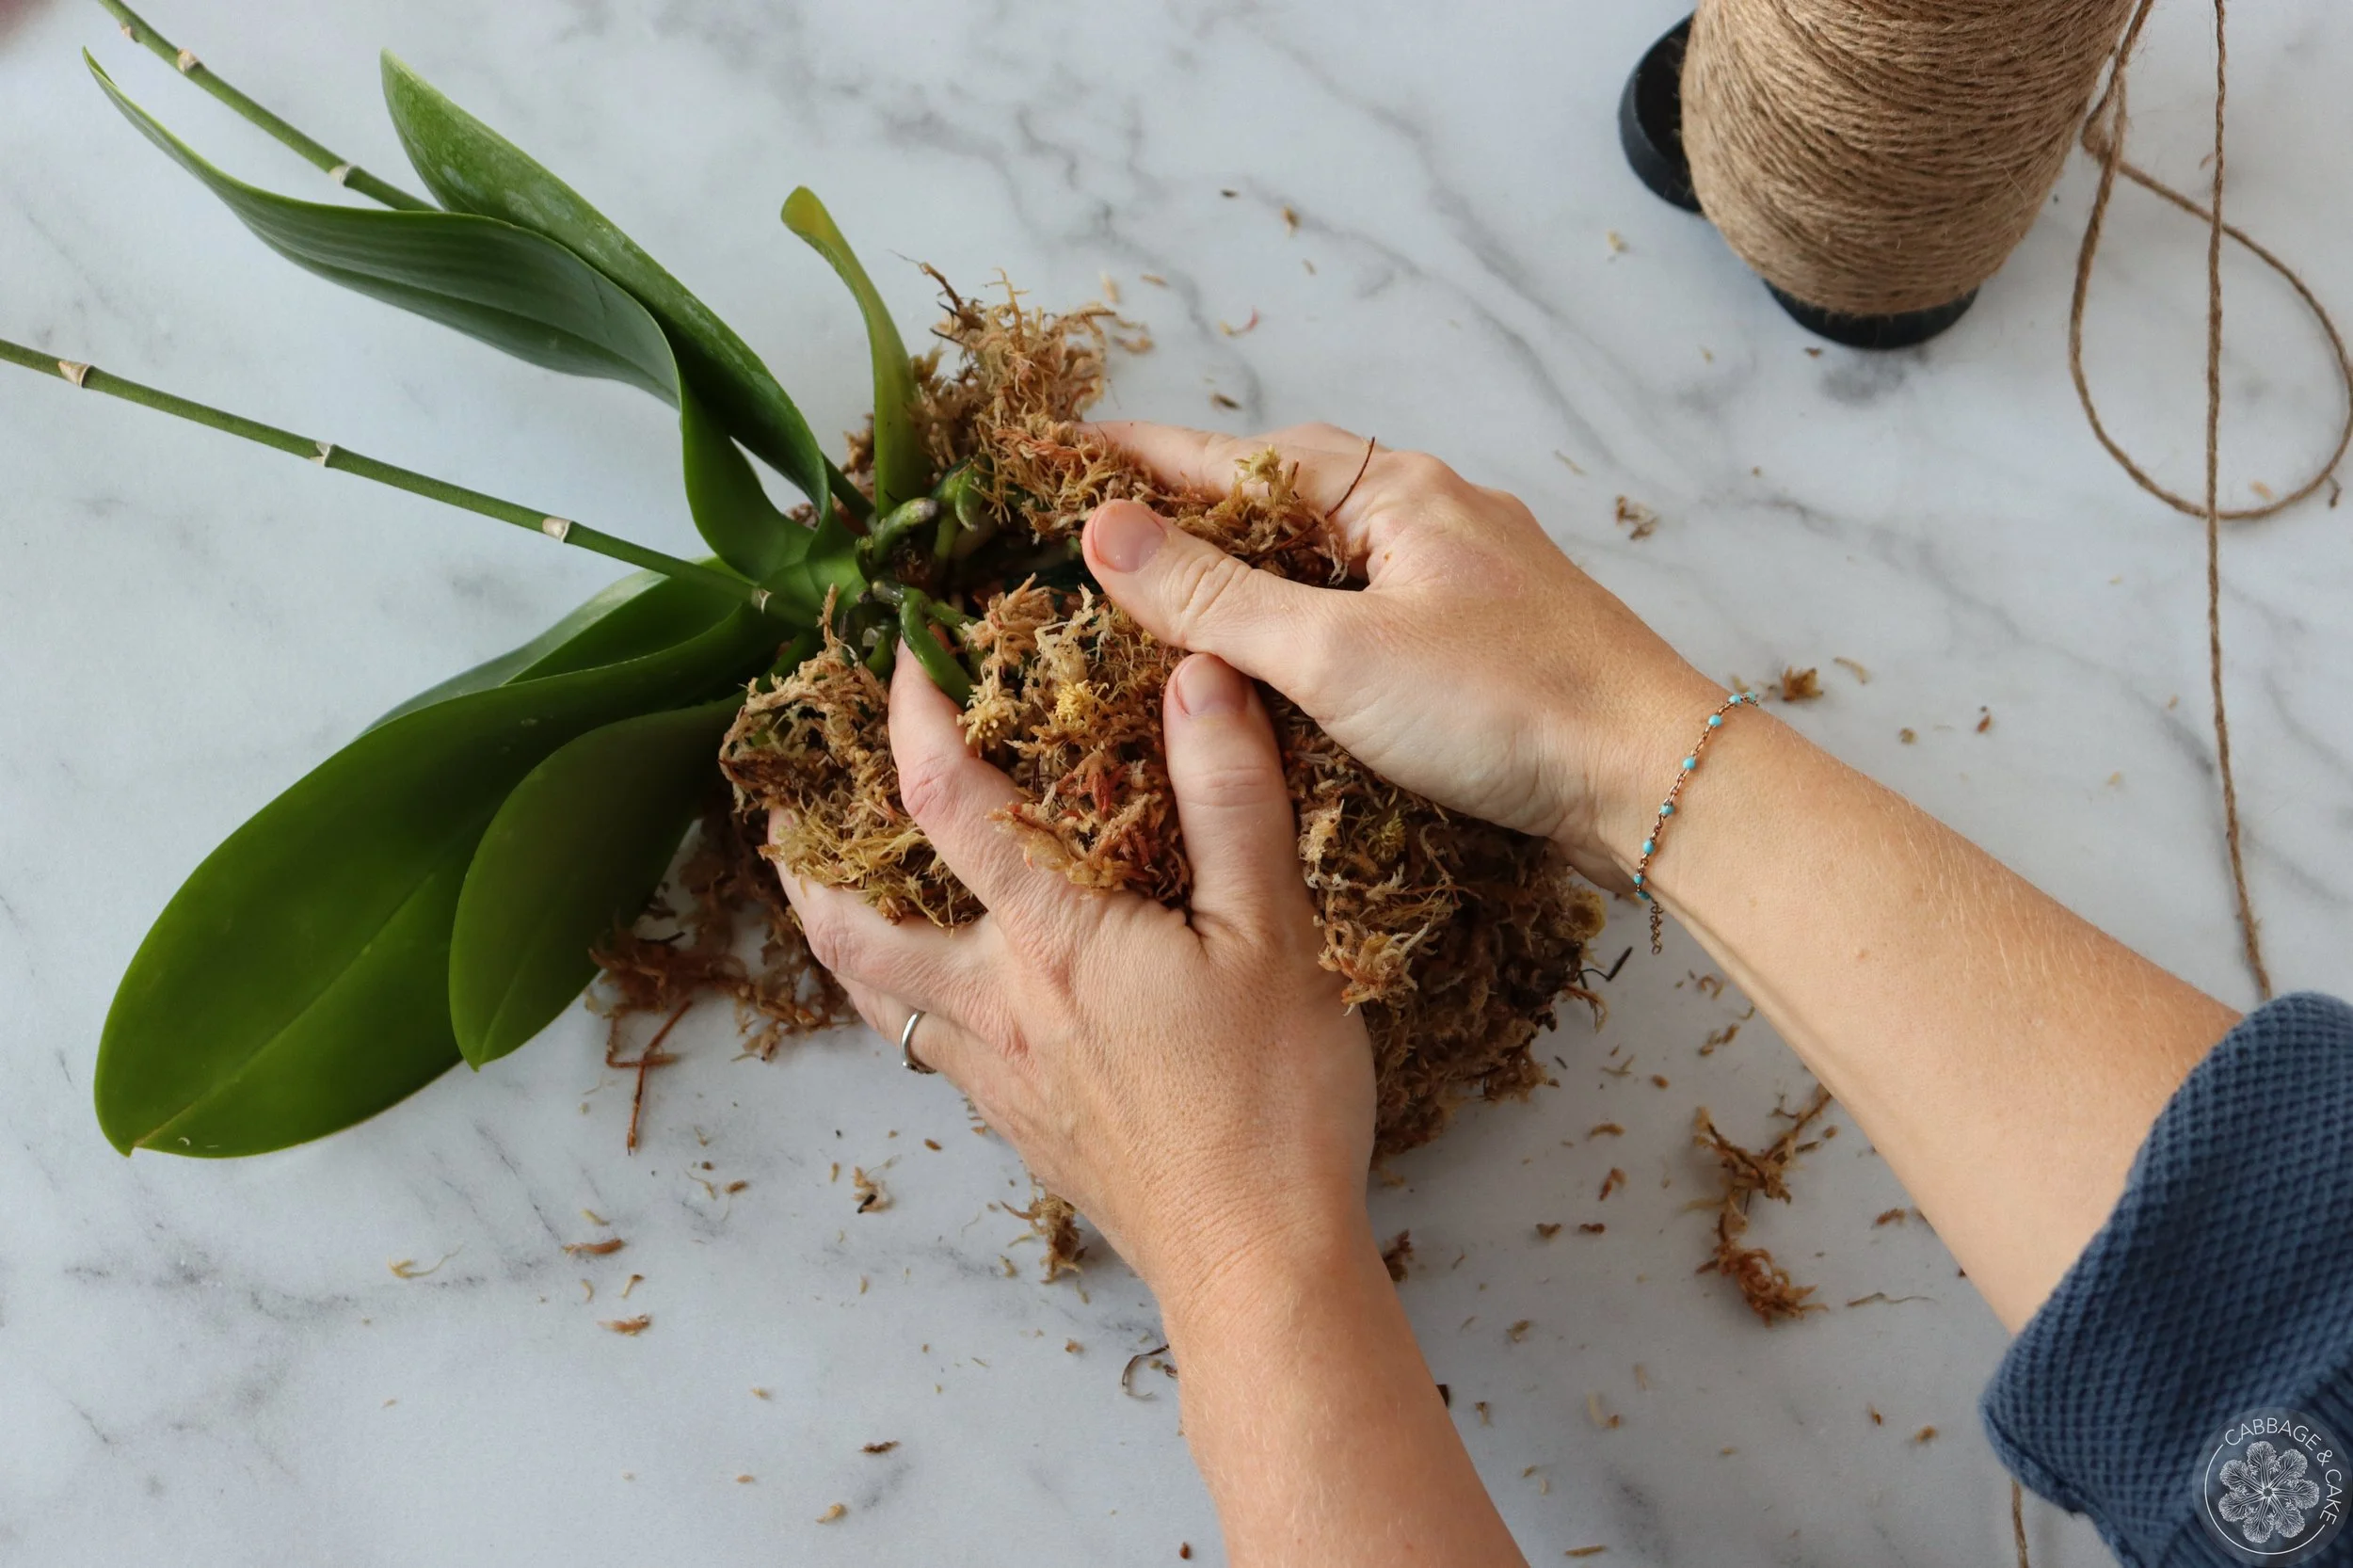
Cover it with the moss, scooping it up from underneath with your hands, pressing it into a ball.
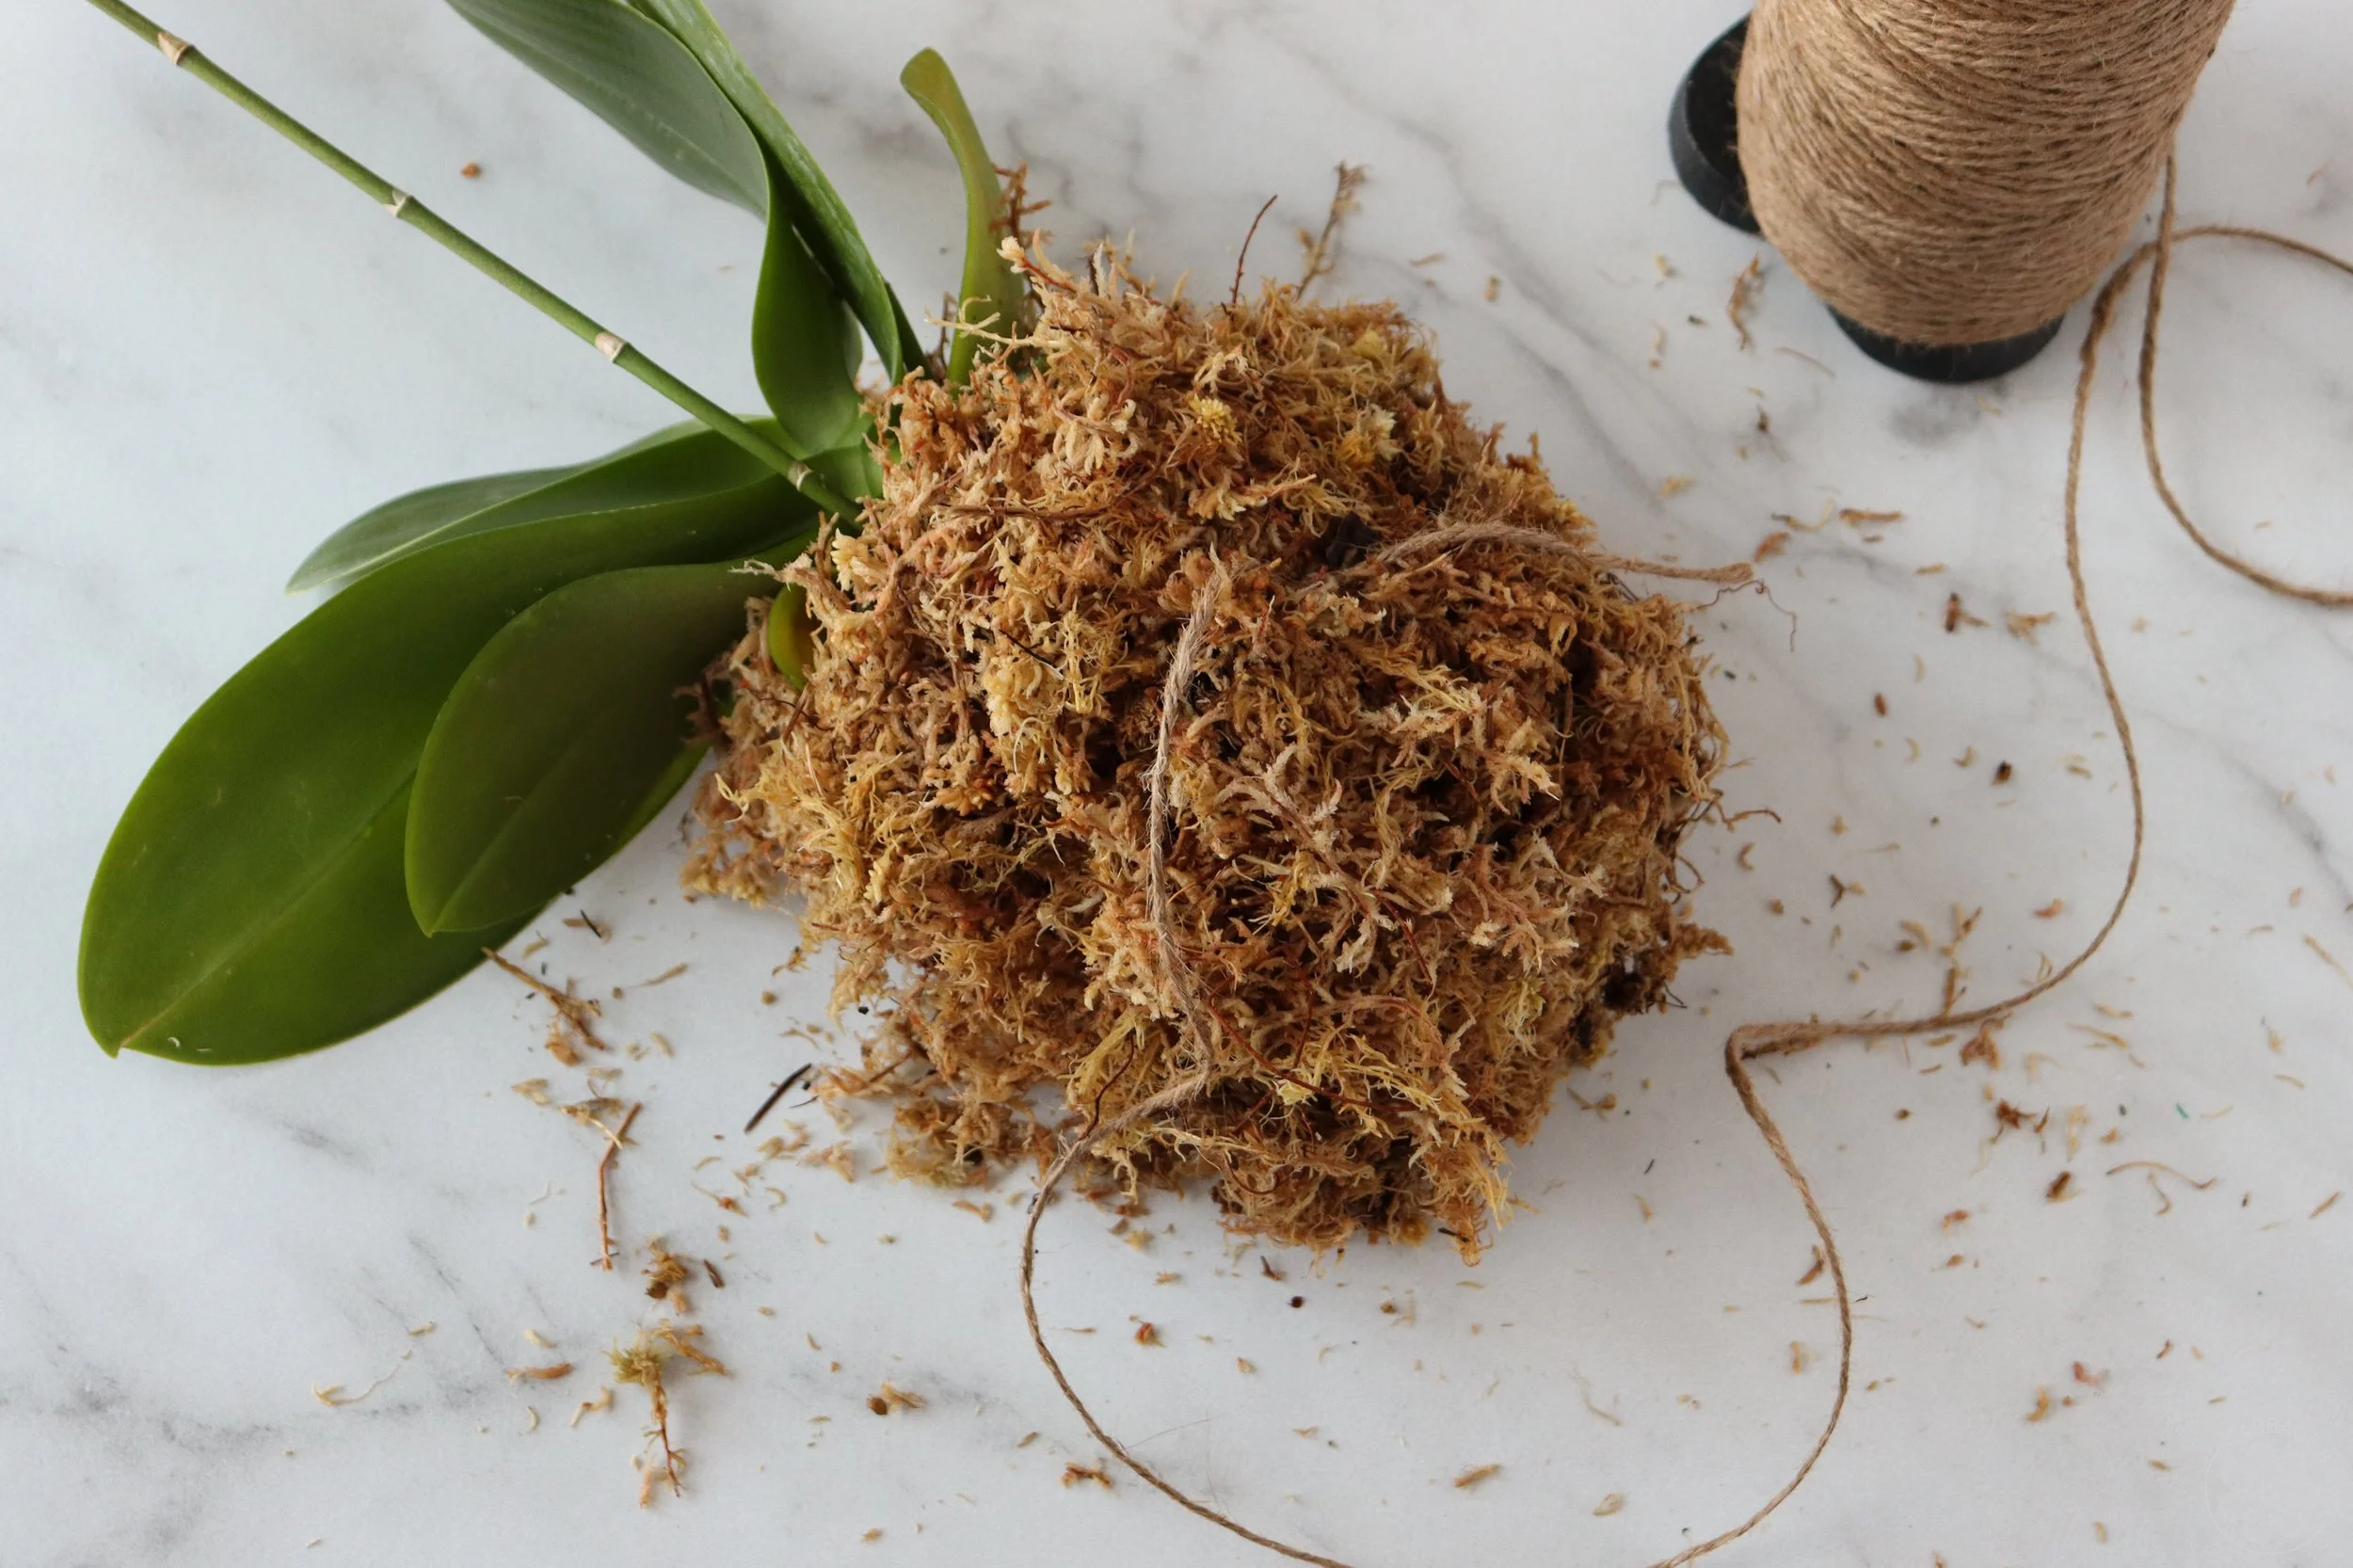
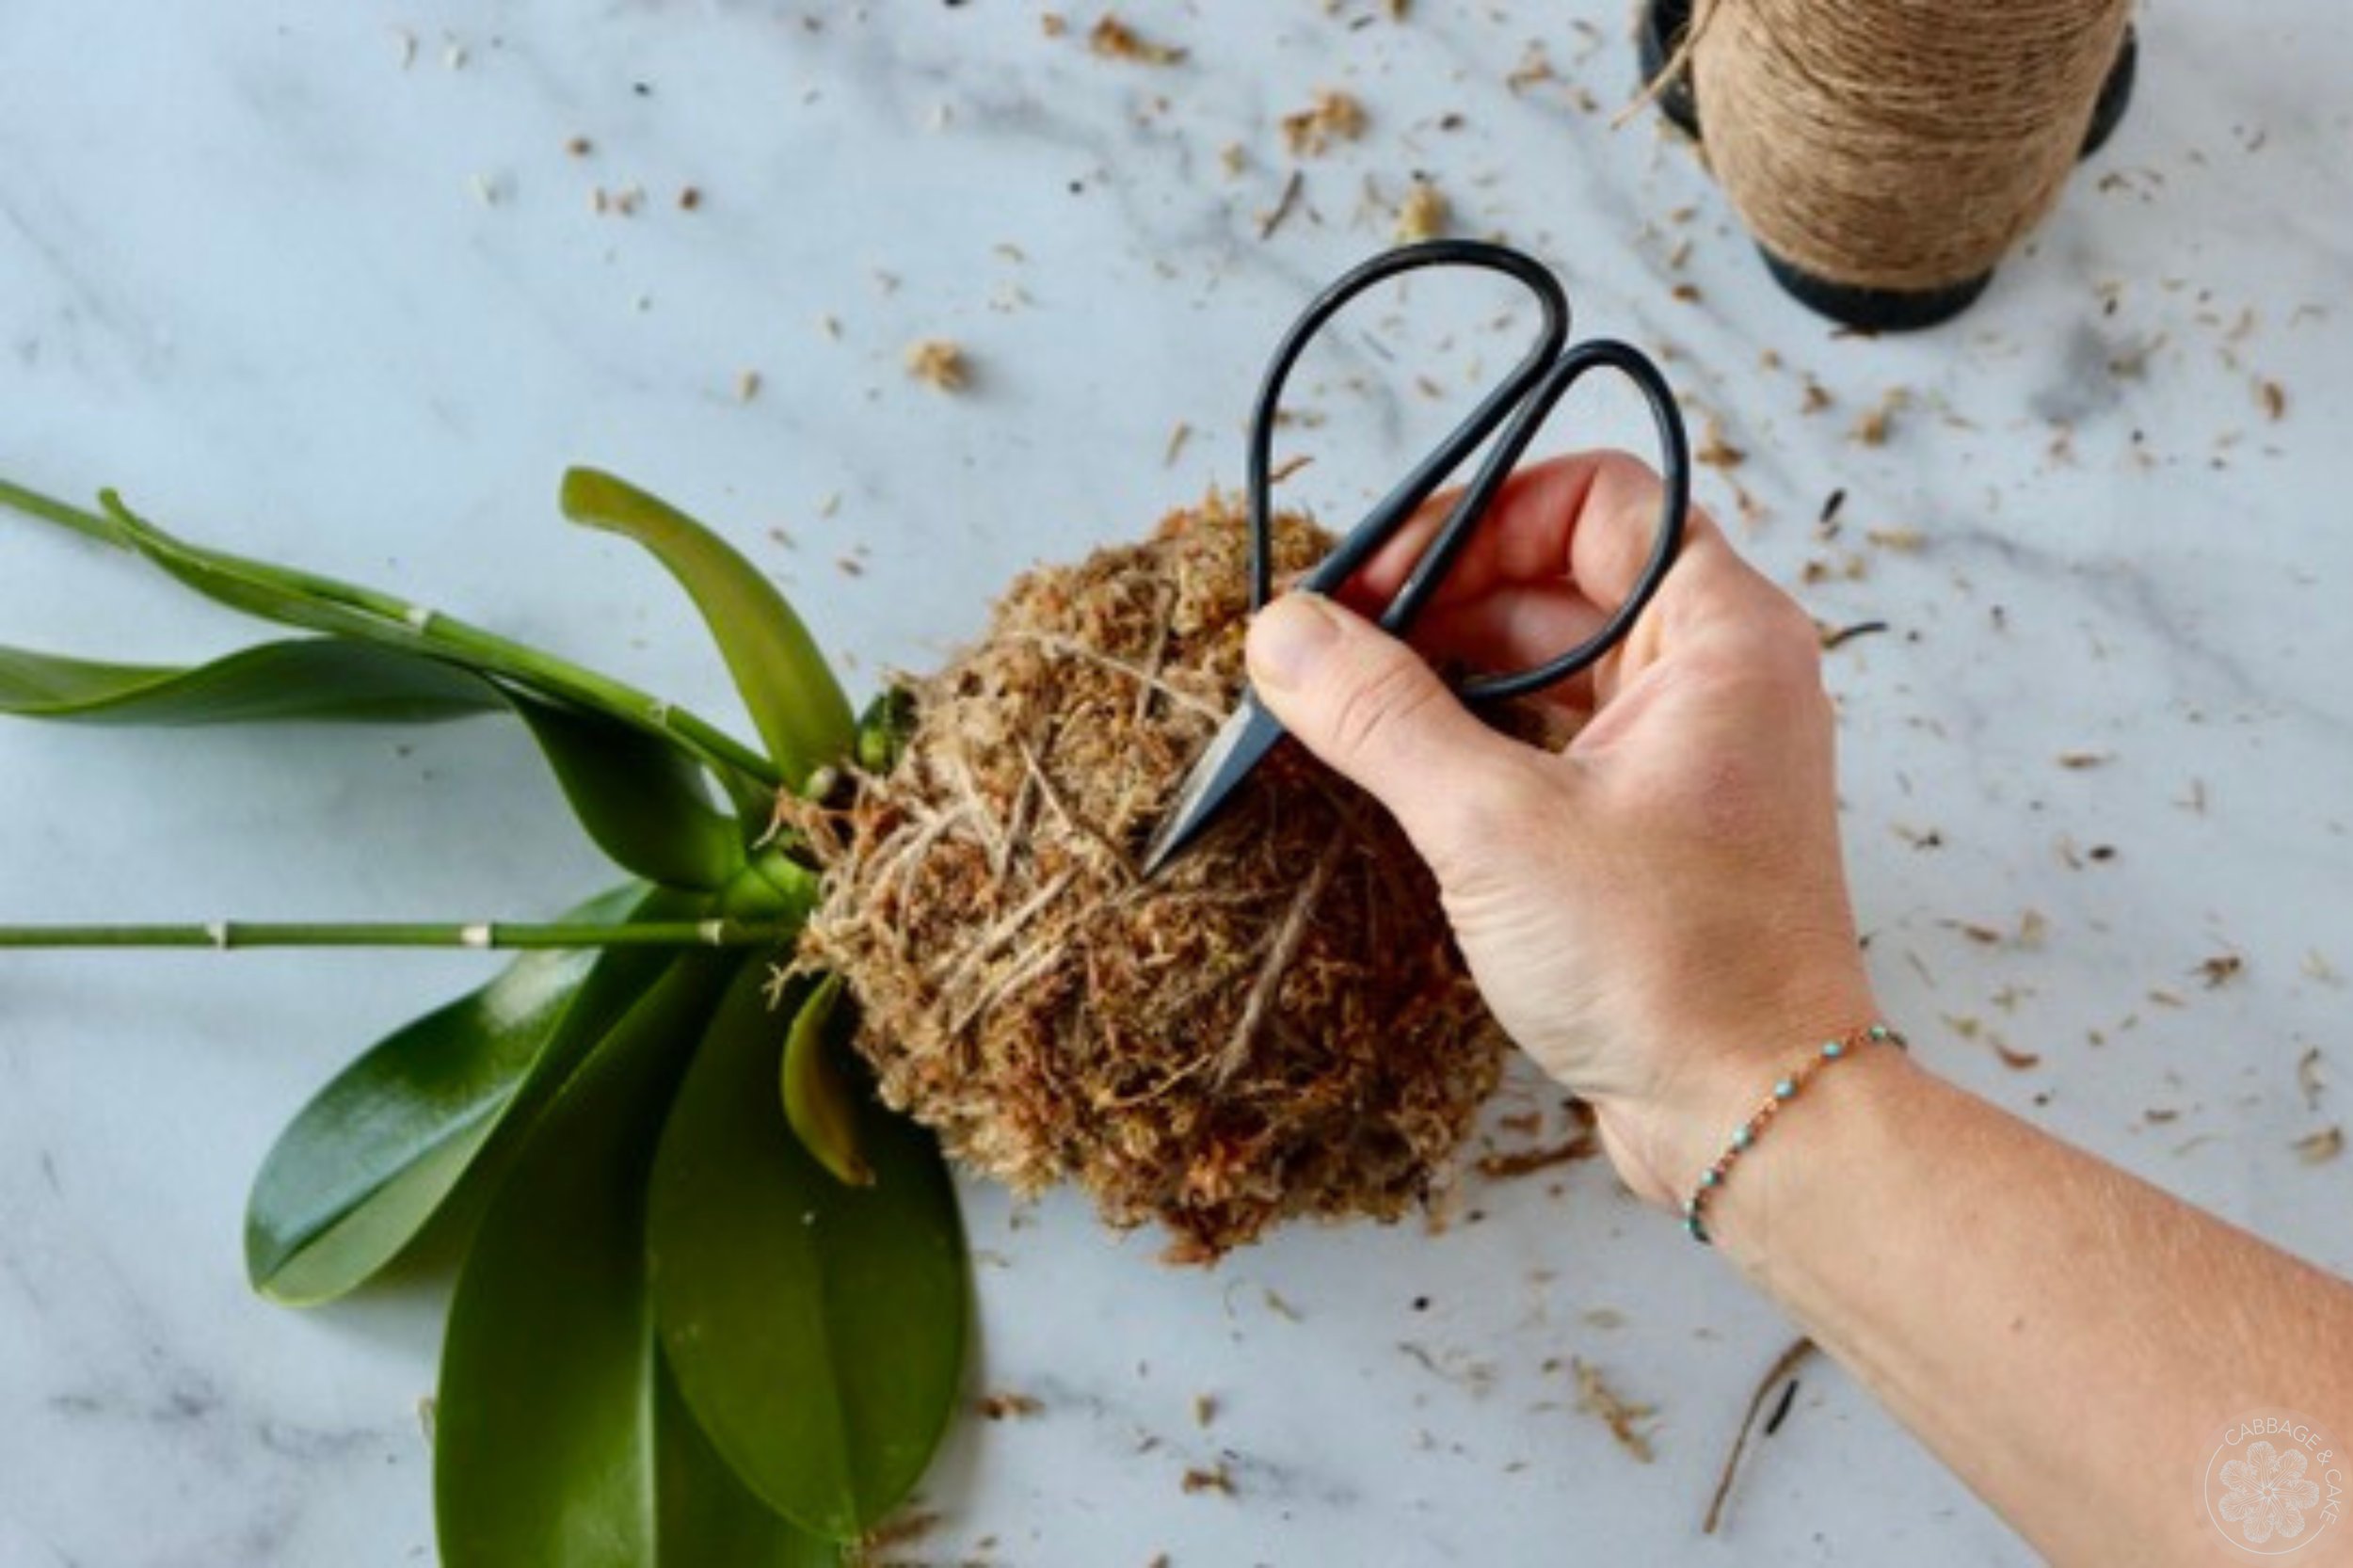
Form a loop around your moss ball with the twine and pull as hard as you can without cutting it in half, then fasten it with a knot.
Keep wrapping the twine around the moss, keeping it as tight as you can. Be generous with your moss and twine. You don’t have to follow any pattern it just needs to hold it together and form a nice round ball in the end. You can place your moss ball on the edge of your workspace and roll it back and forth to give it a nice and evenly round shape, giving the orchid space hanging off without getting damaged at the same time.
When you are done wrapping, knot the twine off and push it into the moss ball with closed scissors.
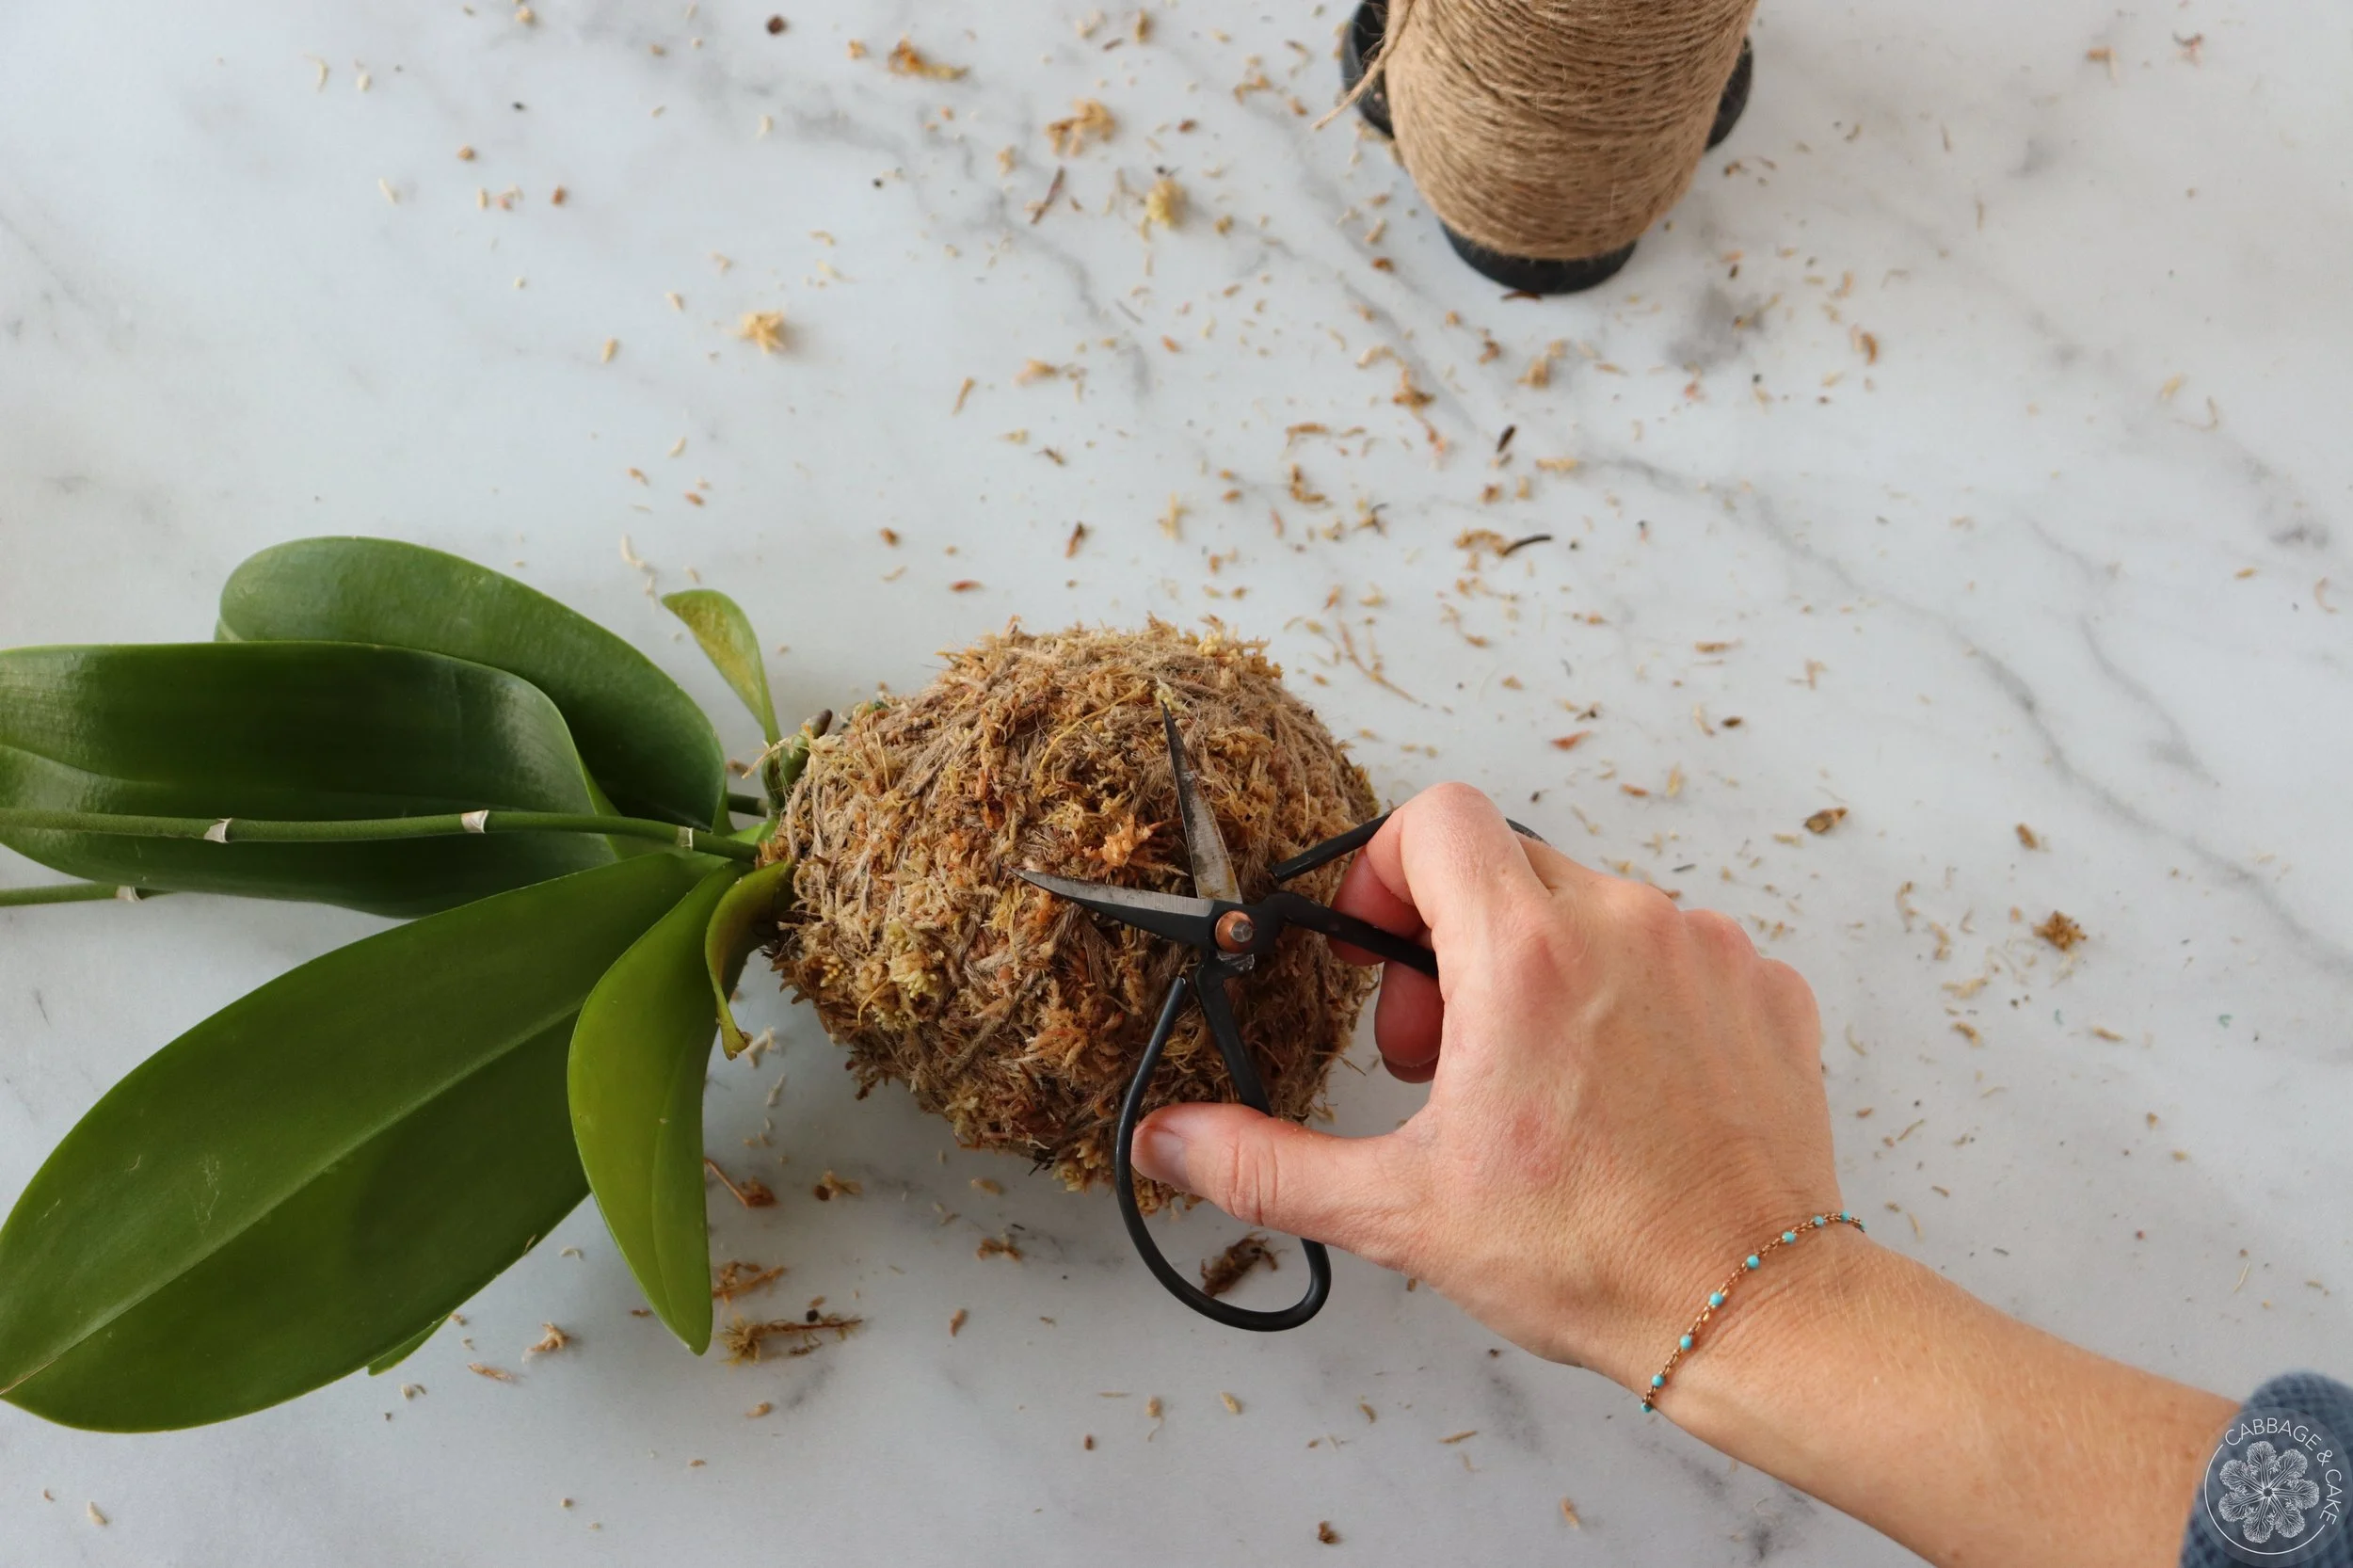
Carefully trim off any small pieces of moss still sticking out of your kokedama.
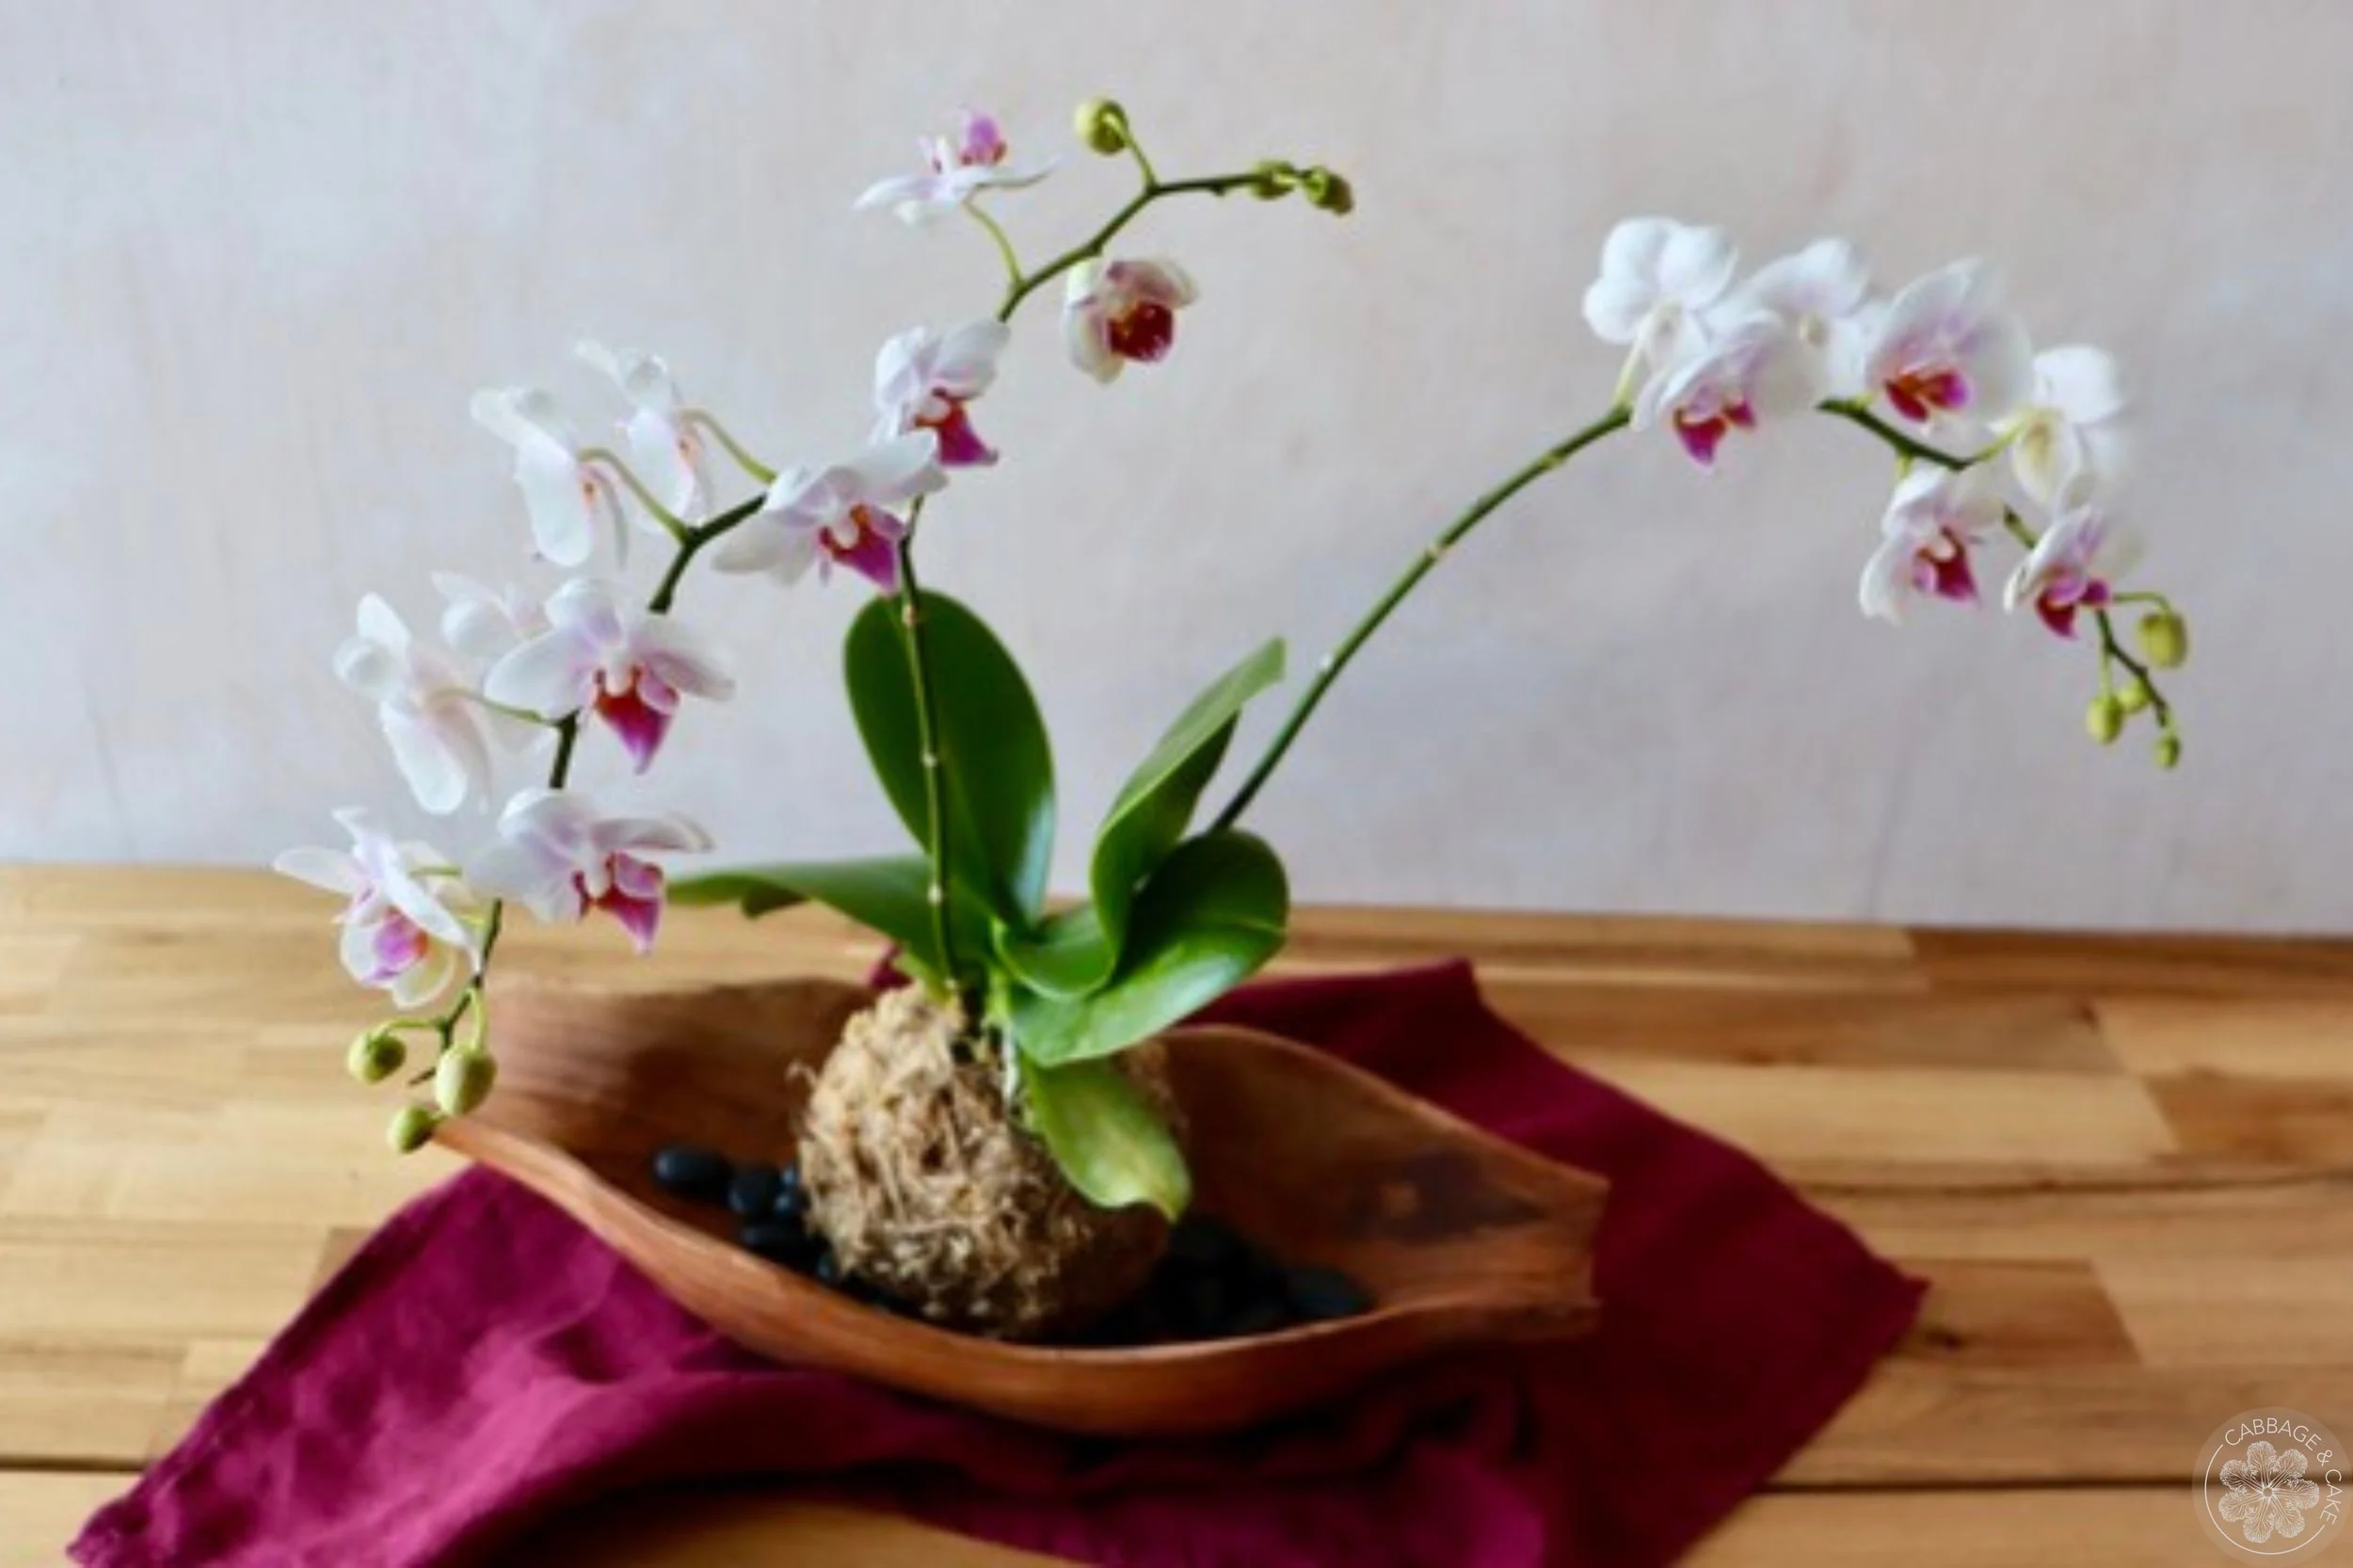
Place your kokedama on a decorative plate, saucer or bowl or loop a long piece of twine around it (I like to double mine up for more support so I can hang it up) and create a stunning hanging display for your beautiful orchid.
HANGING ORCHID KOKEDAMA
by Julia
Hanging kokedamas (Japanese for “moss ball”) can be a beautiful way to display your house plants. This beautiful hanging orchid kokedama is made by encasing an orchid in orchid potting mix, wrapping it with sphagnum moss and tightly securing it with twine. Get creative and transform your favourite plants with this beautiful Japanese gardening art!
MATERIALS YOU WILL NEED
potted orchid
orchid potting mix
fruit mesh bag
sphagnum moss
strong natural jute, hemp or nylon twine
newspaper or craft mat
big bowl filled with water
scissors
pruners
INSTRUCTIONS
Gather all your materials and tools for this project.
Cover your work surface with some newspaper or a craft mat for an easier clean up afterwards.
Place the sphagnum moss in the bowl with water and let it soak for 15-20 minutes.
Fill up the pot of your orchid and let it soak for 10 minutes.
Cut open a fruit mesh bag (like the ones lemons or avocados come in), fill it with 1-2 handfuls of orchid mix and knot it off.
Remove your orchid from its container. Carefully remove and discard the orchid mix or moss it came in.
Rinse off the roots of your orchid and cut off any dead or rotten roots with clean, sharp pruners.
Pour out the soaking water from your moss and press it together with your hands to release any excess water.
Put a 1 to 2-inch-thick layer of sphagnum moss on your work surface.
Place the orchid’s roots around the orchid potting mix in the net.
Place the orchid’s roots around the orchid potting mix in the net and set it in the middle of the sphagnum moss.
Cover it with the moss, scooping it up from underneath with your hands, pressing it into a ball.
Form a loop around your moss ball with the twine and pull as hard as you can without cutting it in half, then fasten it with a knot.
Keep wrapping the twine around the moss, keeping it as tight as you can. Be generous with your moss and twine. You don’t have to follow any pattern it just needs to hold it together and form a nice round ball in the end. You can place your moss ball on the edge of your workspace and roll it back and forth to give it a nice and evenly round shape, giving the orchid space hanging off without getting damaged at the same time.
When you are done wrapping, knot the twine off and push it into the moss ball with closed scissors.
Carefully trim off any small pieces of moss still sticking out of your kokedama.
Place your kokedama on a decorative plate, saucer or bowl or loop a long piece of twine around it (I like to double mine up for more support so I can hang it up) and create a stunning hanging display for your beautiful orchid.